")
In this article, we will see how to install and get a WordPress site running on Azure Kubernetes Services,
- WordPress (To host the Website)
- Nginx (For Load balancing )
- Cert Manager ( Create and Issue let’s encrypt Certificates)
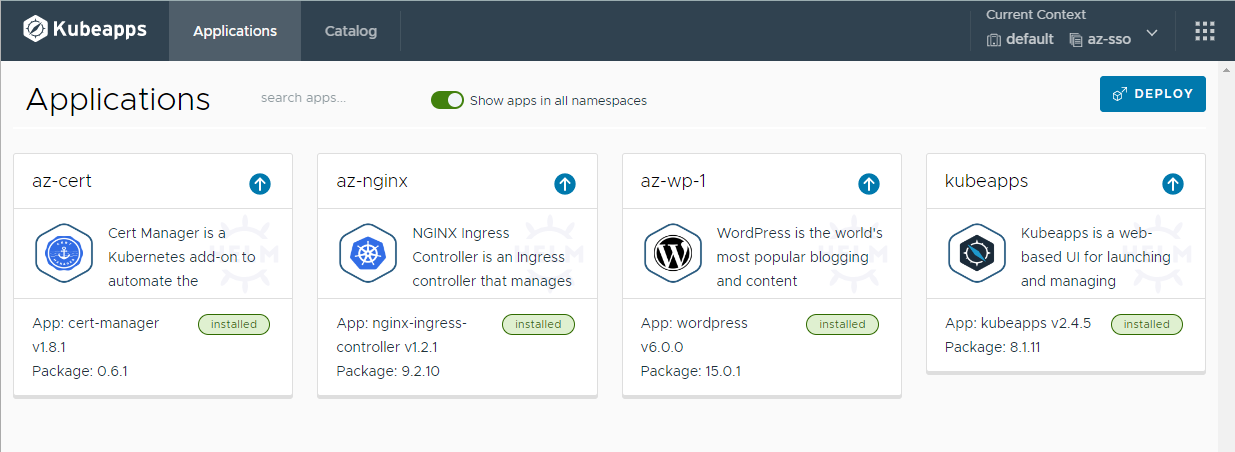
- Kubeapps ( Bitnami Packages)
Let’s create a resource group az-pr-uaen-web-rg and create an Azure Kubernetes Cluster in the specified resource group
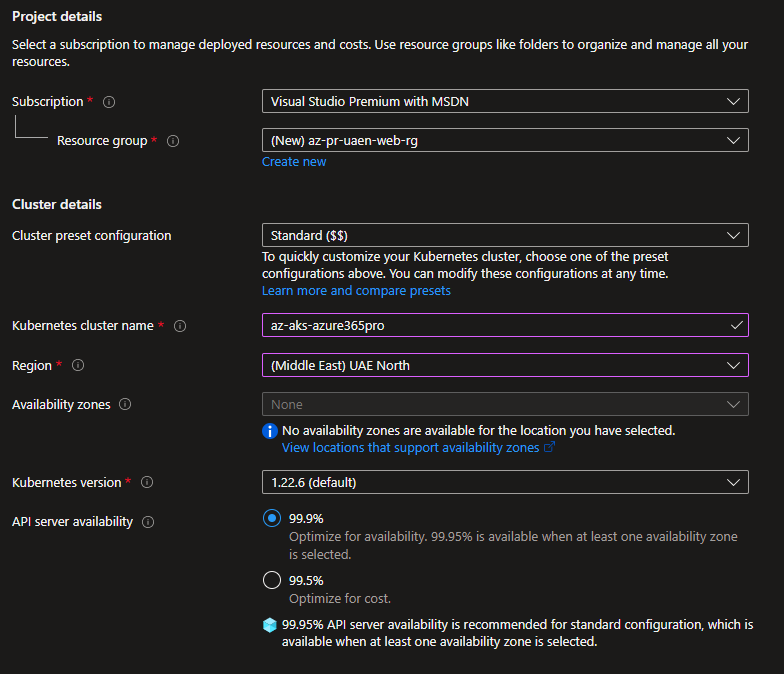
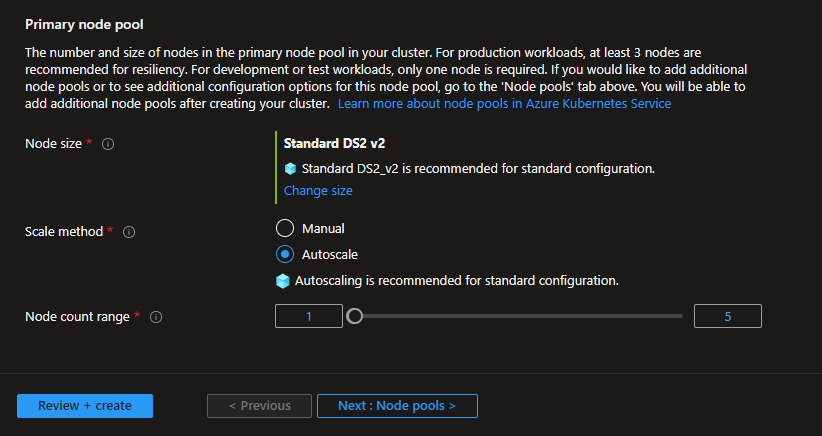
Choose an appropriate SKU and leave the default autoscale
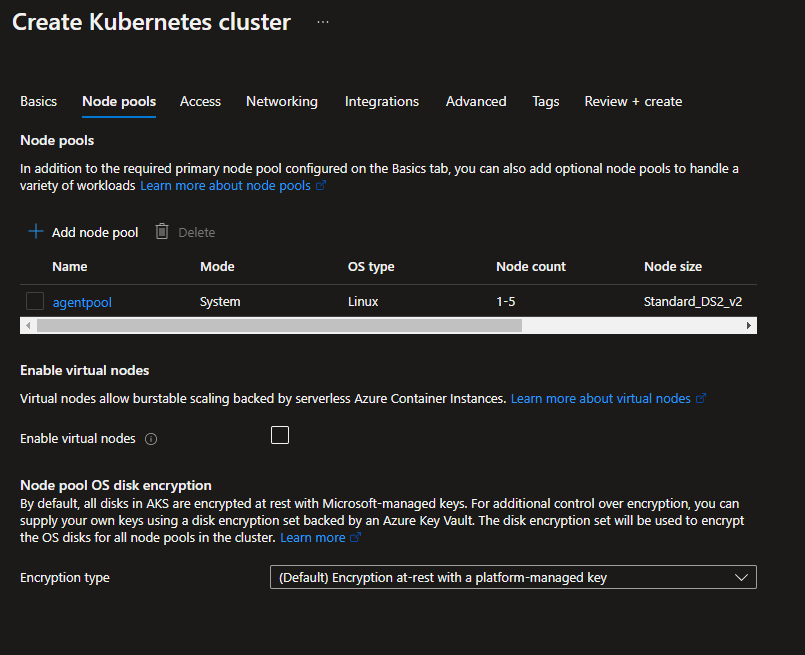
Leave things default
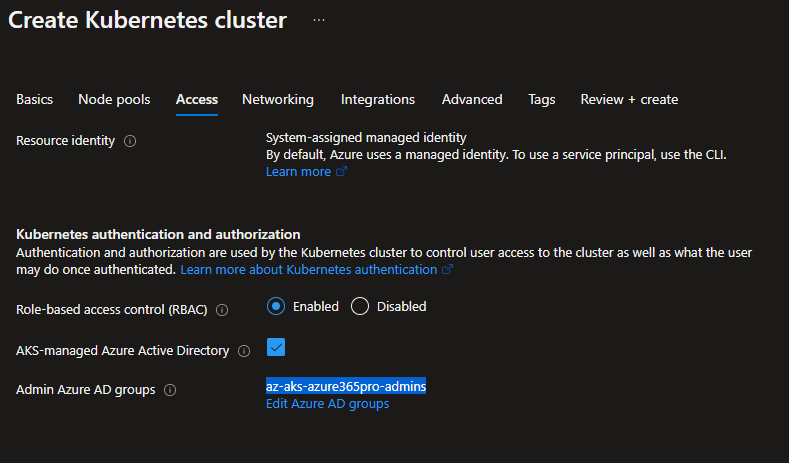
Choose a security group for Kubernetes Administration
Leave kubenet networking
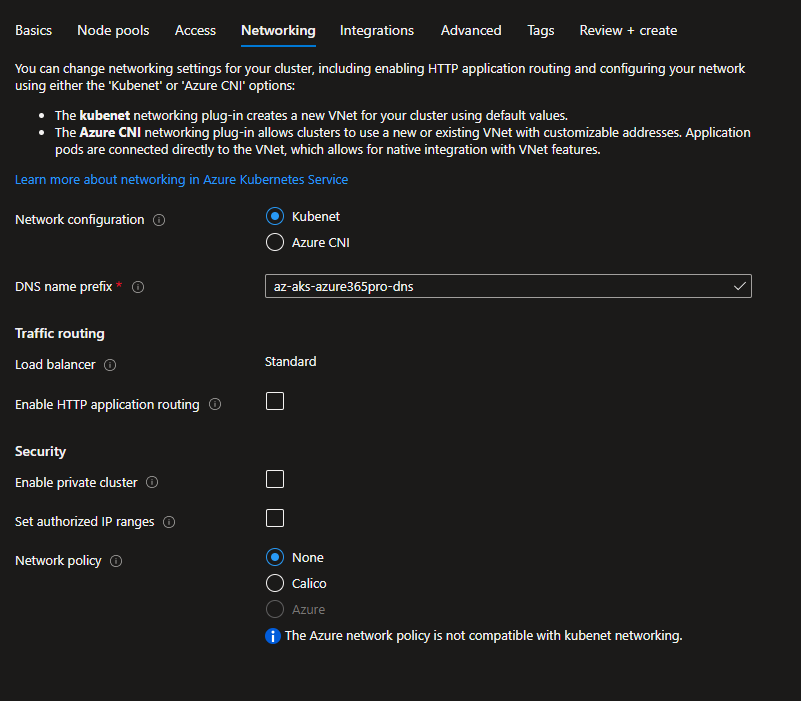
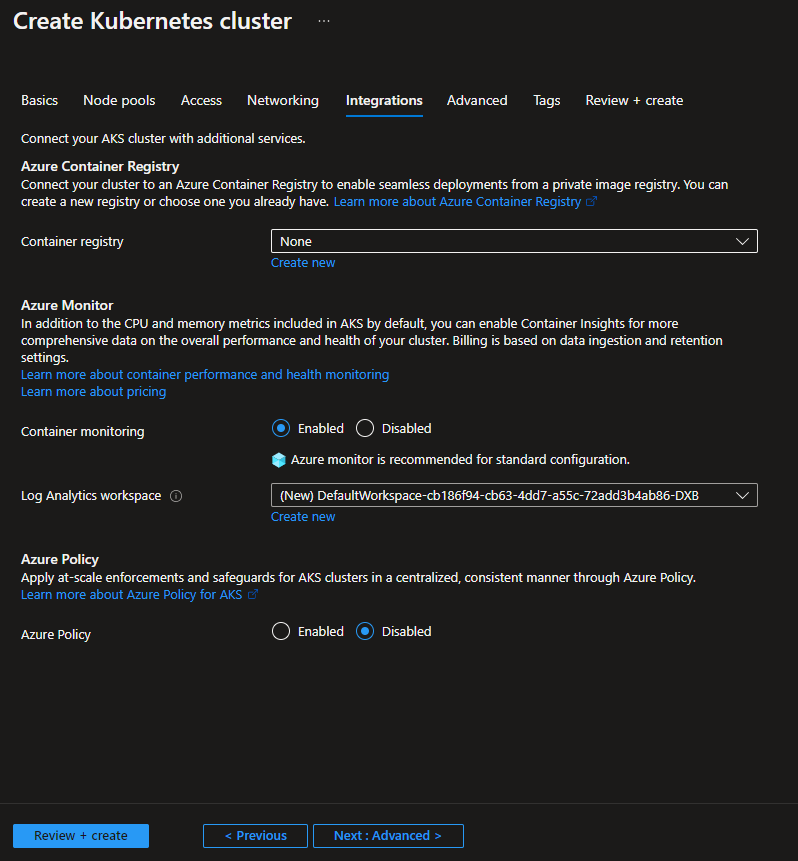
not using calico or container registry in this scenario.
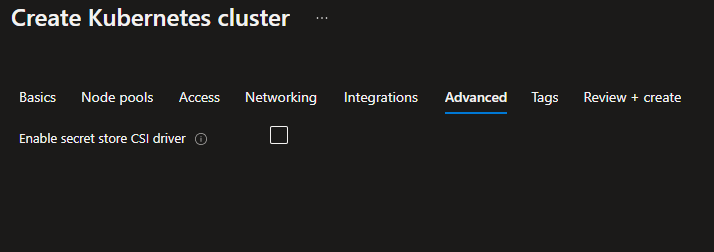
leave the secret store CSI driver disabled by default
Azure Kubernetes Cluster is created .
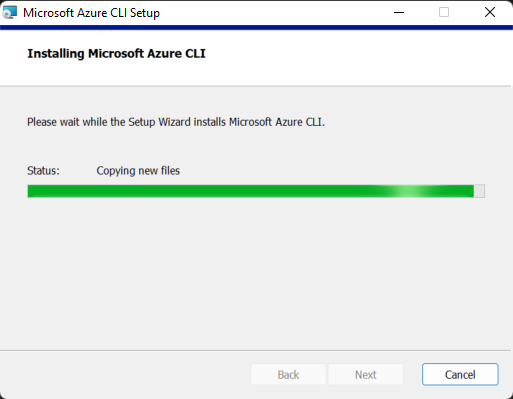
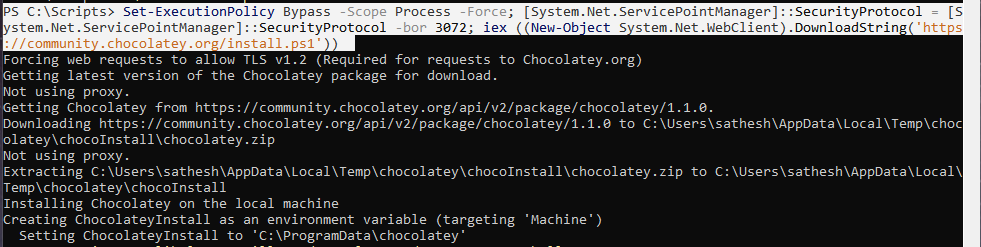
Let’s install Microsoft CLI and Chocolatey on the local machine.
Chocolatey Software | Installing Chocolatey
Install Kubernetes Helm using Choco
choco install kubernetes-helm

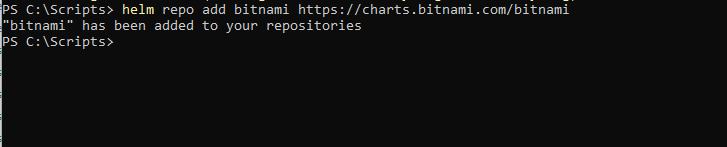
Install Bitnami repo using helm
helm repo add bitnami https://charts.bitnami.com/bitnami
Download kubectl.exe to run kubectl commands
curl -LO "https://dl.k8s.io/release/v1.24.0/bin/windows/amd64/kubectl.exe"

Download and install kubelogin if you want to authenticate to AKS using Azure AD

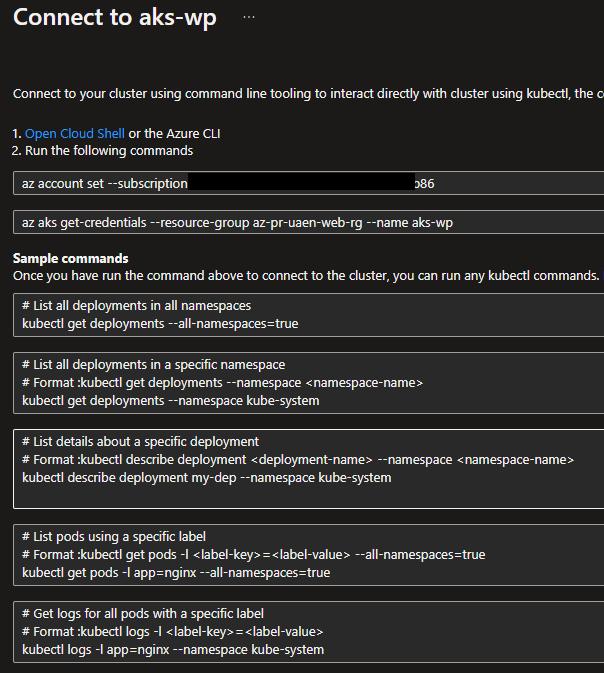
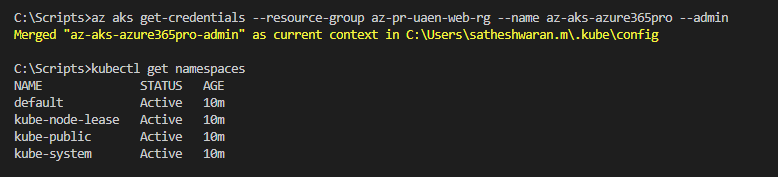
Login to aks cluster
az aks get-credentials --resource-group az-pr-uaen-web-rg --name az-aks-azure365pro --admin
if you have multiple subscriptions
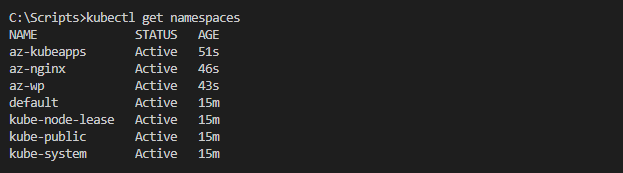
az login
Get the subscription ID you are working on
az account list -o table --all
az account set --subscription e08f63cf-xxxx-44e3-ba41-xxxxxxx
az aks get-credentials --resource-group az-pr-uaen-web-rg --name az-aks-azure365pro --admin
kubectl get namespaces
To list all namespaces
Add Bitnami repo
create kubeapps namespace
Install bitnami kubeapps
helm repo add bitnami https://charts.bitnami.com/bitnami
kubectl create namespace az-kubeapps
helm install kubeapps bitnami/kubeapps -n az-kubeapps
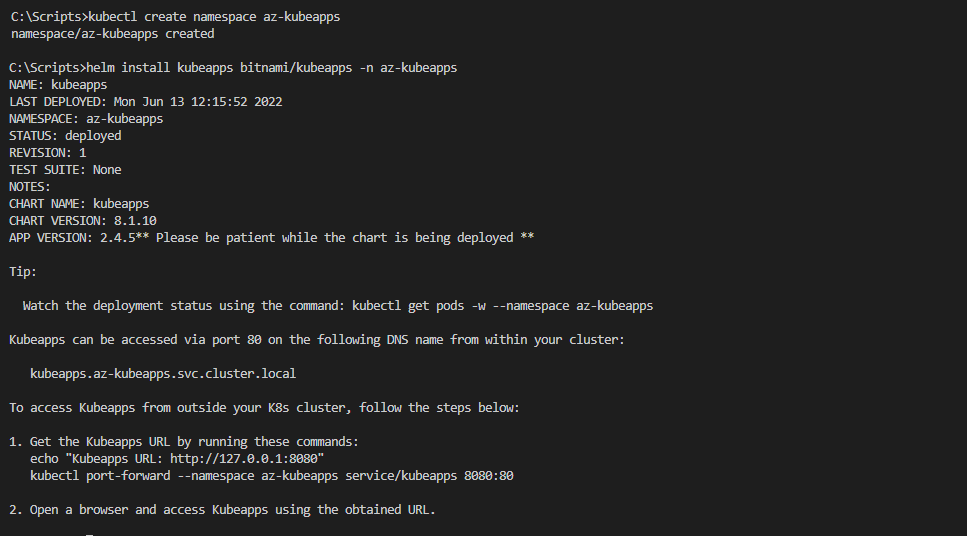
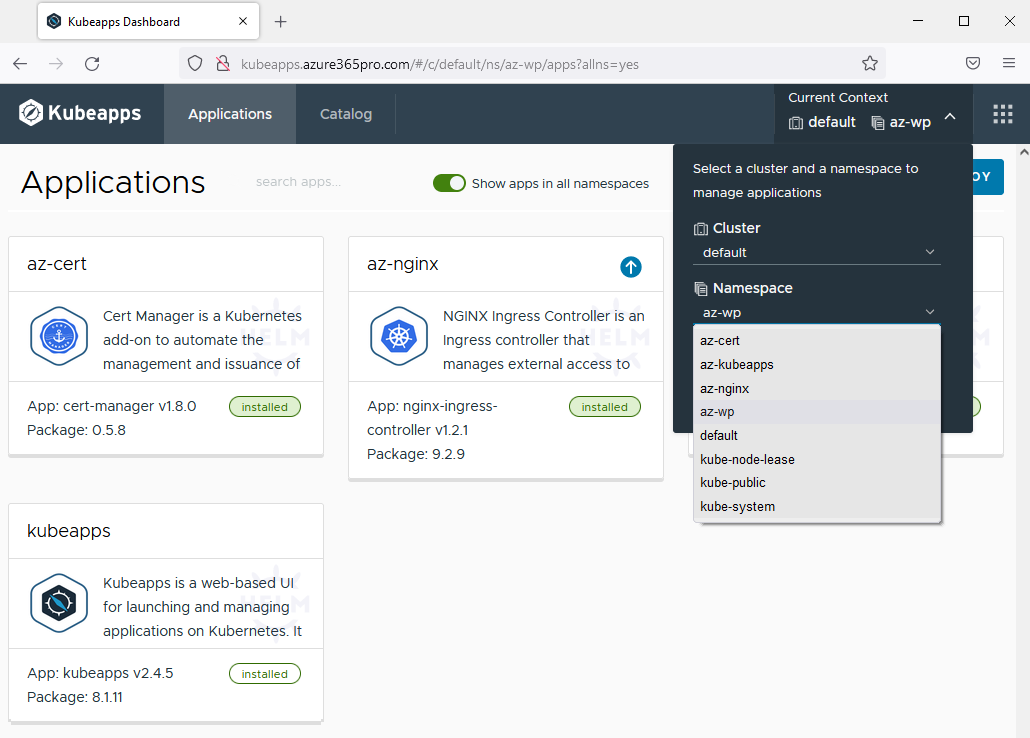
Now kubeapps is installed – We will configure things to access them using an nginx load balancer.
kubectl create serviceaccount kubeapps-operator
kubectl create clusterrolebinding kubeapps-operator --clusterrole=cluster-admin --serviceaccount=default:kubeapps-operator
kubectl get secret $(kubectl get serviceaccount kubeapps-operator -o jsonpath='{.secrets[].name}') -o jsonpath='{.data.token}' -o go-template='{{.data.token | base64decode}}'
if you run on Windows 10
‘base64decode}}” is not recognized as an internal or external command, operable program, or batch file.
switch to Powershell
.\kubectl.exe get secret $(.\kubectl.exe get serviceaccount kubeapps-operator -o jsonpath='{.secrets[].name}') -o jsonpath='{.data.token}' -o go-template='{{.data.token | base64decode}}'
A secret token has to be generated like below to get inside kubeapps , Copy the token to a safe location

To update helm repo
helm repo update
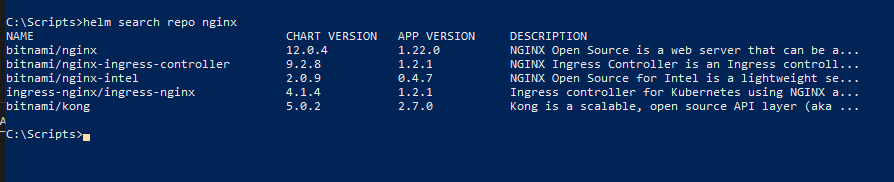
Install Nginx controller / Please note we are utilizing the native Nginx controller here.
kubectl create namespace az-nginx
helm install az-nginx bitnami/nginx-ingress-controller -n az-nginx
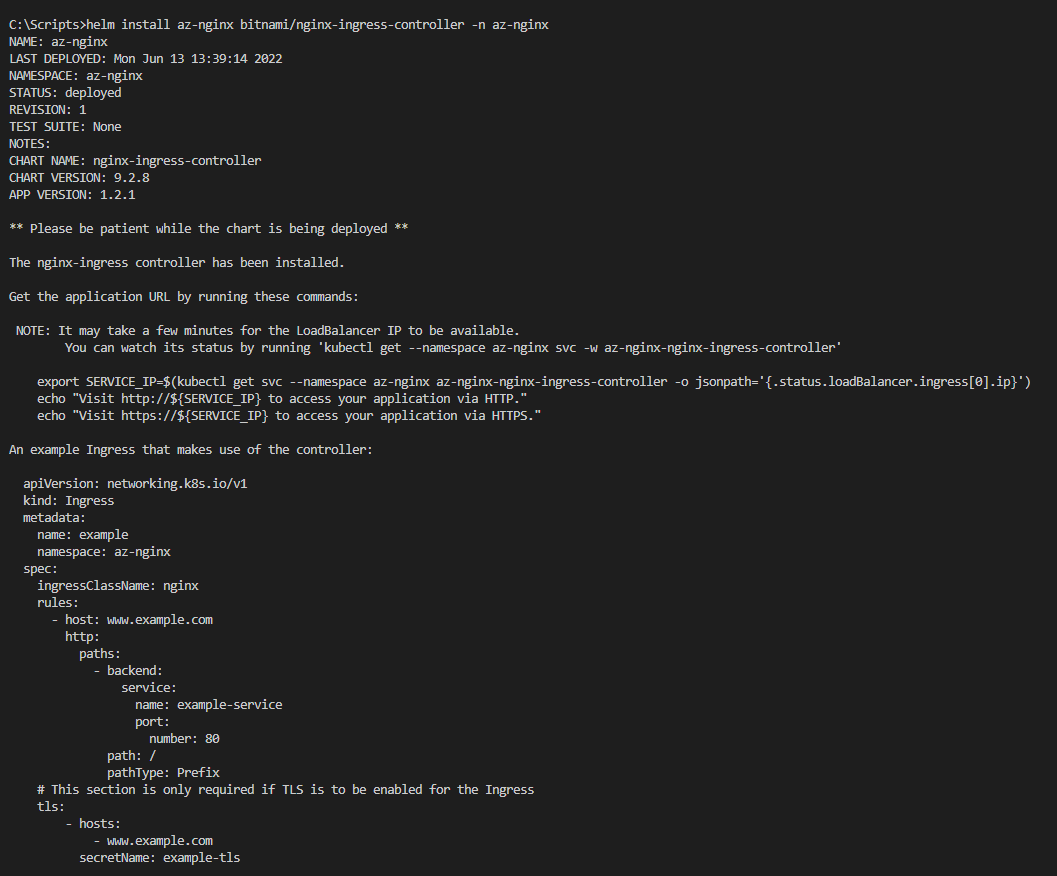
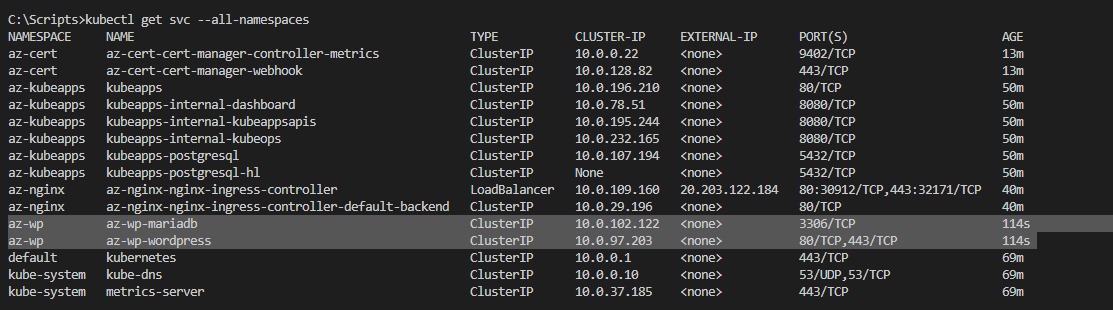
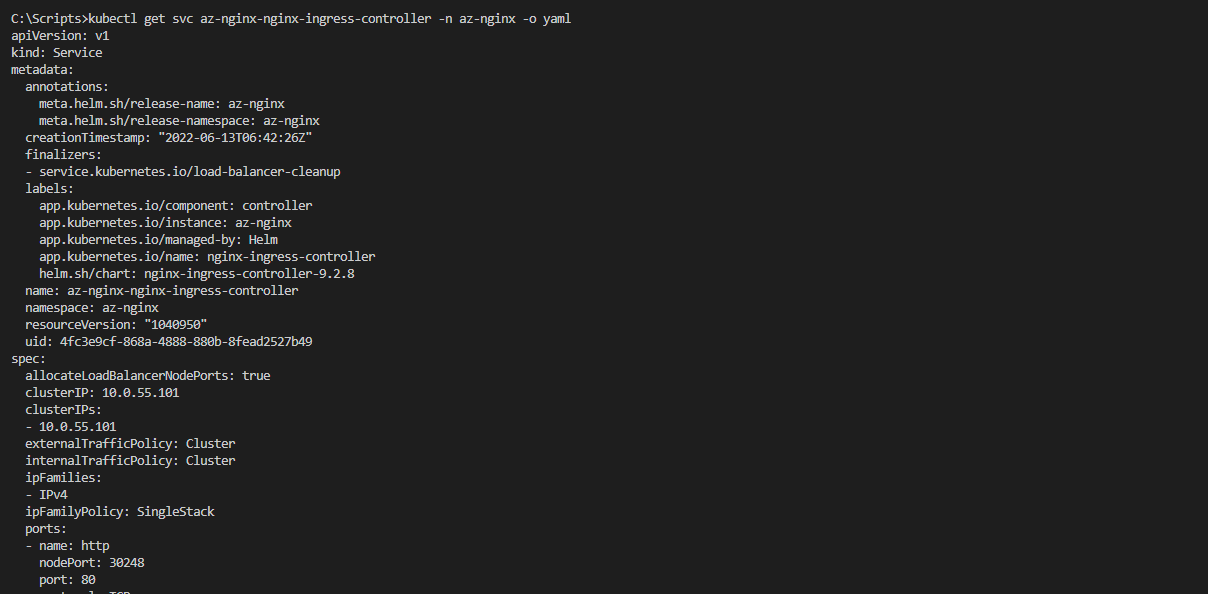
Now Nginx is available with an external IP
kubectl get svc -n az-nginx
kubectl get svc  --all-namespaces

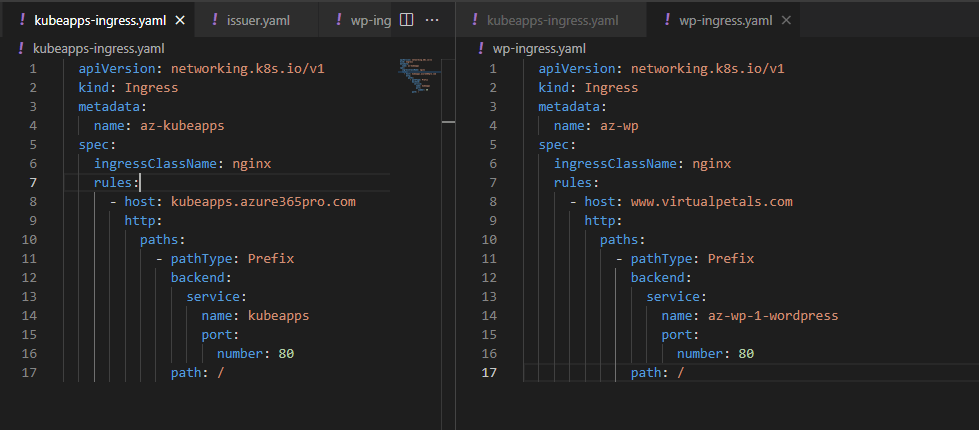
Expose kubeapps at port 80 just to access for now. later we can apply SSL
apiVersion: networking.k8s.io/v1
kind: Ingress
metadata:
name: kubeapps
namespace: kubeapps
spec:
ingressClassName: nginx
rules:
– host: kubeapps.azure365pro.com
http:
paths:
– pathType: Prefix
backend:
service:
name: kubeapps
port:
number: 80
path: /
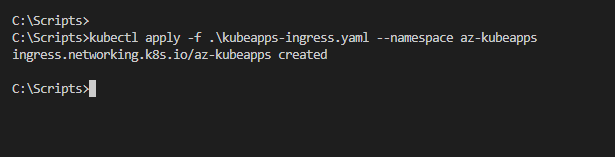
kubectl apply -f .\kubeapps-ingress.yaml –namespace az-kubeapps
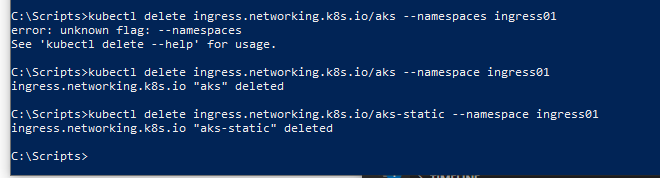
Deleting bad ingress rules – For Examples only
kubectl get all,nodes,ing -A -o wide
To list Helm installations

To uninstall Helm installations – For examples only
helm uninstall az-nginx


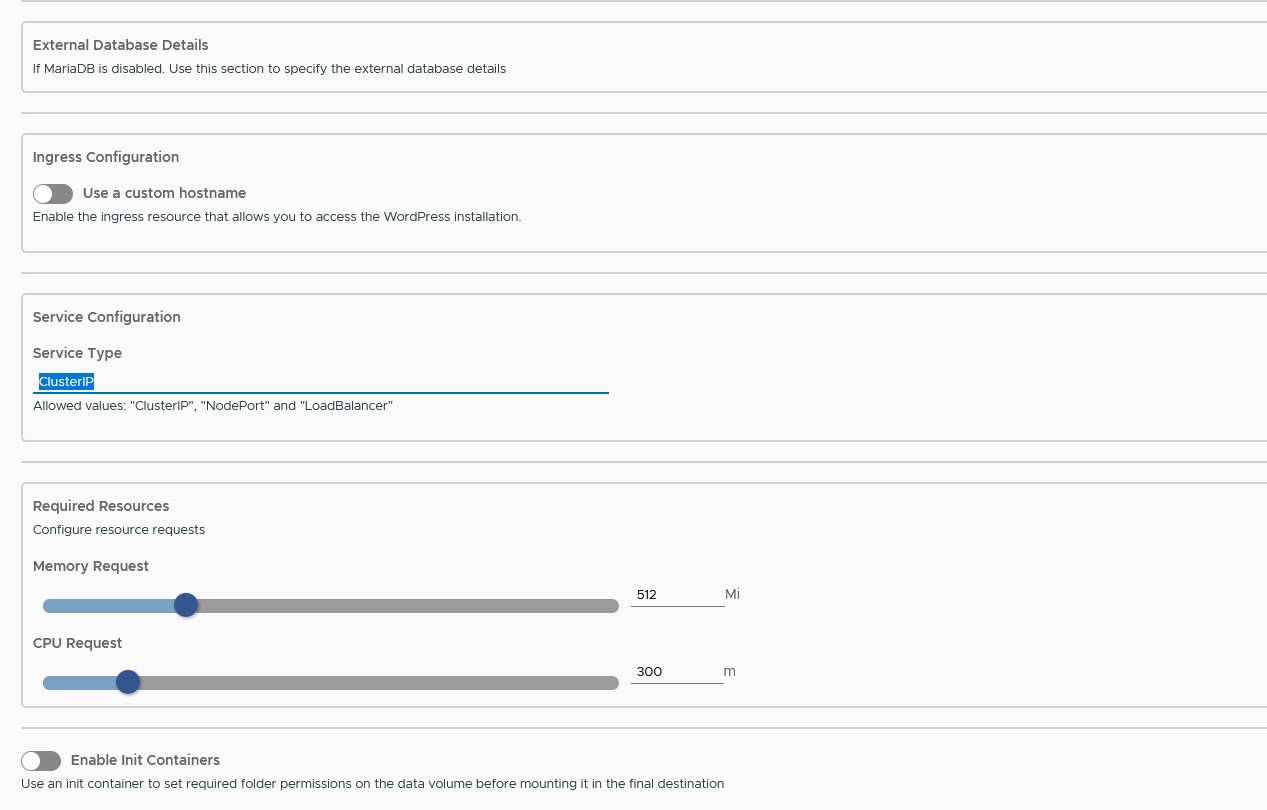
Choosing to install with Cluster IP as we will use the nginx IP to publish and Expose using lets encrypt SSL .
ingress without SSL – YAML samples
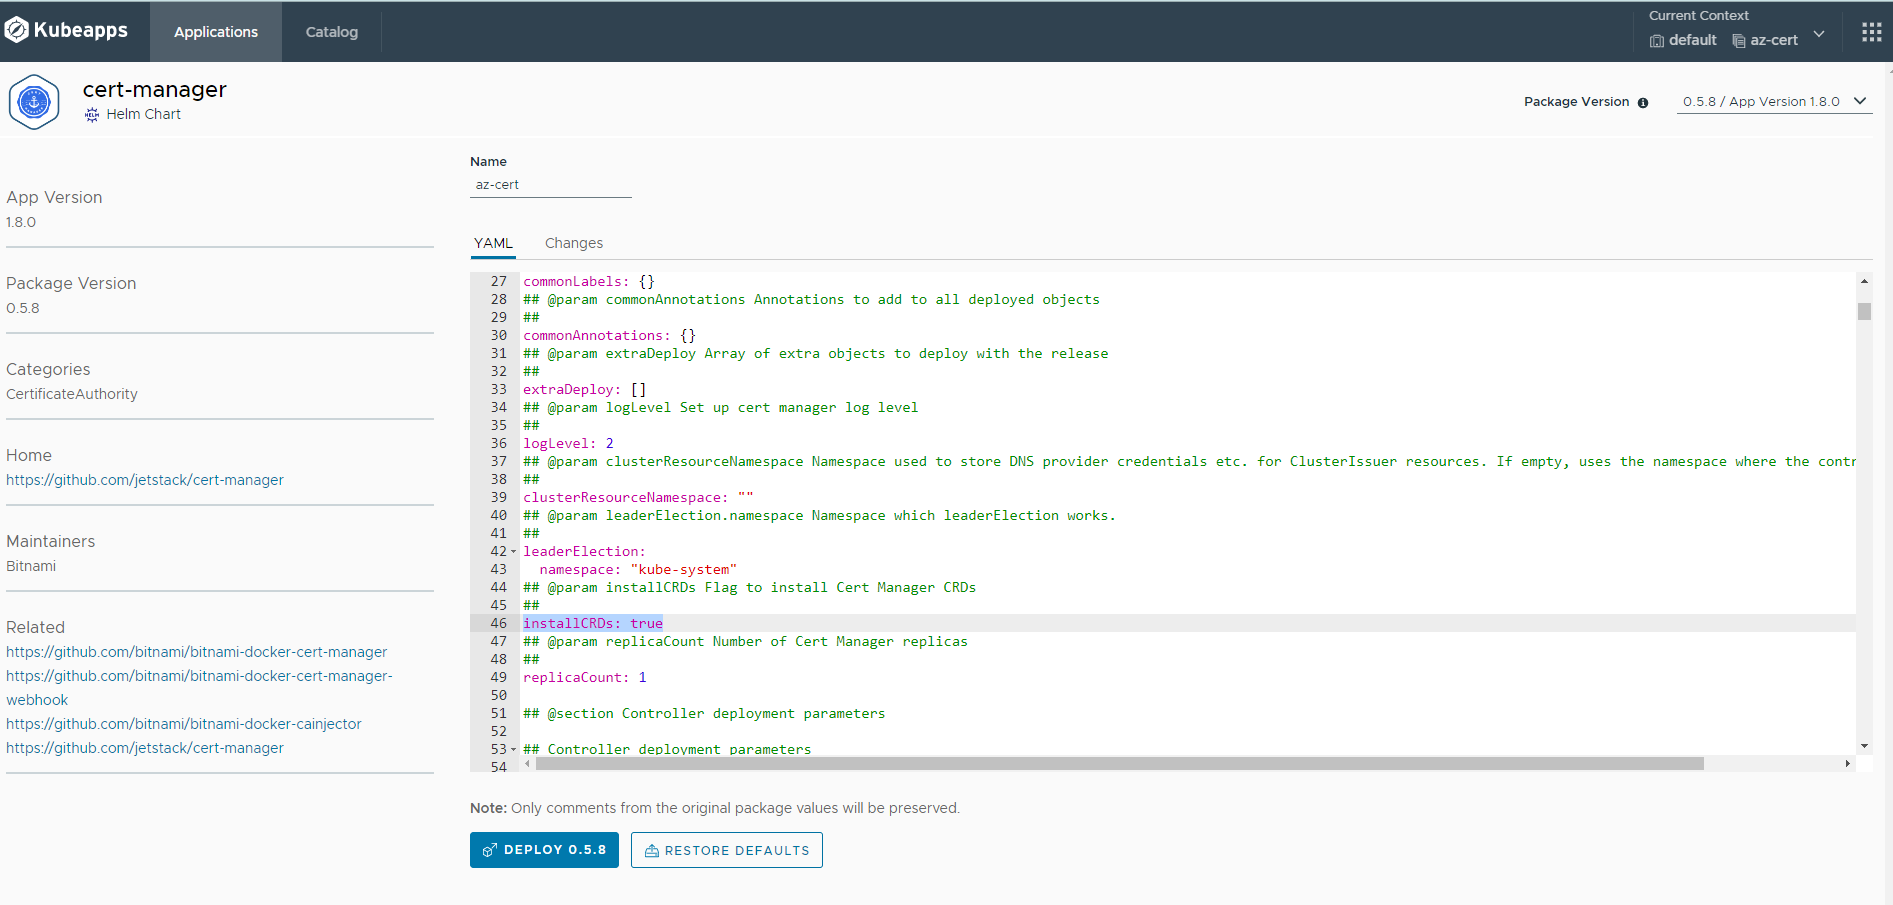
Install cert-manager with InstallCRDs true
issuer.yaml with staging lets encrypt . Once you confirm things are working as expected. you can get the live URL updated.
apiVersion: cert-manager.io/v1
kind: ClusterIssuer
metadata:
name: letsencrypt-staging
spec:
acme:
# Update with real email
email: info@azure365pro.com
server: https://acme-staging-v02.api.letsencrypt.org/directory
# To use on production , use the following line instead:
#server: https://acme-v02.api.letsencrypt.org/directory
privateKeySecretRef:
name: issuer-letsencrypt-staging
solvers:
– http01:
ingress:
class: nginx
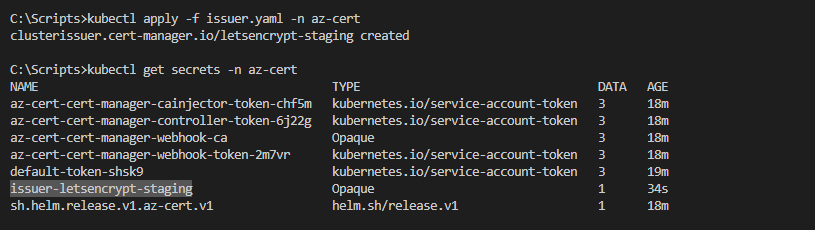
Created issuer
Listing Secrets
kubectl apply -f issuer.yaml -n az-cert
kubectl get secrets -n az-cert
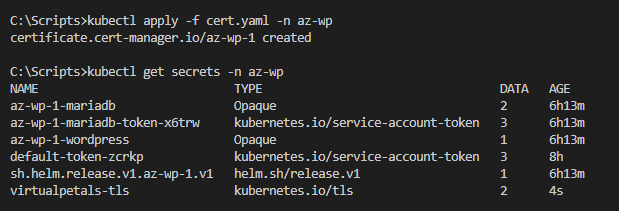
cert.yaml for cluster issuer – secret and WordPress should be in the same namespace inorder to work seamlessly.
apiVersion: cert-manager.io/v1
kind: Certificate
metadata:
name: az-wp-1
spec:
secretName: virtualpetals-tls
dnsNames:
– www.virtualpetals.com
issuerRef:
name: letsencrypt-staging
kind: ClusterIssuer
kubectl apply -f cert.yaml -n az-wp
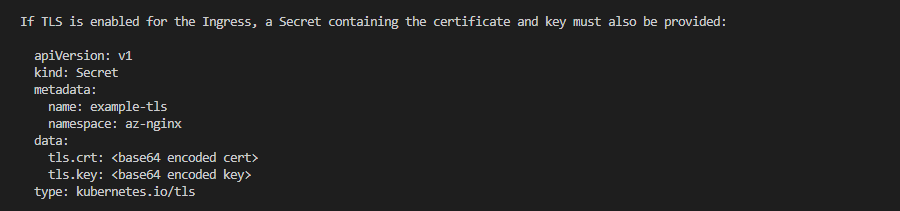
Applying TLS rules on nginx
apiVersion: networking.k8s.io/v1
kind: Ingress
metadata:
name: az-wp
namespace: az-wp
spec:
ingressClassName: nginx
tls:
– hosts:
– www.virtualpetals.com
secretName: virtualpetals-tls
rules:
– host: www.virtualpetals.com
http:
paths:
– path: /
pathType: Prefix
backend:
service:
name: az-wp-1-wordpress
port:
number: 80
kubectl apply -f wp-ingress.yaml -n az-wp
To describe ingress using ing
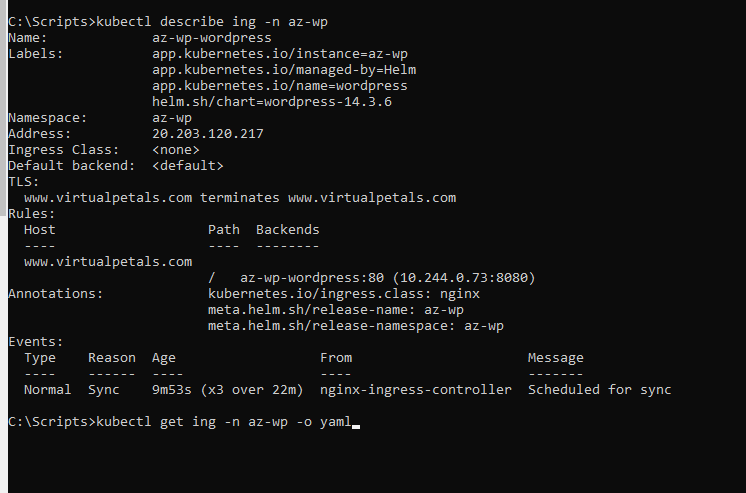
To check current YAML Config
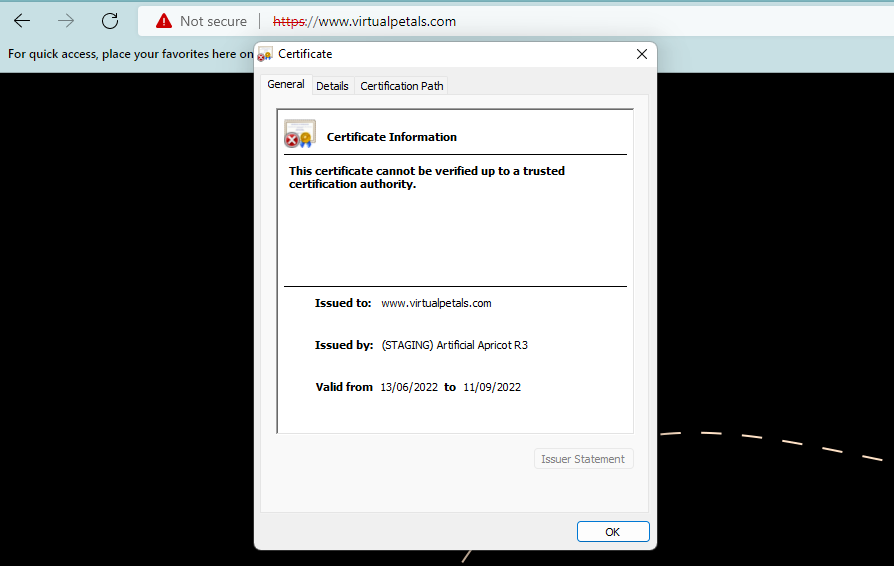
As we are using a staging issuer, It shows staging. Once we feel SSL is getting assigned and staging getting issued.
We are good to convert to production
Good to know – To list and delete files from a running container
kubectl exec az-wp-1-wordpress-6cb985c596-84j8j -n az-wp -- ls /bitnami/wordpress/wp-content/plugins/really-simple-ssl
kubectl exec az-wp-1-wordpress-6cb985c596-84j8j -n az-wp -- sh -c 'rm -rf /bitnami/wordpress/wp-content/plugins/really-simple-ssl/*'
Getting the production URL live and disabling the staging URL
apiVersion: cert-manager.io/v1
kind: ClusterIssuer
metadata:
name: letsencrypt-production
spec:
acme:
# Update with real email
email: info@azure365pro.com
#server: https://acme-staging-v02.api.letsencrypt.org/directory
# To use on production , use the following line instead:
server: https://acme-v02.api.letsencrypt.org/directory
privateKeySecretRef:
name: issuer-letsencrypt-production
solvers:
– http01:
ingress:
class: nginx
kubectl apply -f issuer-prod.yaml -n az-cert

apiVersion: cert-manager.io/v1
kind: Certificate
metadata:
name: az-wp-0
namespace: az-wp
spec:
secretName: virtualpetals-tls-pr
dnsNames:
– www.virtualpetals.com
– virtualpetals.com
issuerRef:
name: letsencrypt-production
kind: ClusterIssuer

To increase body size in ingress for bulk uploads for example.
apiVersion: networking.k8s.io/v1
kind: Ingress
metadata:
name: az-wp
namespace: az-wp
annotations:
nginx.ingress.kubernetes.io/proxy-body-size: 400m
spec:
ingressClassName: nginx
tls:
– hosts:
– www.virtualpetals.com
– virtualpetals.com
secretName: virtualpetals-tls-pr
rules:
– host: “www.virtualpetals.com”
http:
paths:
– path: /
pathType: Prefix
backend:
service:
name: az-wp-1-wordpress
port:
number: 80
– host: “virtualpetals.com”
http:
paths:
– path: /
pathType: Prefix
backend:
service:
name: az-wp-1-wordpress
port:
number: 80

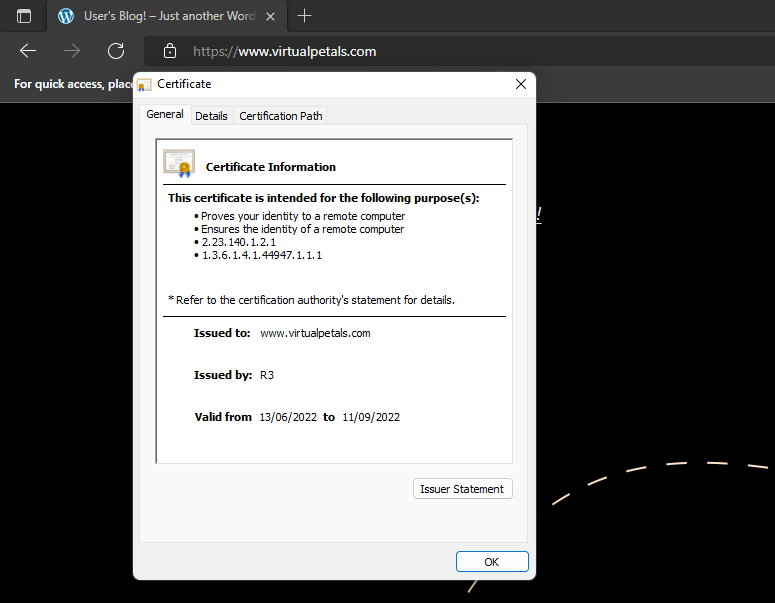
Now website is up using Azure Kubernetes Services.
apiVersion: cert-manager.io/v1
kind: Certificate
metadata:
name: az-wp-1
spec:
secretName: kubeapps.azure365pro.com
dnsNames:
– kubeapps.azure365pro.com
issuerRef:
name: letsencrypt-production
kind: ClusterIssuer
kubectl apply -f cert-prod-kubeapps.yaml -n az-kubeapps

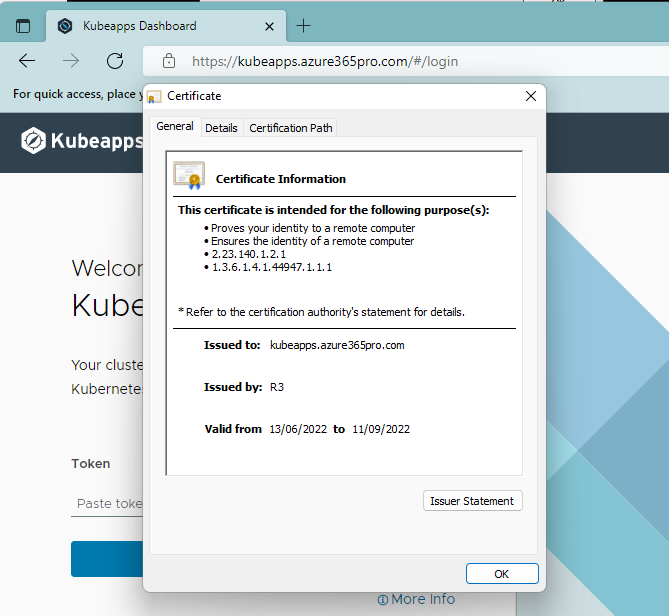
Now you can see Kubeapps is live with SSL / WordPress is live with SSL / Nginx is configured with Cert Manager.
