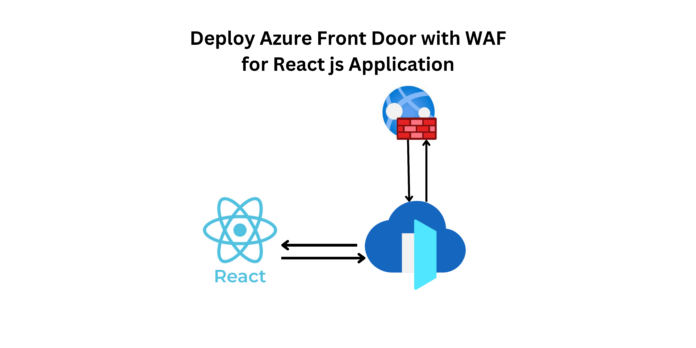
Adding a Web Application Firewall (WAF) to Azure Front Door provides several advantages, enhancing the security and performance of your web applications. Here are five key advantages:
- Security against Web Application Attacks:
- WAF helps protect your web applications from a variety of common web vulnerabilities, such as SQL injection, cross-site scripting (XSS), and cross-site request forgery (CSRF). It acts as a security layer between clients and your applications, blocking malicious traffic and potential attacks.
- OWASP Compliance:
- Azure Front Door WAF is designed to comply with the Open Web Application Security Project (OWASP) guidelines. It helps organizations meet security best practices and standards, ensuring that web applications are protected against the latest threats and vulnerabilities.
- Application Layer DDoS Protection:
- WAF provides protection against distributed denial-of-service (DDoS) attacks at the application layer. It can detect and mitigate attacks that specifically target vulnerabilities in web applications, preventing disruptions and downtime.
- Granular Rule Configuration:
- Azure Front Door WAF allows you to configure custom rules based on your application’s specific security requirements. This includes the ability to create and enforce rules related to HTTP protocol violations, request limits, and other security policies. Fine-grained control over security rules helps tailor protection to the unique characteristics of your application.
- Centralized Management and Monitoring:
- Azure Front Door WAF offers centralized management and monitoring capabilities. You can configure and monitor security policies, view real-time analytics, and gain insights into the security posture of your applications. Centralized management simplifies the task of maintaining and updating security policies across multiple applications.
Step 1 : Create a CI/CD pipeline connection for a Sample React JS application which will be pushed to Azure App Service.
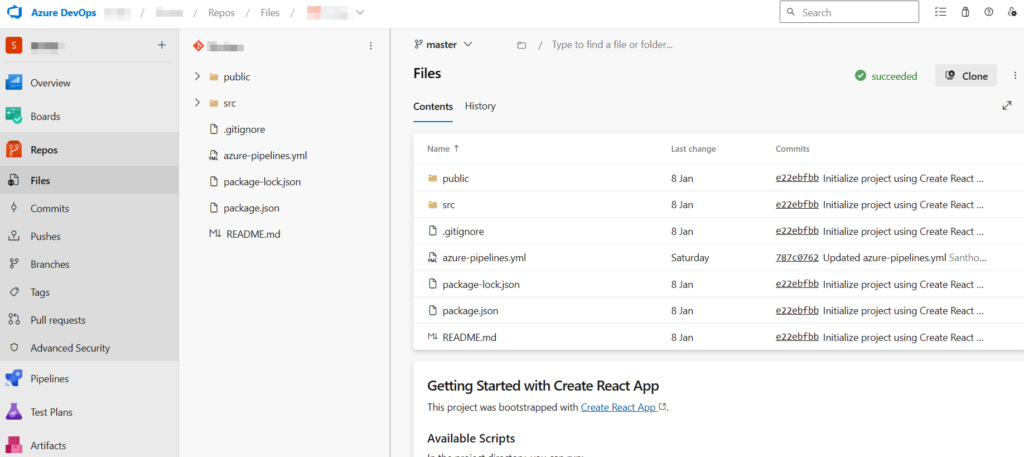
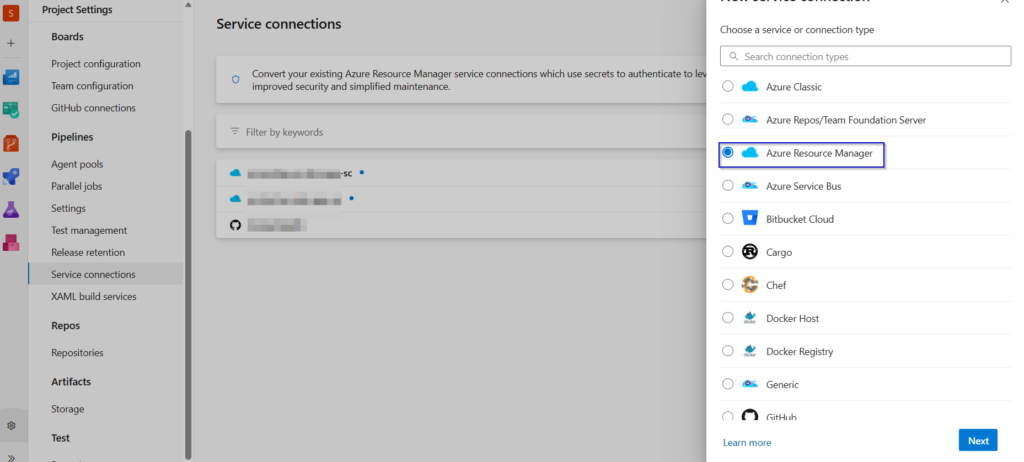
Step 2 : Before creating a CI/CD pipeline lets create a Service Connection to the azure subscription.

Select your subscription and Resource group that contains the Azure App Service.
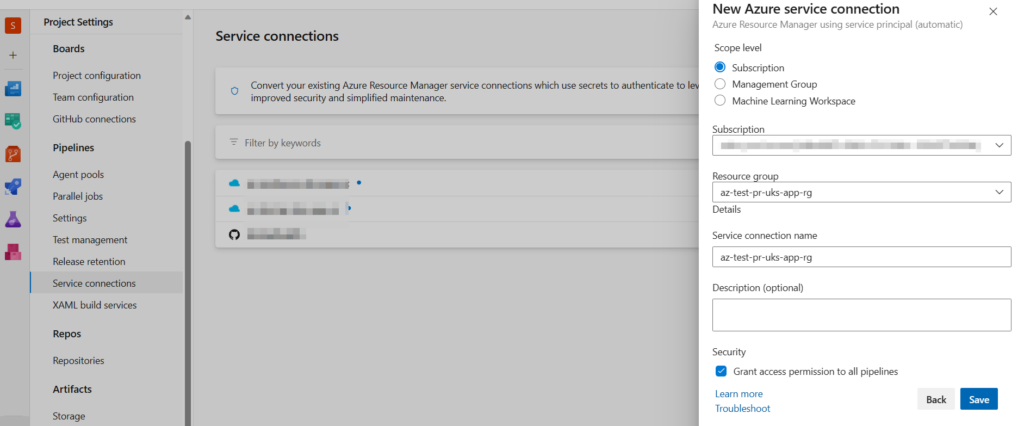
Step 3 : Once we create a service connection, lets start creating a CI/CD pipeline. Select the repository that contains the azure-pipeline.yml file.
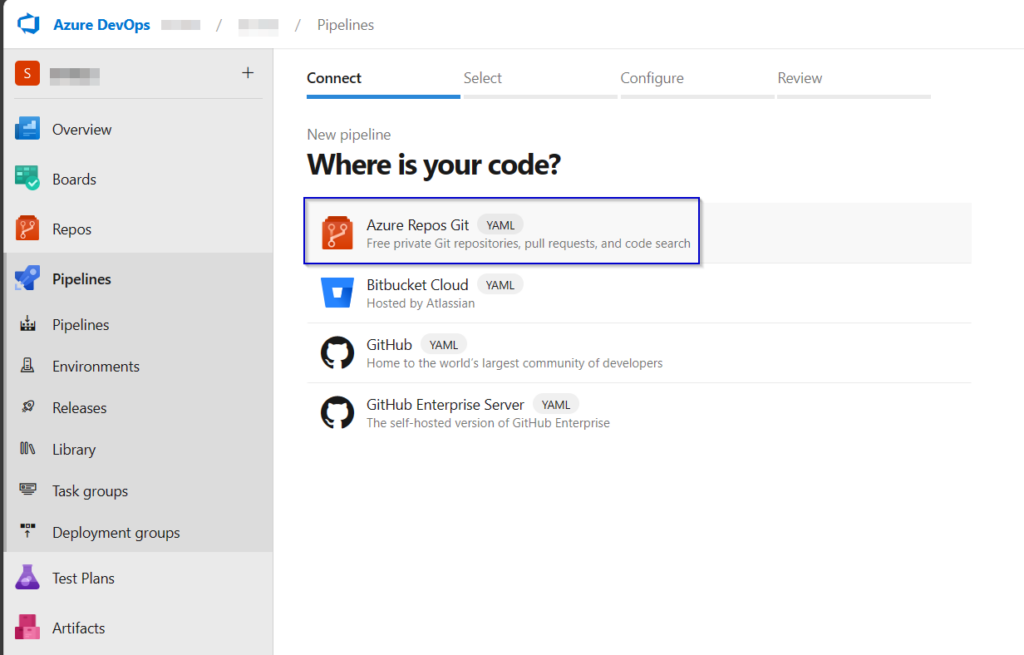
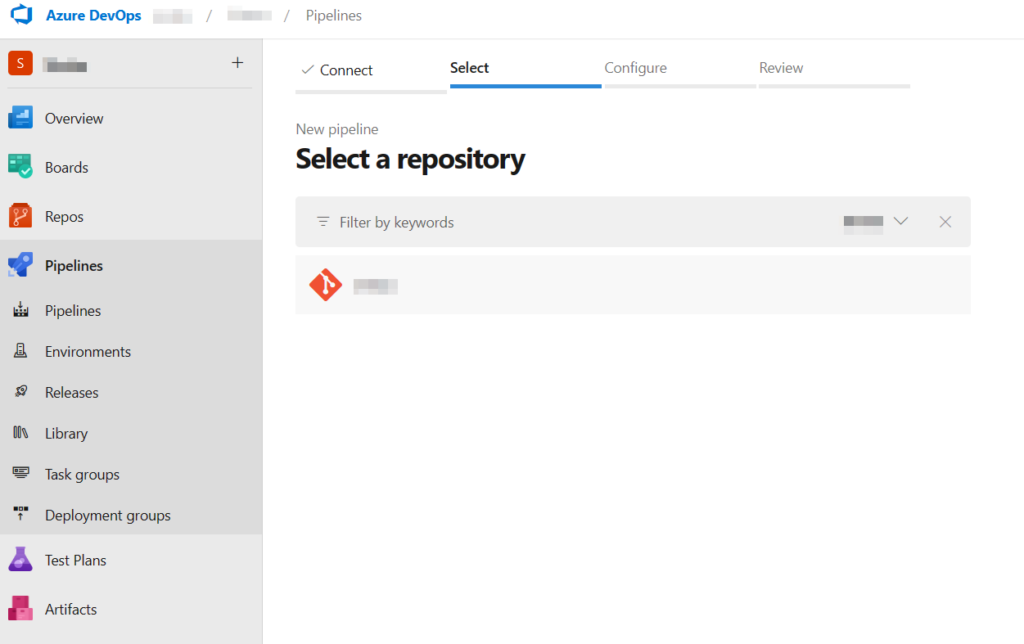
Click on existing Azure pipeline YAML file.
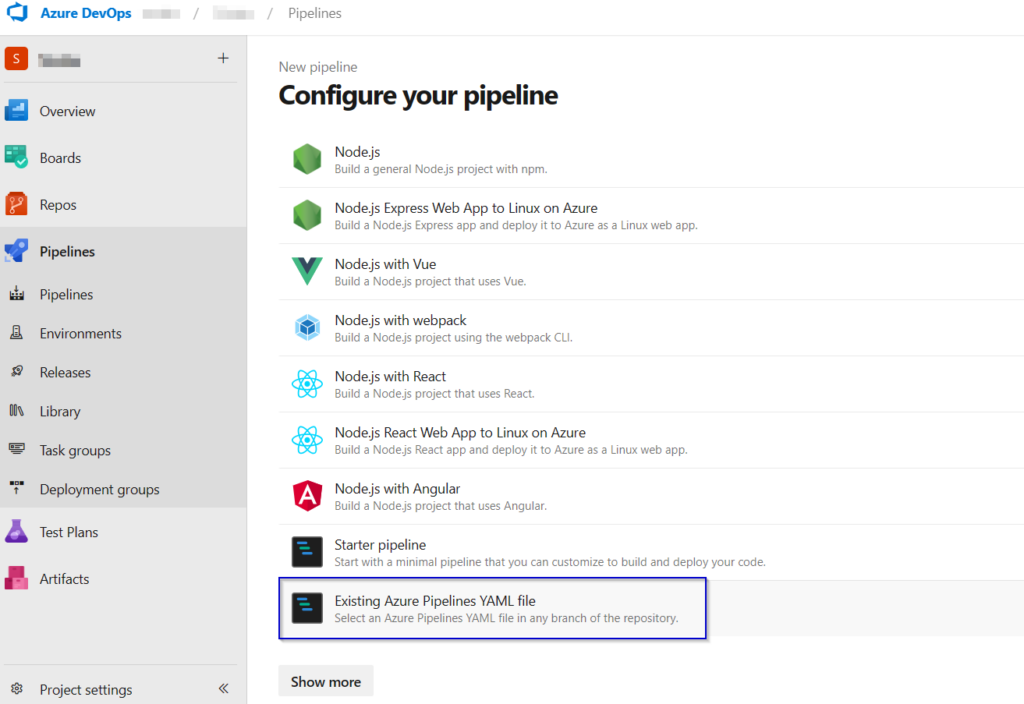
Select the configured YAML file.
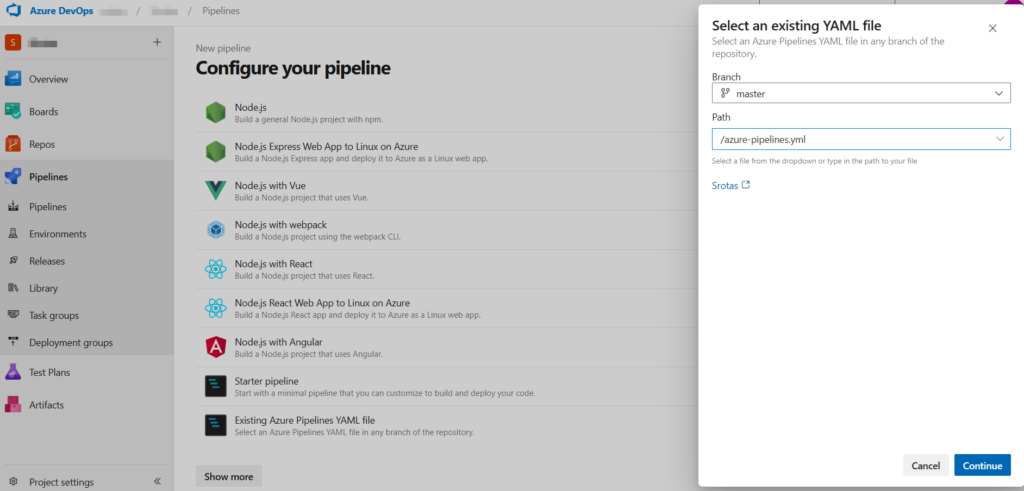
Note : If you don’t have a configured Azure YMAL file for pipeline then use the below yml file. Alter the below code according to your preference.
trigger:
- master

variables:

  # Azure Resource Manager connection created during pipeline creation
  azureSubscription: '########################'

  # Web app name
  webAppName: 'az-test-pr-uks-app'

  # Environment name
  environmentName: 'az-test-pr-uks-app'

  # Agent VM image name
  vmImageName: 'ubuntu-latest'

stages:
- stage: Build
  displayName: Build stage
  jobs:
  - job: Build
    displayName: Build
    pool:
      vmImage: $(vmImageName)

    steps:
    - task: NodeTool@0
      inputs:
        versionSource: 'spec'
        versionSpec: '18.x'
      displayName: 'Install Node.js'

    - script: |
        npm install
        npm run build --if-present
      displayName: 'npm install, build and test'

    - task: ArchiveFiles@2
      displayName: 'Archive files'
      inputs:
        rootFolderOrFile: '$(System.DefaultWorkingDirectory)'
        includeRootFolder: false
        archiveType: zip
        archiveFile: $(Build.ArtifactStagingDirectory)/$(Build.BuildId).zip
        replaceExistingArchive: true

    - upload: $(Build.ArtifactStagingDirectory)/$(Build.BuildId).zip
      artifact: drop

- stage: Deploy
  displayName: Deploy stage
  dependsOn: Build
  condition: succeeded()
  jobs:
  - deployment: Deploy
    displayName: Deploy
    environment: $(environmentName)
    pool:
      vmImage: $(vmImageName)
    strategy:
      runOnce:
        deploy:
          steps:
          - task: AzureWebApp@1
            displayName: 'Azure Web App Deploy: az-test-pr-uks-app'
            inputs:
              azureSubscription: 'az-test-pr-uks-app-sc'
              appType: 'webAppLinux'
              appName: 'az-test-pr-uks-app'
              package: '$(Pipeline.Workspace)/drop/$(Build.BuildId).zip'
              runtimeStack: 'NODE|18-lts'
              startUpCommand: 'pm2 serve /home/site/wwwroot/build --no-daemon --spa'
Here I have configured both Build and Deploy stages in a single YAML file.
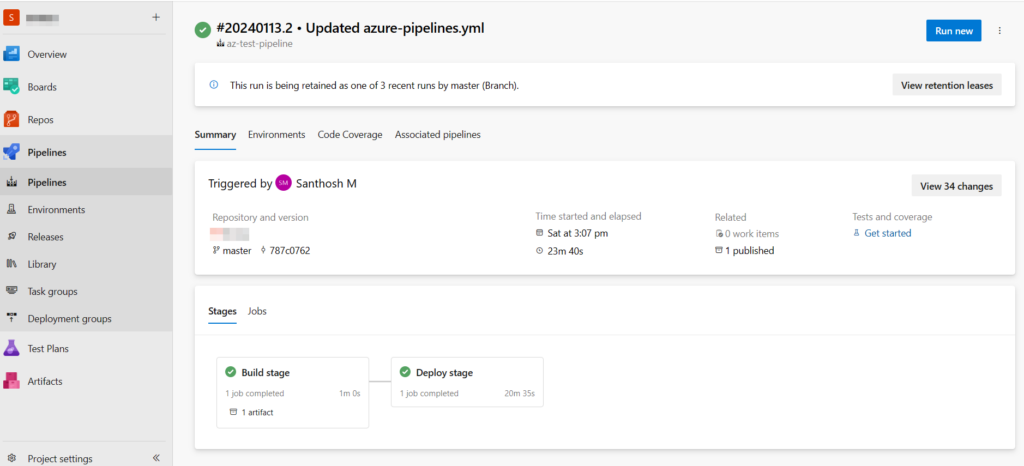
Step 4 : Now lets check whether the sample application is pushed to Azure App service.
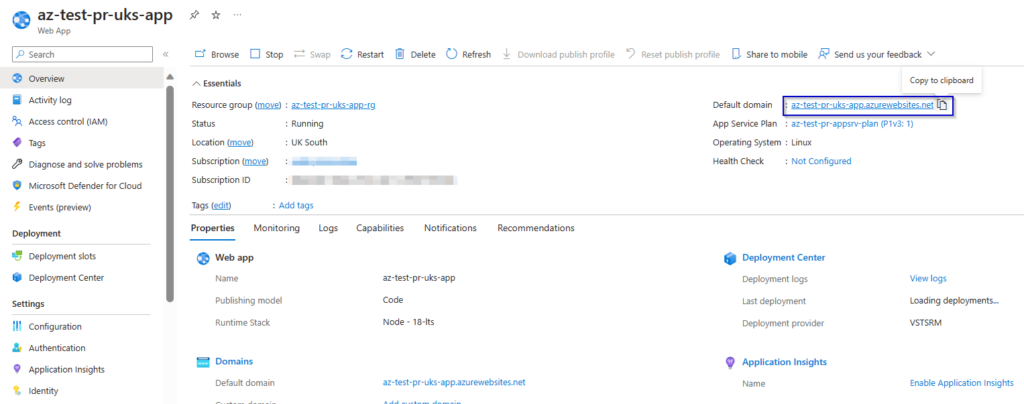
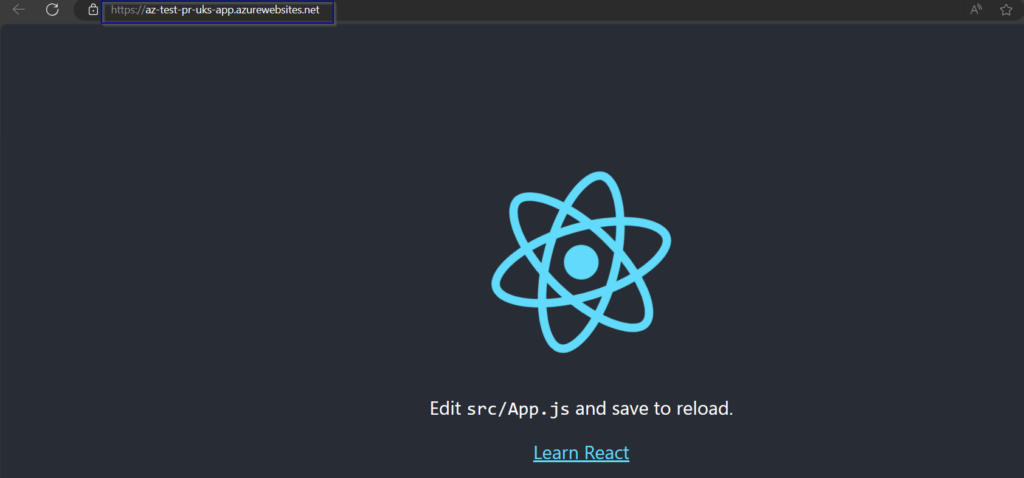
The Sample Application React JS is successfully deployed to Azure App Service.
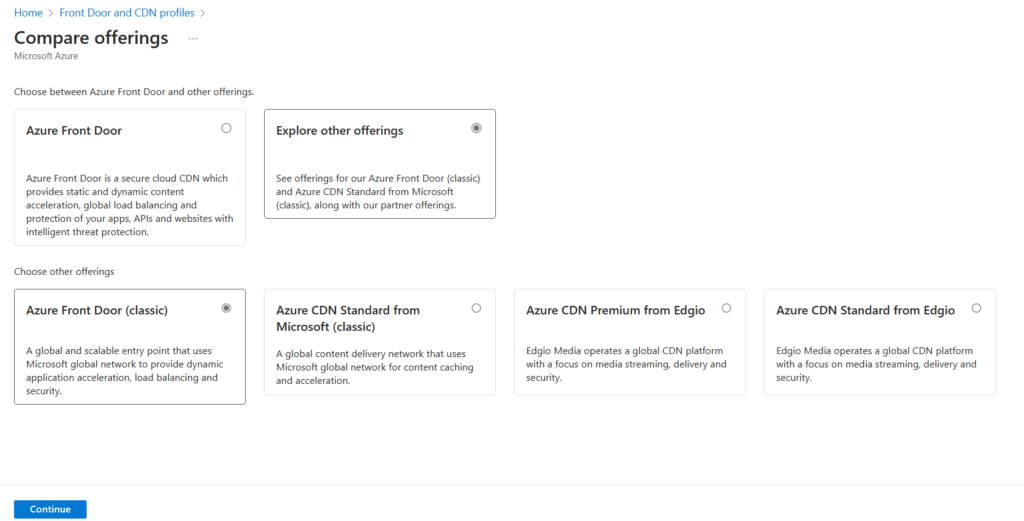
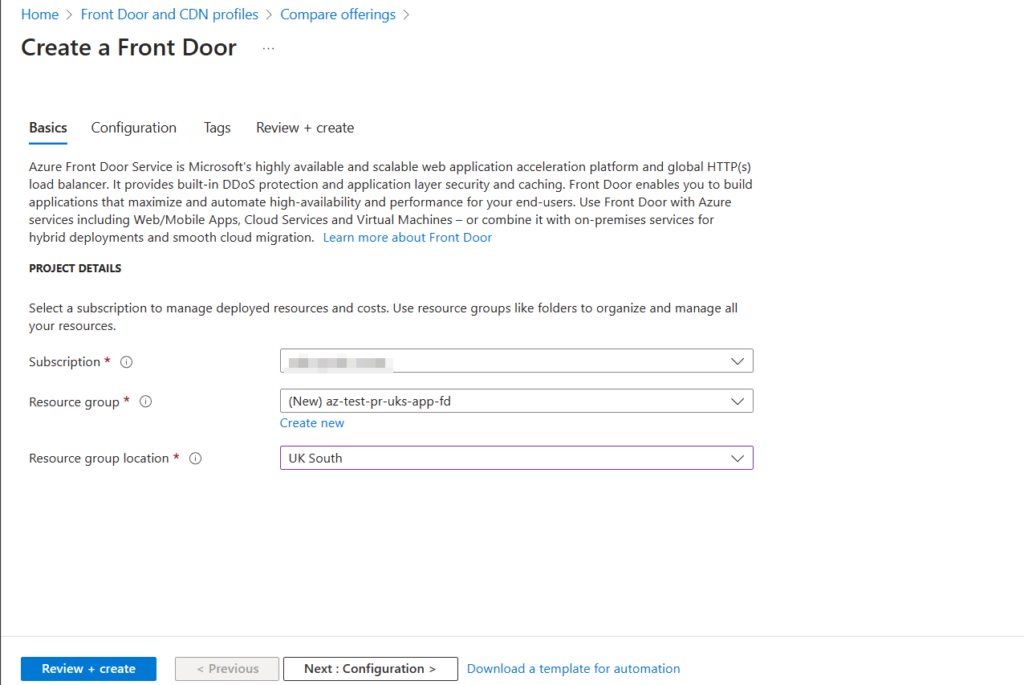
Step 5 : Lets start creating a Azure Front Door. Here I have used a Classic method to create Azure Front Door.
Select or Create a resource group and a location.
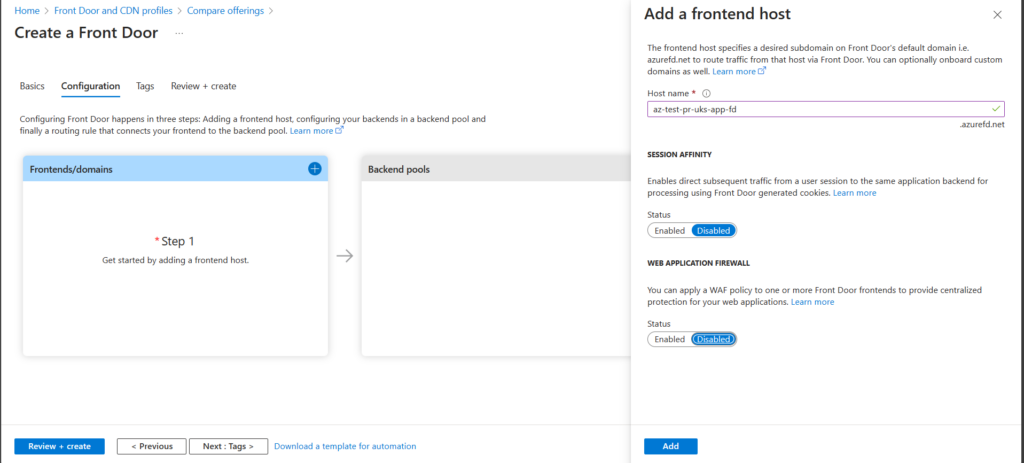
Step 6 : Create a Domain for Azure Front Door. This URL will be used to view our Sample Application.
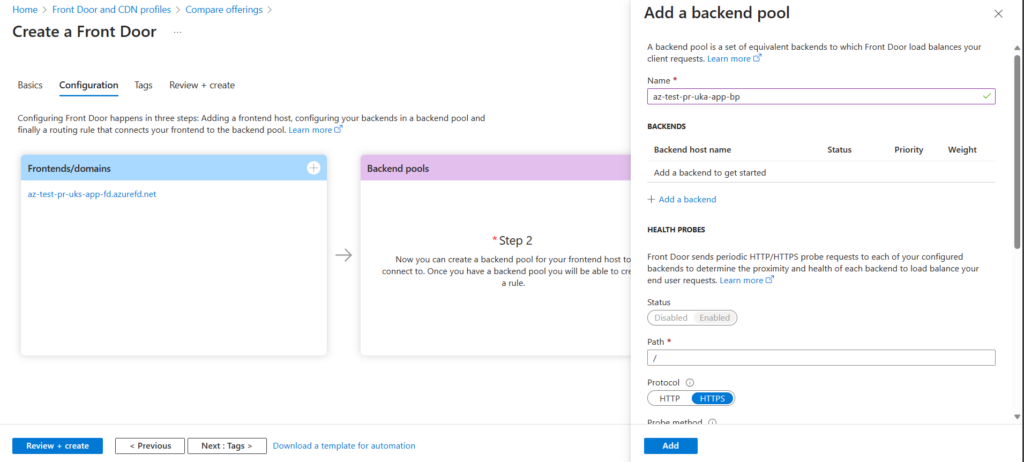
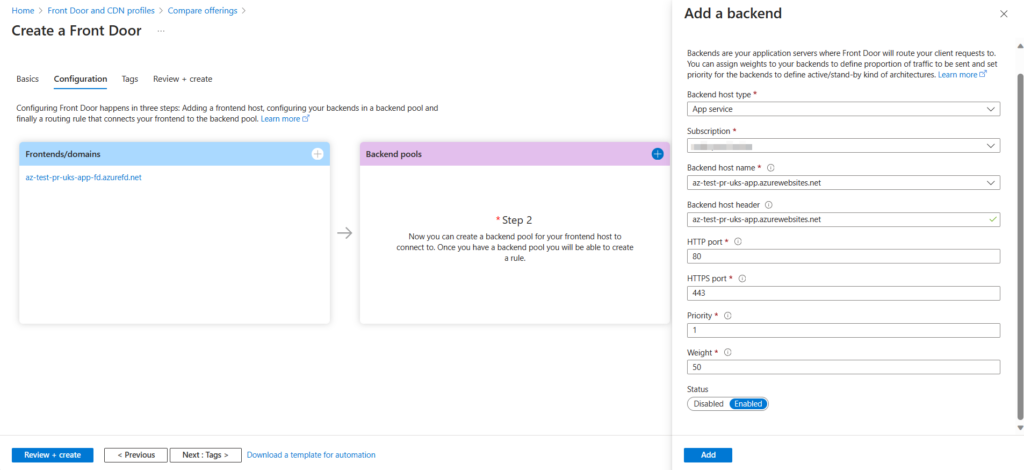
Step 7 : Provide a Backend Pool name and select the backend pool(Azure App Service)
Configure the port settings for the Backend Pool.


Step 8 : Provide the Routing rules for connecting with the sample application.
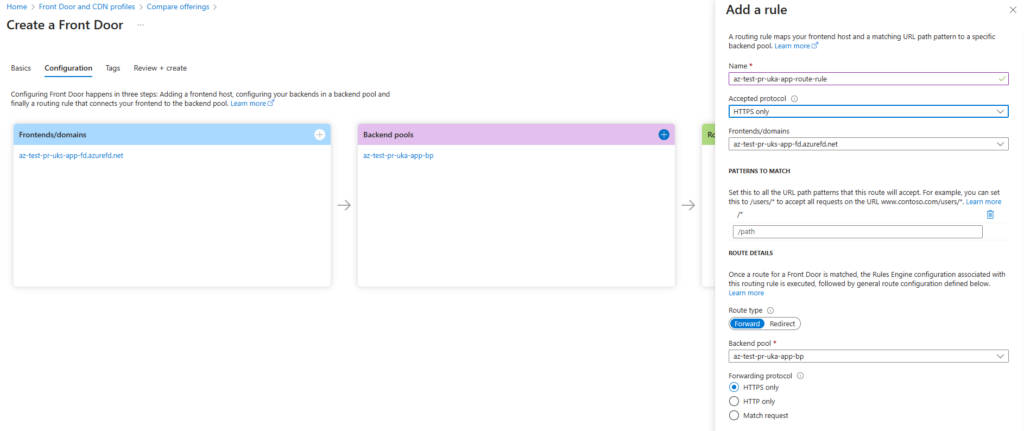
Step 9 : After Azure Front Door creation check whether the application is hosted through Azure Front Door.
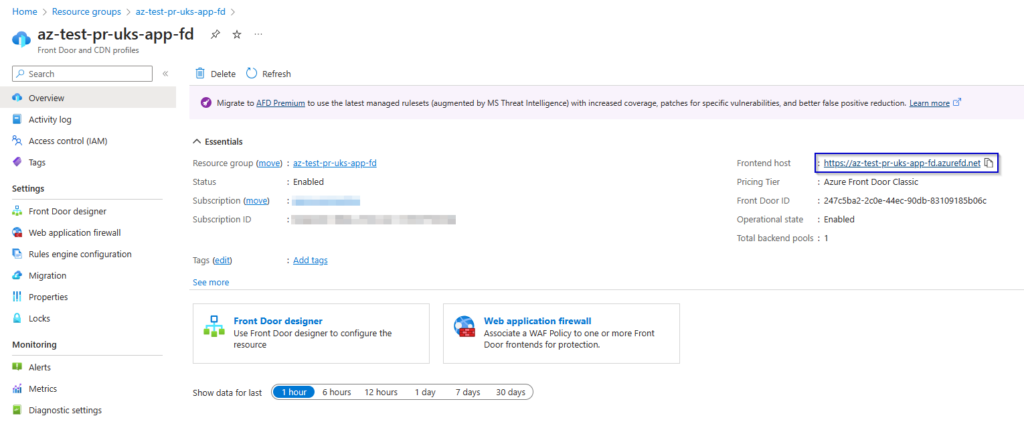
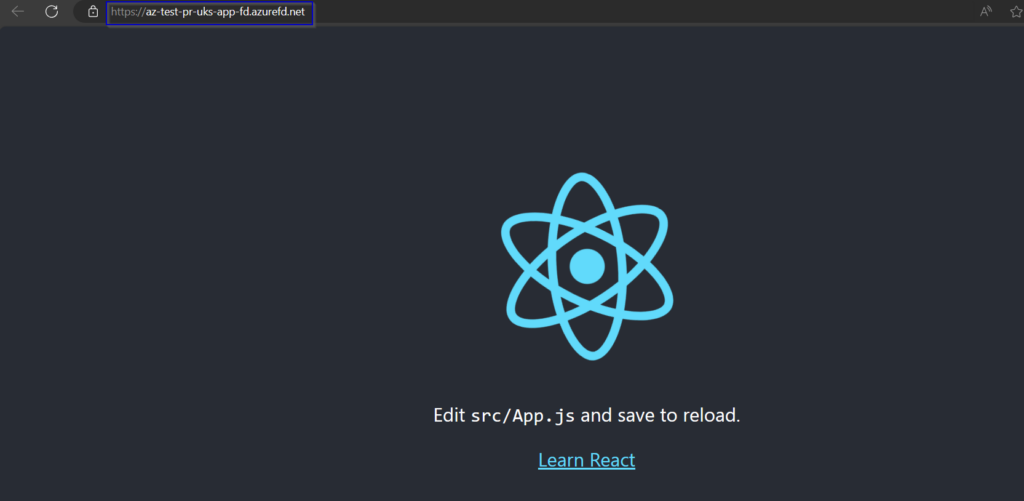
Azure Front Door is successfully hosting the sample application.
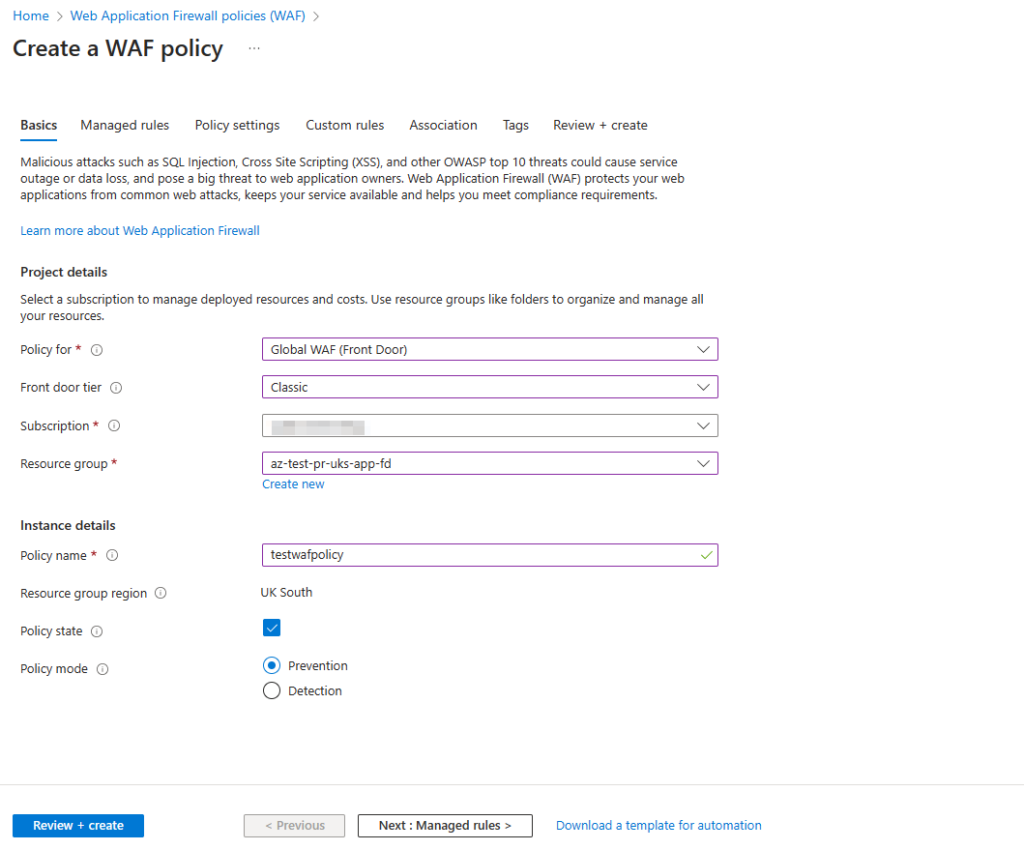
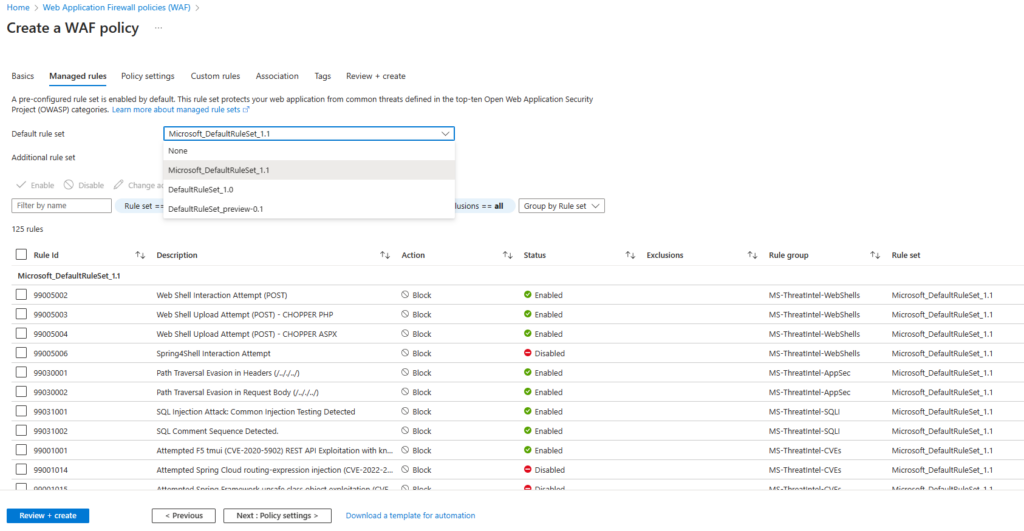
Step 10 : Create a WAF policy to protect your application.
Note : 1.Select the Tier to Classic, other tiers do not support Azure Front Door.
2.Set Policy mode to Prevention.
Select the type of WAF policy you want and add it.
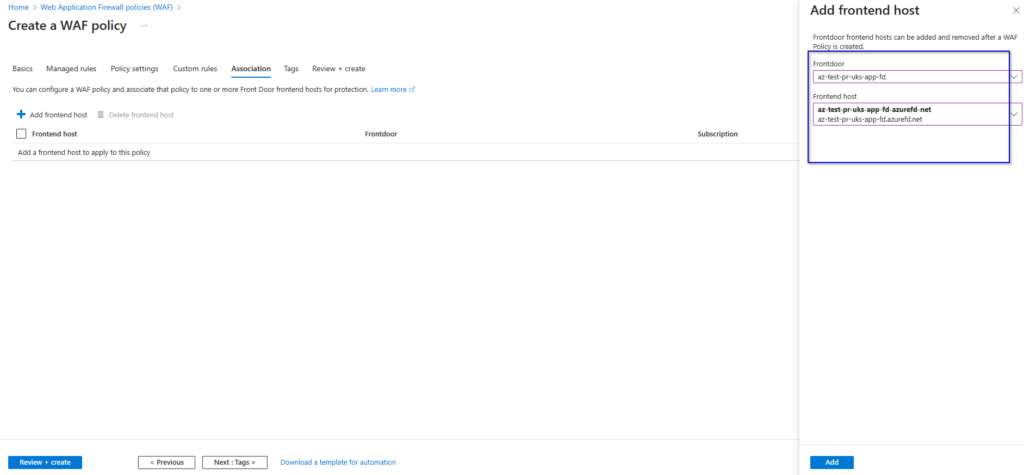
Step 11 : Add the Host for for the policy by selecting the Azure Front Door that has been created.
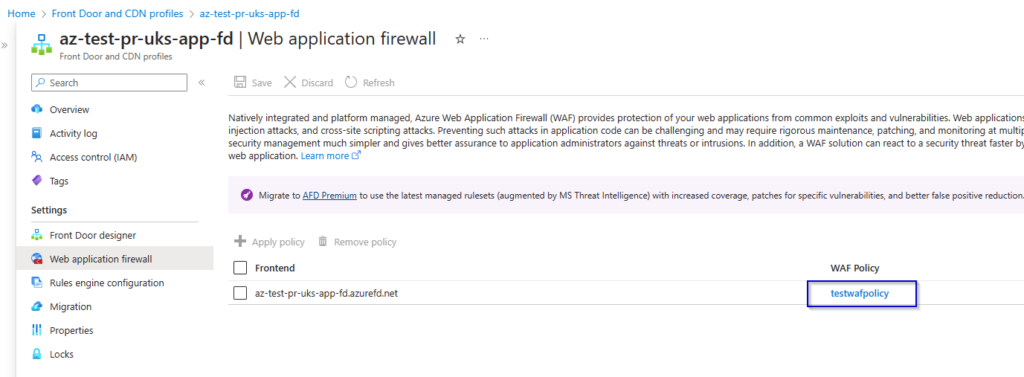
Now one we deploy the WAF policy it is added to the Azure Front Door.
- Successfully created a CI/CD pipeline for the Sample React JS application.
- Deployed a Azure Front Door by setting the Azure app service which is hosting the application.
- Deployed a WAF policy and associated it with Azure Front Door for protection of the Application.

