")
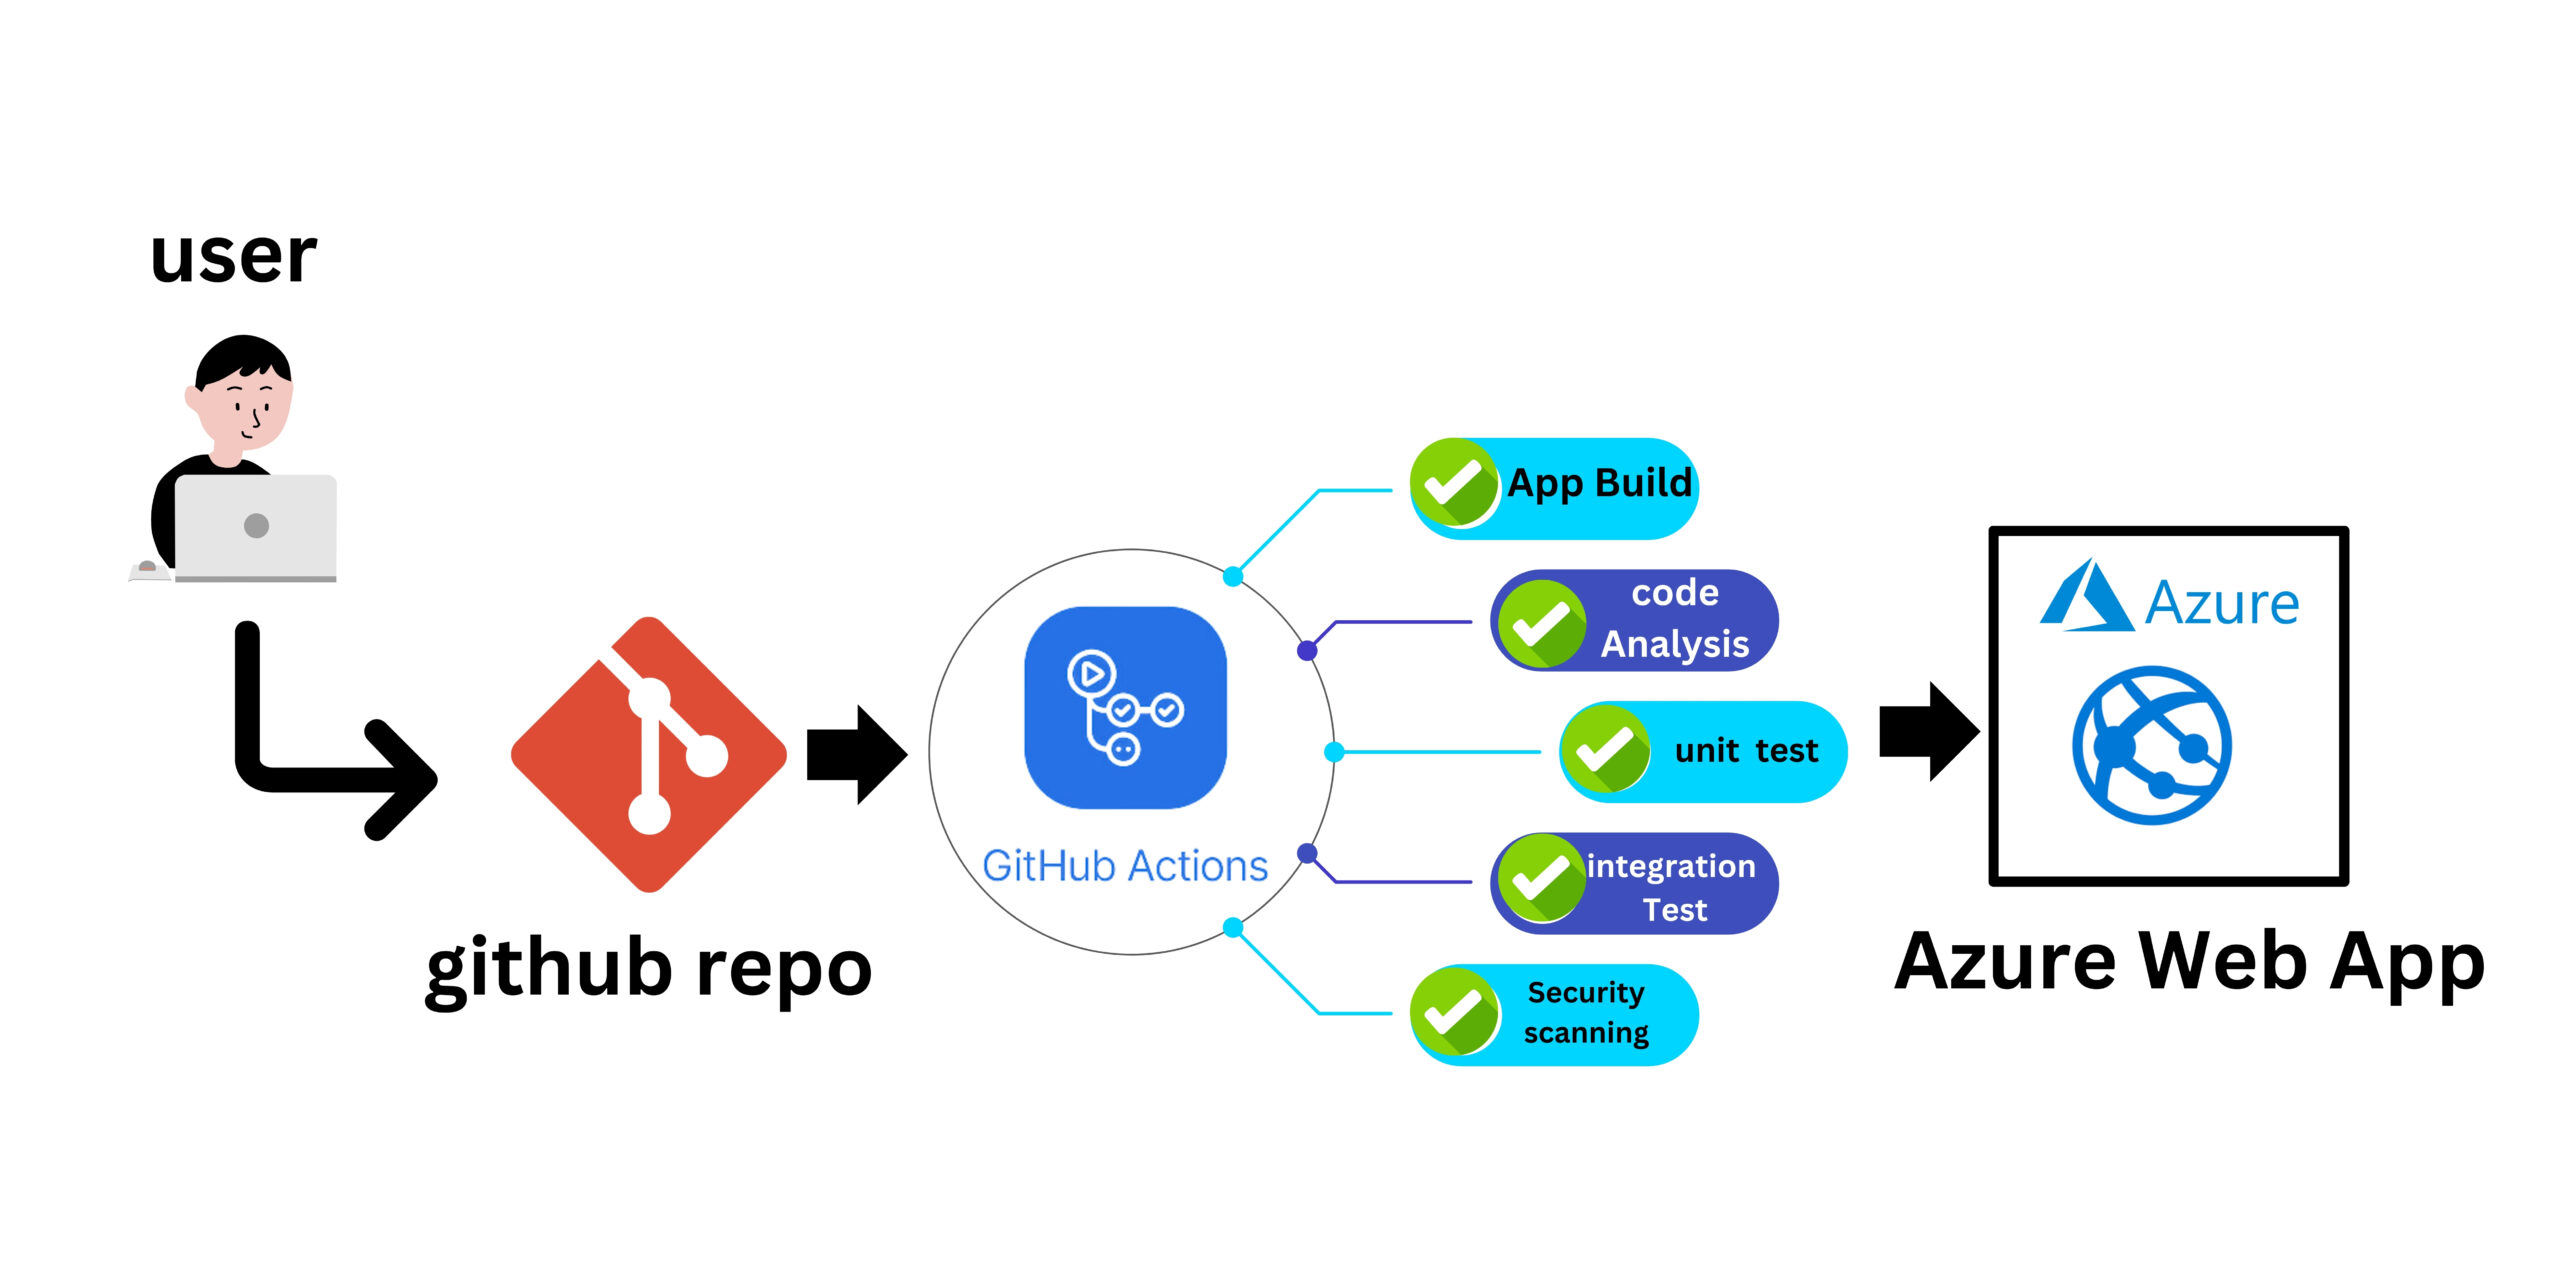
workflow Diagram
Step 1: Local Development
Create a Next app.
- Setup a local environment starting with NPX:
npx create-next-app@latest
- This will prompt you for an application name – which will create a new directory for the application with the name you choose:
? What is your project named? … local
After this it will install all needed dependencies into said folder.
- Once the installation is done, cd into the new folder and then start the server using:
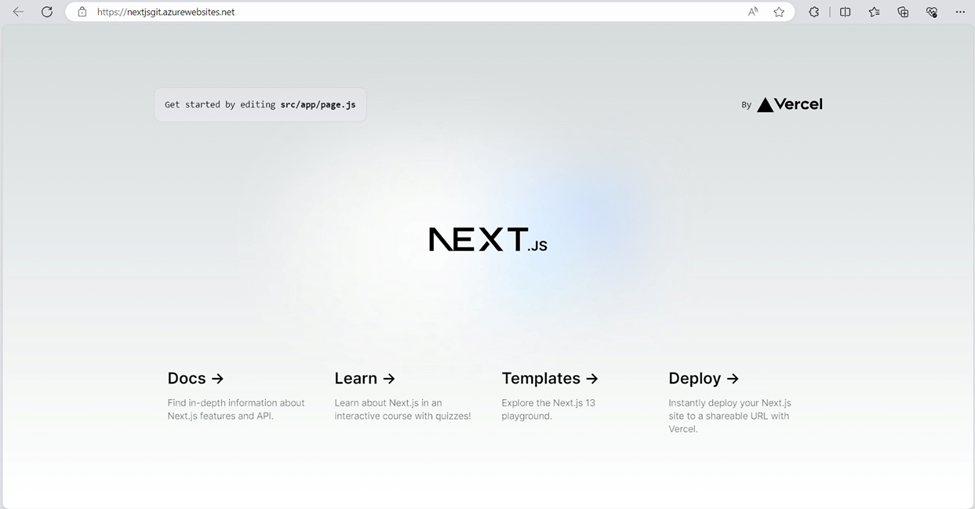
Browse the site with http://localhost:3000 to get the default page
Npm run dev
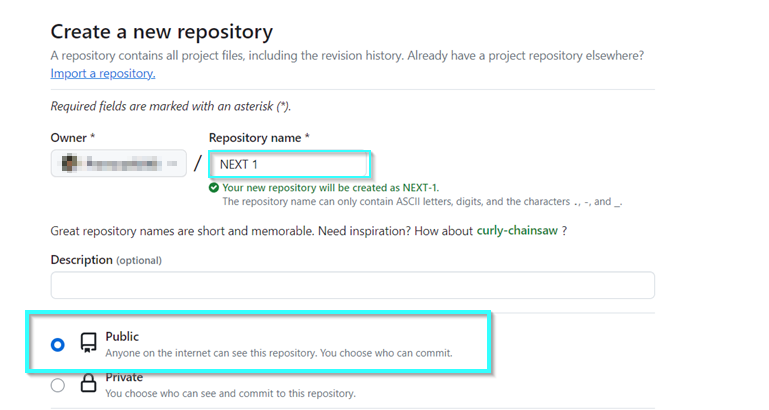
Step 2:
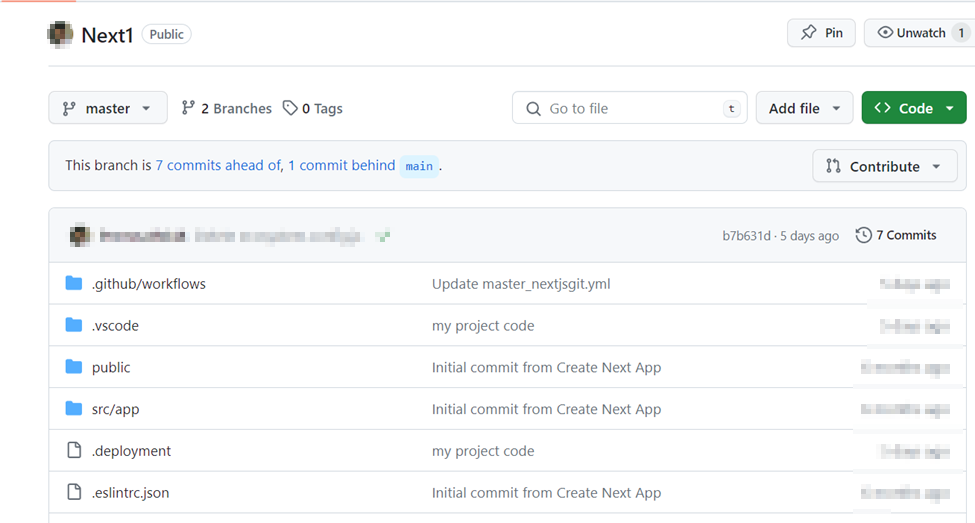
Create GitHub repository.
In your local terminal run the following commands in order to Push to Github
git add .
git commit -m "Initial Commit"
git remote add
git push
Step 4:
Create an App Service
Let’s choose Public with Code, Node 18 LTS as runtime, Linux as Operating System,
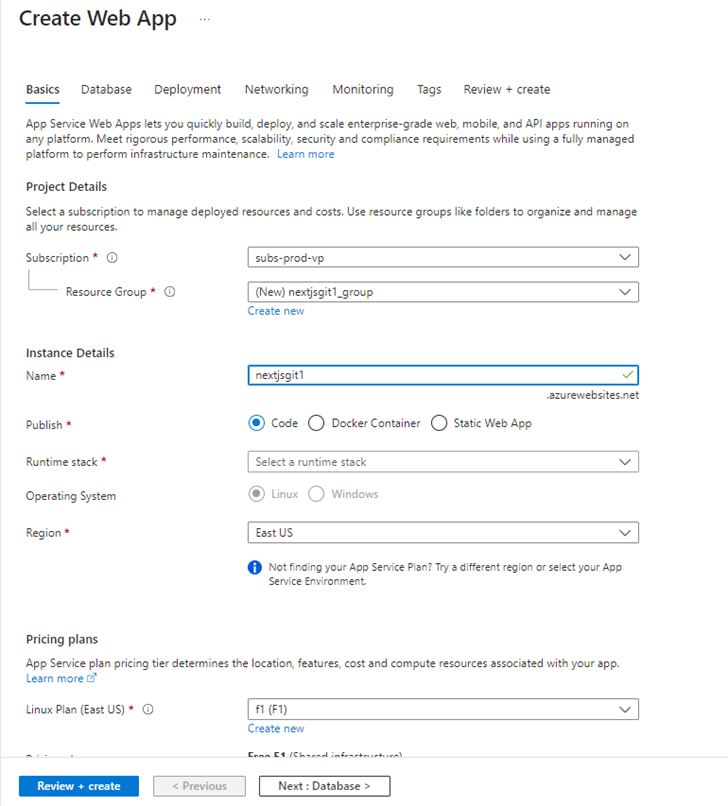
Let’s click the “+ Create” button and choose “+ Web App”.
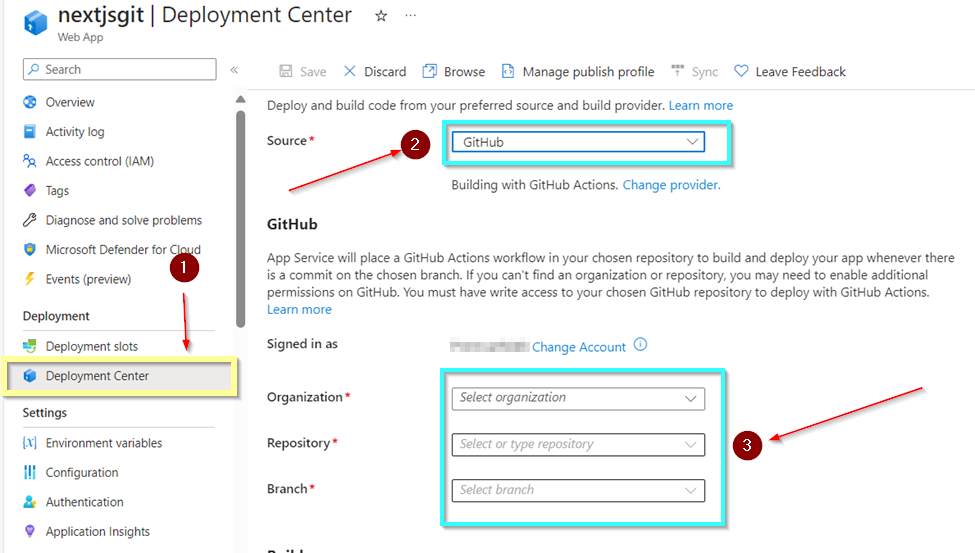
Step 5:
You can quickly get started with GitHub Actions by using the App Service Deployment Center. This will automatically generate a workflow file based on your application stack and commit it to your GitHub repository in the root directory in the folder. github. You can deploy a workflow manually using deployment credentials.
How to call GitHub action with azure app service
Step 1:
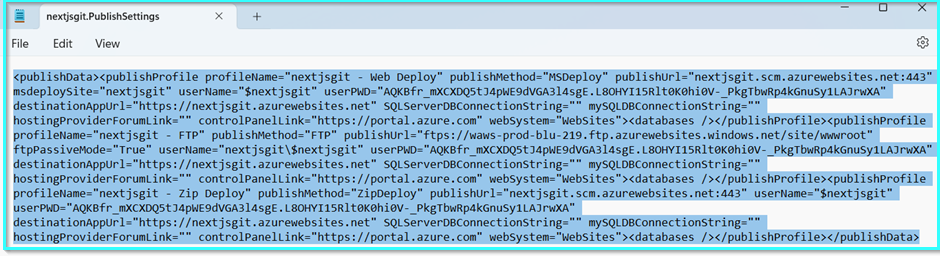
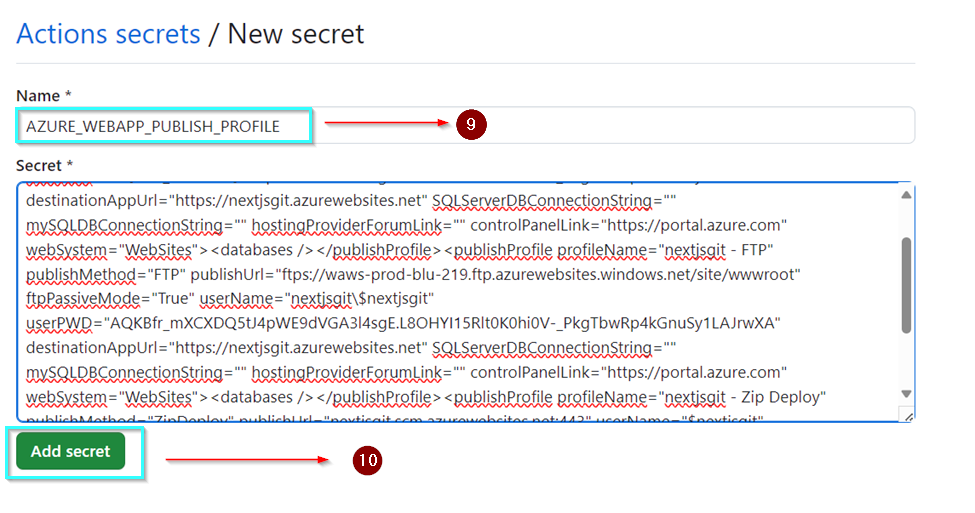
Download the (Download publish profile save local disk.)
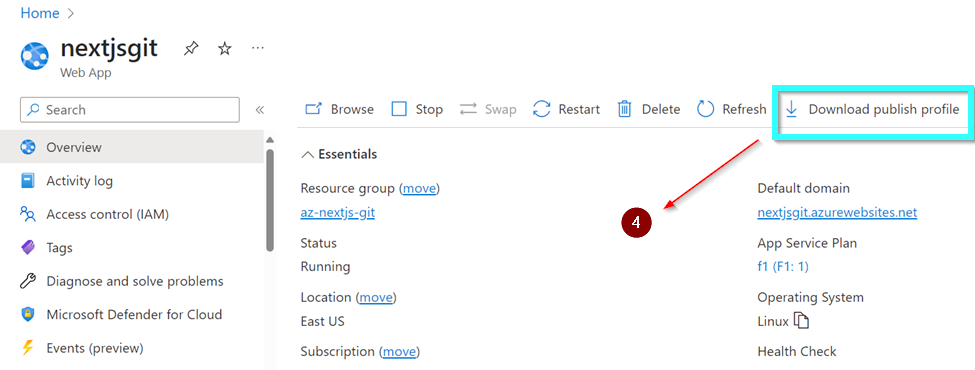
After downloading and copy.
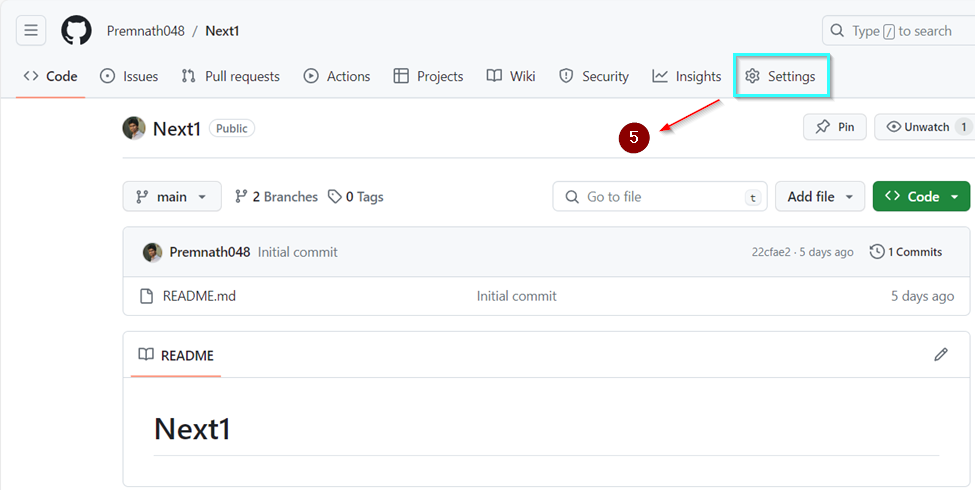
Step 2:
Right side core clicks settings
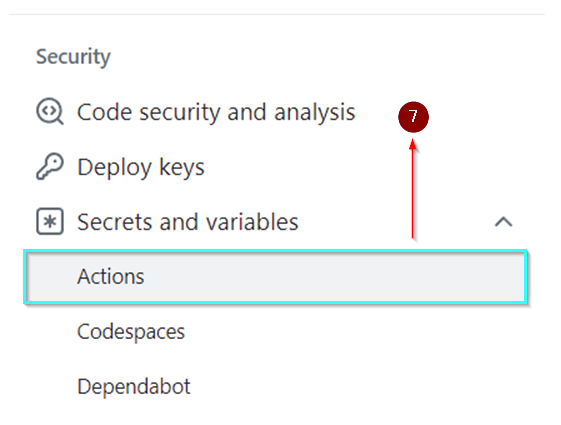
Step 3:
Under security click secrets and variable
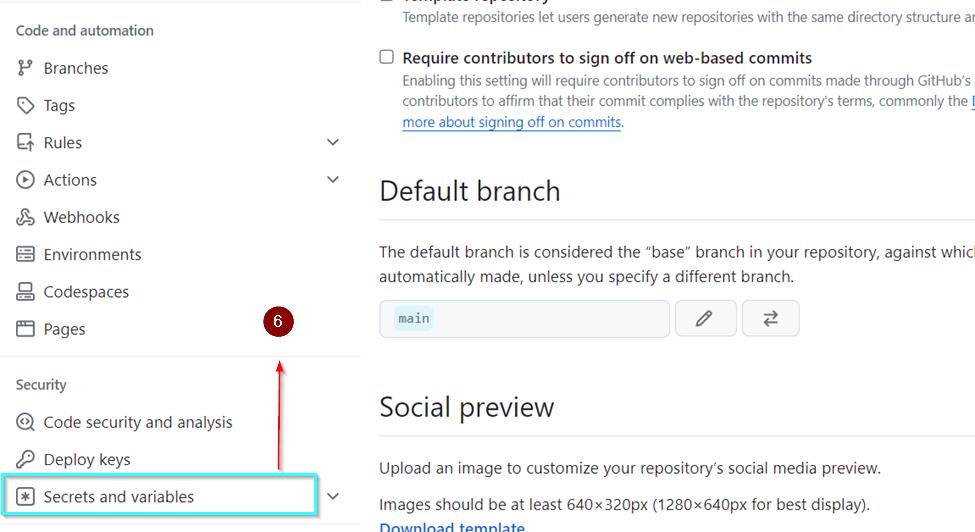
Choose actions and click.
Step 4:
Crete new repository secrete.

GitHub
Step 5
Go to the workflow file, we should modify the workflow to make the GitHub.
Modify Workflow
We will modify the .github/workflows
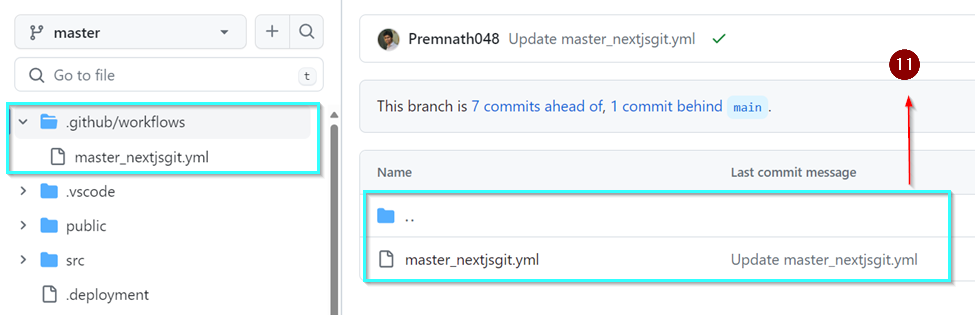
Use this yml file.
name: Deploy to Azure App Service
on:
push:
branches:
- master
jobs:
build-and-deploy:
runs-on: ubuntu-latest
steps:
- name: Checkout Source
uses: actions/checkout@v3
- name: Setup Node.js version
uses: actions/setup-node@v4
with:
node-version: '18.x'
- name: Install Dependencies
run: npm install
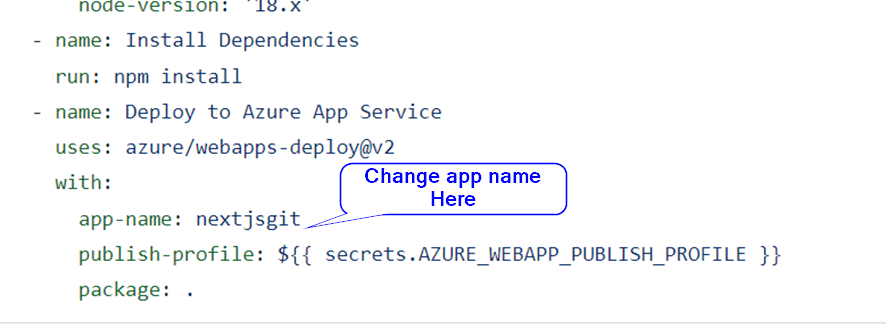
- name: Deploy to Azure App Service
uses: azure/webapps-deploy@v2
with:
app-name: nextjsgit
publish-profile: ${{ secrets.AZURE_WEBAPP_PUBLISH_PROFILE }}
package: .
Step 7
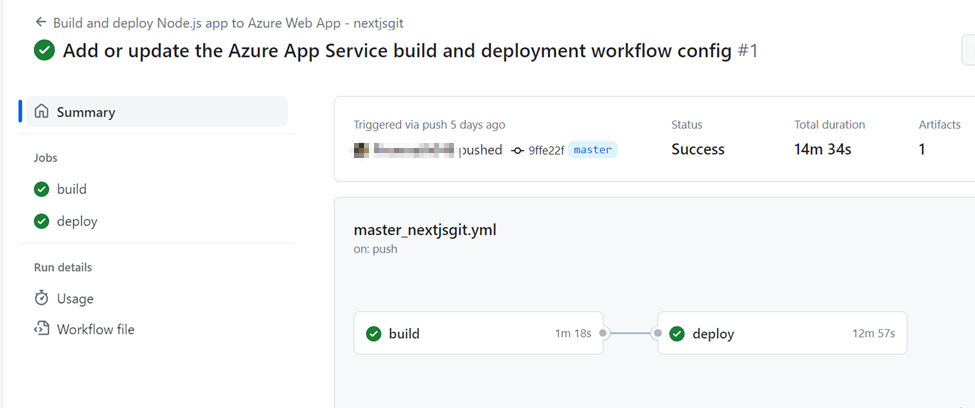
Try Deploy.
Now we can try to deploy by manually triggering or pushing the code to the selected branch.
When successful, it will mention the domain that you can use.
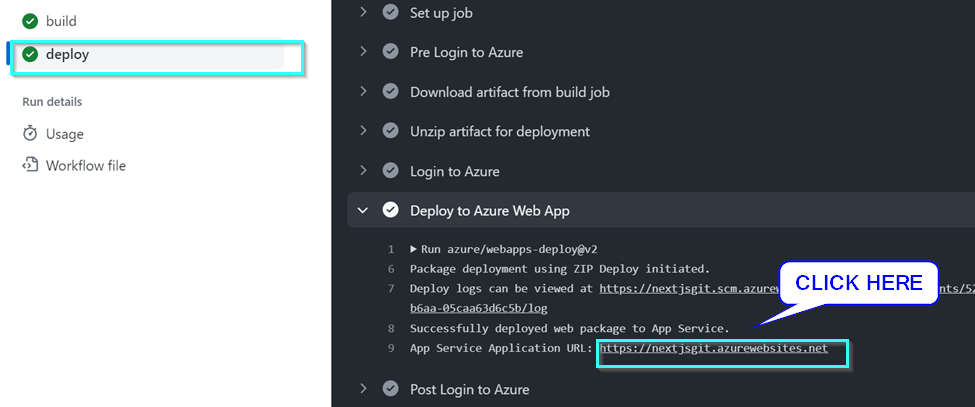
After the deployment, the application should now be available to browse.
NOTE: To use yarn, simply switch out npm for it in the workflow file

Great article. I following all step but i receive this error:
Status Code: 404
Status Message: The Resource ‘Microsoft.Web/sites/vivasoft/slots/h5dyg6bcf9ckhsee’ under resource group ‘rg_vivasoftnewsite’ was not found. For more details please go to https://aka.ms/ARMResourceNotFoundFix
Can you help me?
Thanks.