Azure App Service Deployment Slots provide a feature that allows you to create multiple deployment slots (or environments) within an Azure App Service. These slots are live web apps with their own hostnames and can be used to deploy different versions of your application, perform testing, and swap between slots for seamless deployment and rollback strategies without causing downtime.
- Environment Isolation: Each slot represents a separate environment with its own settings, configurations, and version of the application. This isolation allows you to deploy, test, and validate changes without affecting the production environment.
- Staging and Testing: Deployment slots are commonly used for staging and testing purposes. You can deploy your application to a non-production slot, perform testing, and validate changes before swapping it to the production slot.
- Zero Downtime Deployment: By leveraging slot swapping, you can achieve zero-downtime deployments. Swapping ensures a smooth transition between slots by redirecting traffic seamlessly without interruptions to end-users.
- Rollback Capability: If an issue arises after a deployment to the production slot, you can instantly swap it back to the previous version, allowing for quick rollbacks in case of unexpected problems.
Step 1 : Lets create an Azure App Service with any configuration. But ensure that the app service plan is Standard or Premium, because Deployment Slot feature is only available in those plans.
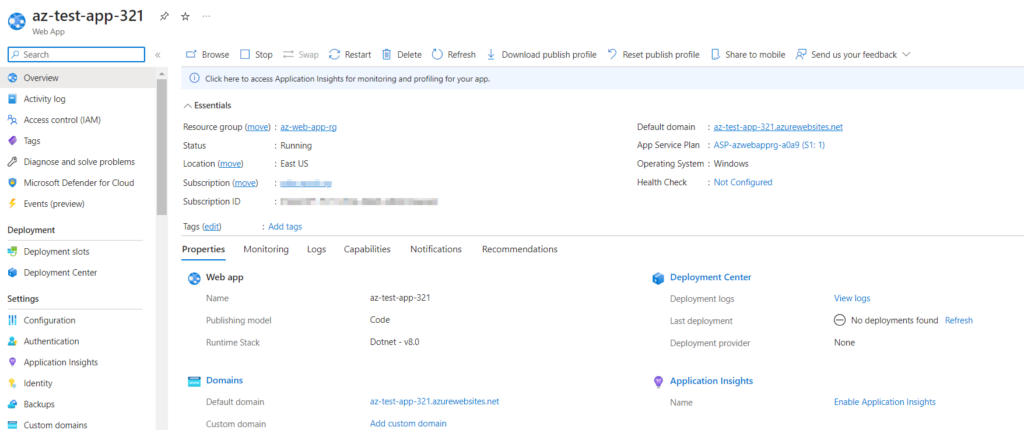
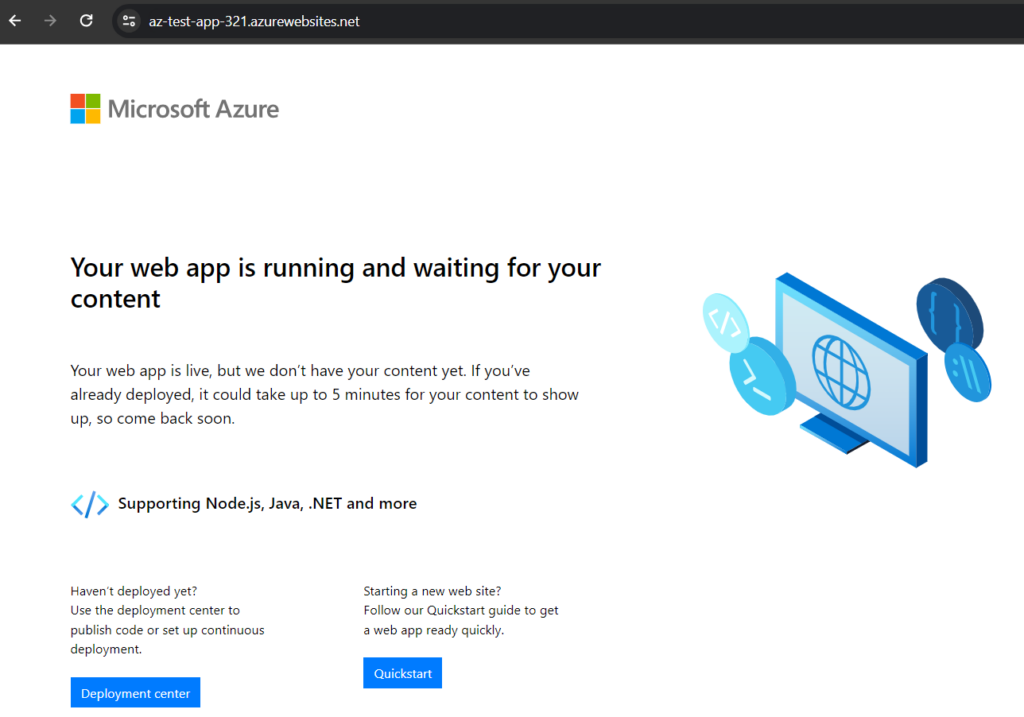
Lets check whether the App Service URL.
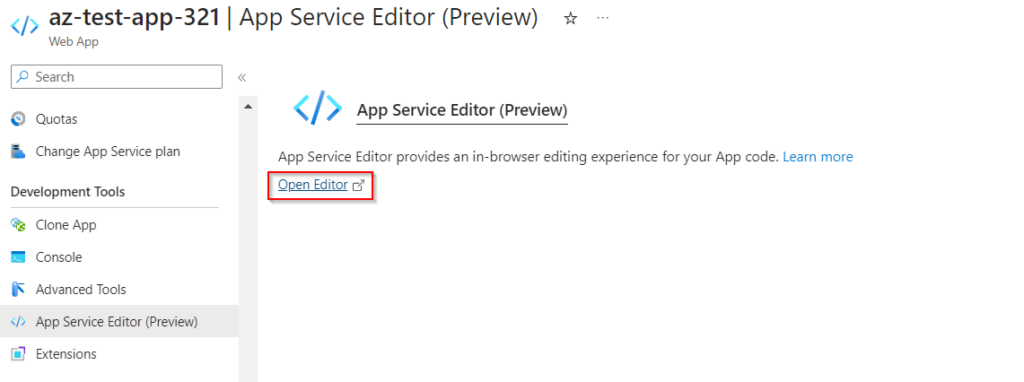
Step 2 : In App Service plan click on App Service Editor, to create a sample application.
Click on WWWROOT folder and create a sample file.
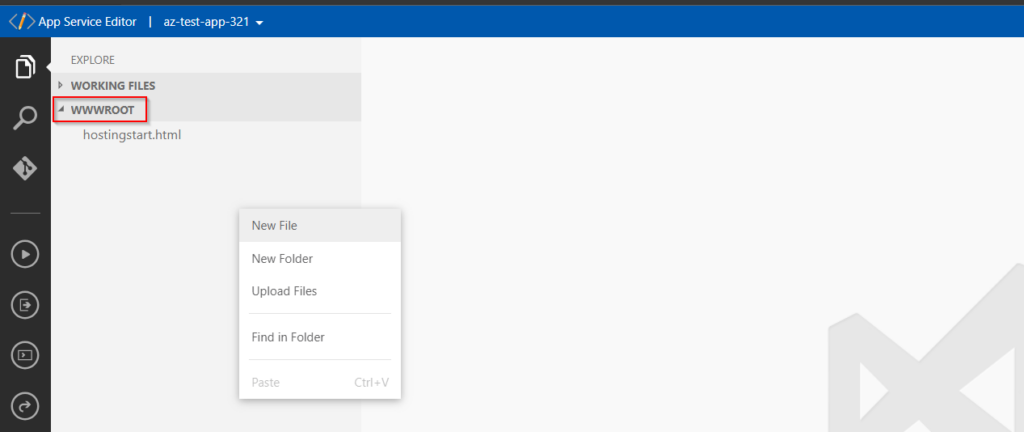
Step 3 : Here I have created a default page for the App Service. So that when we view with the App Service URL in a browser we will be able to view the Default.html file.

Currently the default.html page is available for the App Service

Step 4 : Now in the Deployment section of the App Service, Lets add a slot for the second version of the Application.

Provide the required parameters for the deployment slot.

Now we have created a deployment slot for the second version of the application. It has its own URL

Step 5 : Click on the App service which was created from deployment slot and navigate to App Service Editor.
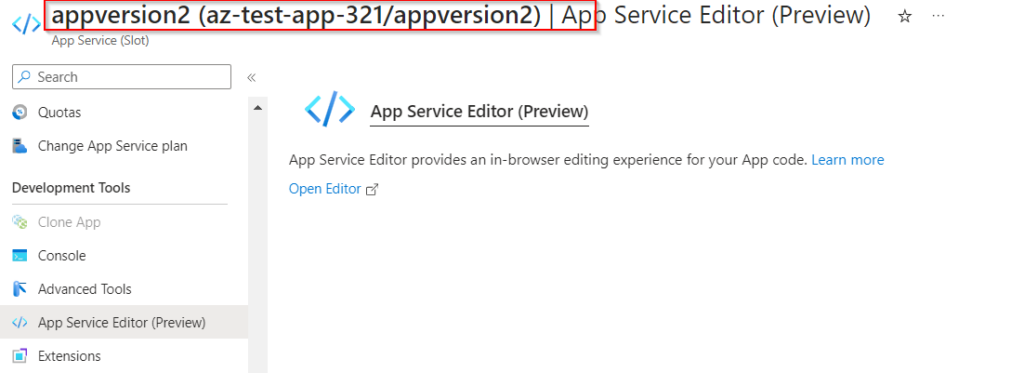
Create a default. html page and view it with the second app service.

Step 6 : Now navigate to Deployment slot of any App Service and click on Swap.

Select the Source App Service and target App service and click on Swap.
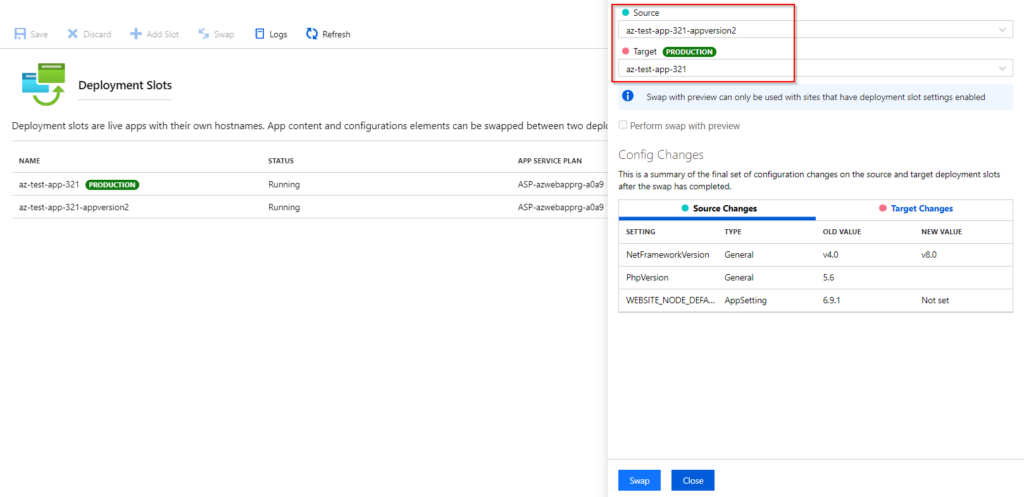
Step 7 : Lets check whether the Swap process between the App Service one and two is successful or not.
App Service 1 with Version 2 of the Application.

App Service 2 with Version 1 of the Application. Swap is Successful.


