Introduction
Azure Virtual Network is used for the Virtual Network Peering empowers users to flawlessly communicate with virtual networks in Azure. VNet Peering in Azure allows the traffic of one virtual network to communicate to another virtual network. This is basically used for database failover, disaster recovery, or cross-region data replication.VPN gateways are used in an encrypted connection in the region but VNet Peering provides connection sharing in different regions.
Prerequisites
- Create a resource group
- Create a two virtual network
- Create a two virtual machine
Benefits of VNet Peering in Azure
- Seamless Network Connectivity – Connects two Azure Virtual Networks (VNets) to enable private, low-latency, and high-bandwidth communication between resources in different VNets.
- Cross-Region Connectivity – Enables communication between VNets in different Azure regions using Global VNet Peering, facilitating distributed applications and disaster recovery setups.
- Shared Services Access – Allows multiple VNets to access common resources like firewalls, domain controllers, and monitoring tools without the need for a VPN or ExpressRoute.
- Hybrid Network Integration – Supports hybrid architectures by peering VNets with a network that connects to on-premises environments via VPN Gateway or ExpressRoute.
- Cost Optimization – Reduces costs compared to VPN gateways by eliminating bandwidth charges for data transfer within the same region and minimizing network complexity.
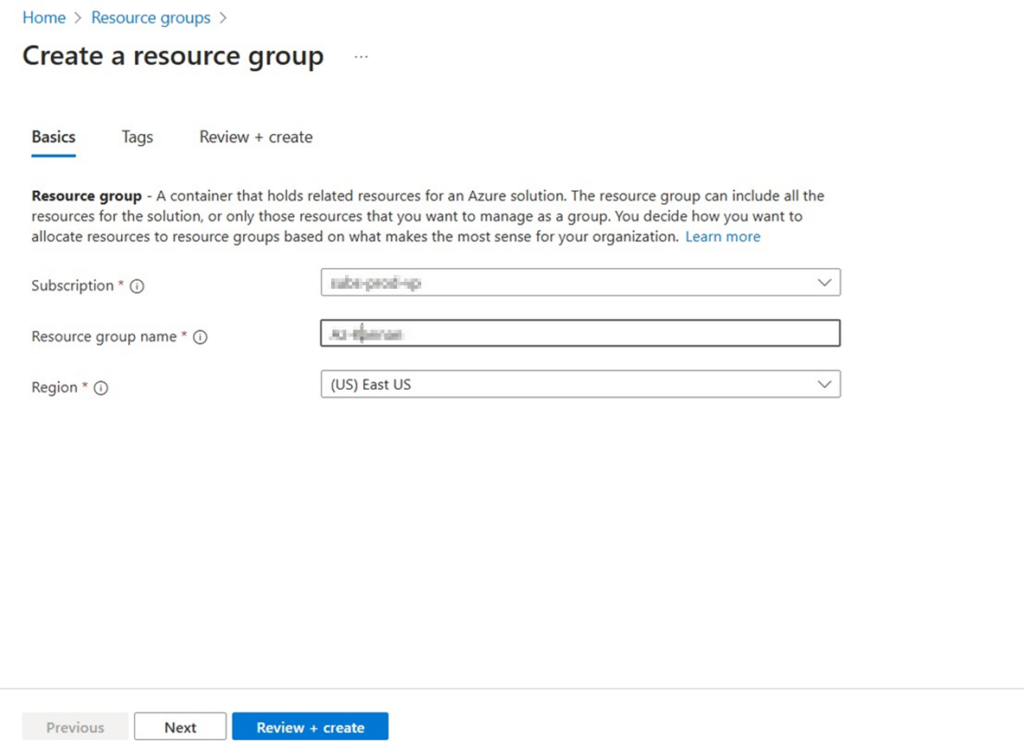
Step 1 : Open azure portal and Create a resource group.

Step 2 : Do review and create the resource group.

Step 3 : Once the validation done we can create it.

Step 4 : Let’s start create a Virtual network one.

Step 5 : Goto IP addresses select Add a subnet and enter the target IP address.

Step 6 : Enter the name for subnet & give IP address range,size and click Add.

Step 7 : Select Review+create and Create.

Step 8 : Now we have created the vnet 1.Let’s start create the vnet 2 by following these steps.

Step 9 : Goto IP addresses select Add a subnet and enter the target IP address.

Step 10 : Enter the name for subnet & give IP address range,size and click Add.

Step 11 : Select Review+create and Create.

Step 12 : Here’s the two virtual networks that we created.

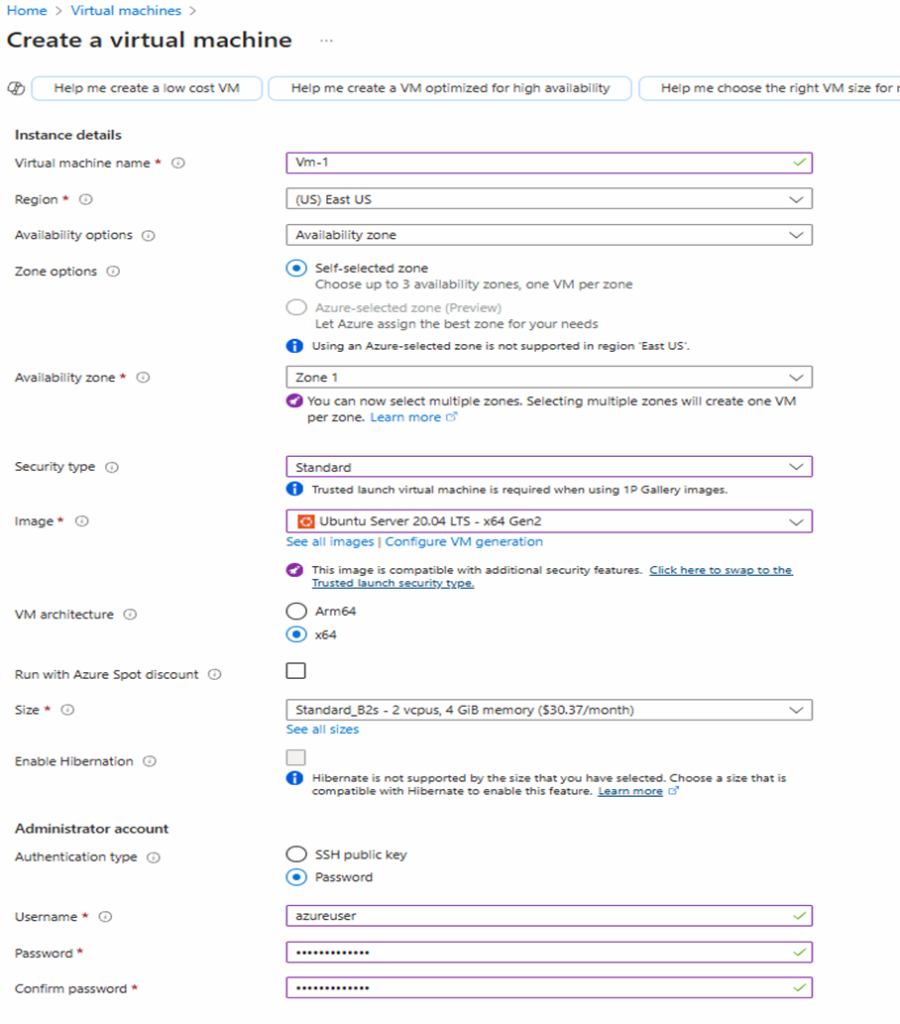
Step 13 : Let’s start a create the first Virtual Machine by following these steps.

Step 14 : Goto Networking section & follow these steps.

Step 15 : Once the validation done click create.

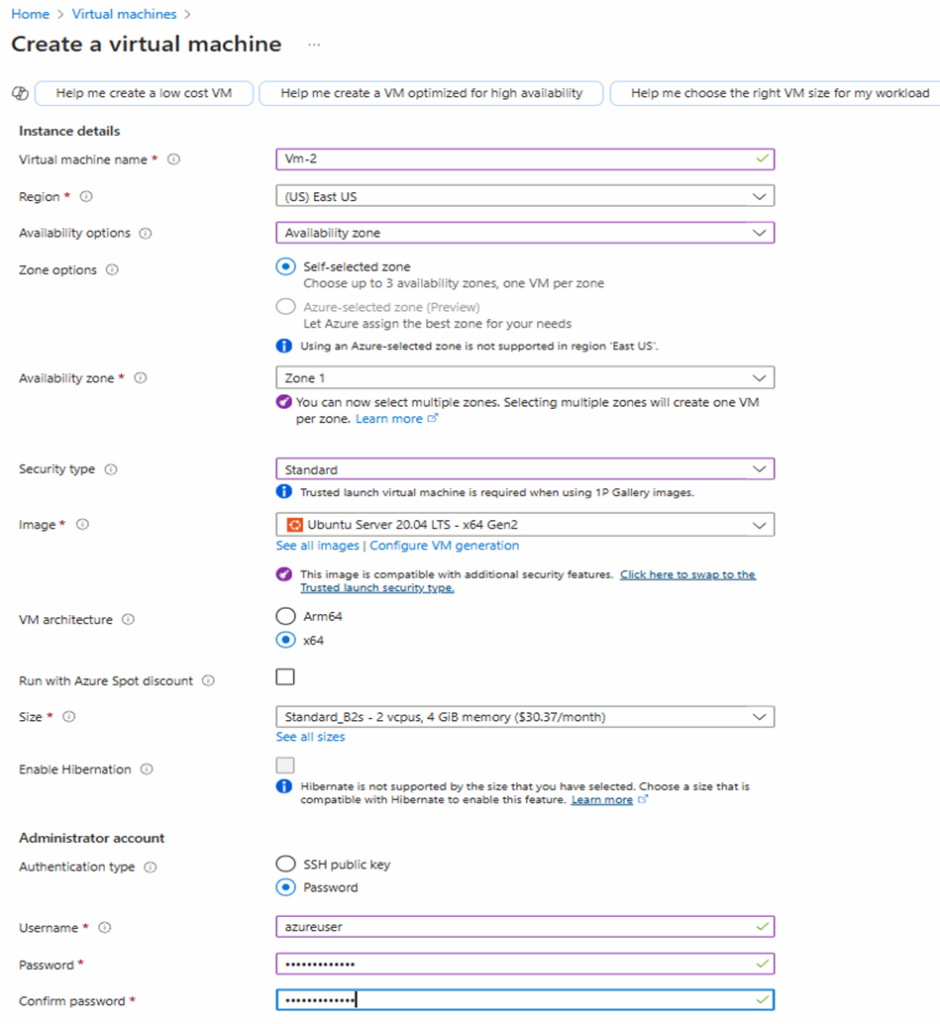
Step 16 : We created the first virtual machine,Now start a create the second Virtual Machine by following these steps.

Step 17 : Goto Networking section & choose Public IP as “None”.

Step 18 : Check for validation,once the validation done click create.

Step 19 : These are the two virtual machines that we have created.

Step 20 : Select & open the VM 1 that we created.

Step 21 : Copy the Public IP address from VM 1.

Step 22 : Open “Command Prompt” & type ssh and username,@paste the IP address & click enter to connect vm 1.

Now we are into the vm 1.
Step 23 : We are going to use Vnet peering to communicate 2 VM’s ,open Virtual Network 1 that we created.

Step 24 : Open Vnet 1 & select Peerings and click Add.

Step 25 : Follow these steps to complete the Peering & click Add.

Step 26 : We can see the peering status.

Step 27 : Open “Command Prompt” & type ssh and username,@copy the Private IP address from VM 2 & paste it ,select enter & give yes,Now you can communicate to VM 2.

Now we are into the Vm 2 successfully by using peering concept.


