
In Azure, “Snapshots of Data Disks” refer to the capability to create point-in-time backups of the data disks attached to your virtual machines. These snapshots capture the exact contents of the data disks at a specific moment, including the operating system and any data stored on them. Here’s a more detailed explanation:
- Backup Solution: Snapshots are a crucial component of your backup and disaster recovery strategy in Azure. They provide a way to protect your data and applications from accidental data loss, corruption, or system failures.
- Point-in-Time Copy: When you create a snapshot, it captures the data disk’s state at a specific point in time. This ensures that you have a consistent copy of your data and the operating system that you can revert to if needed.
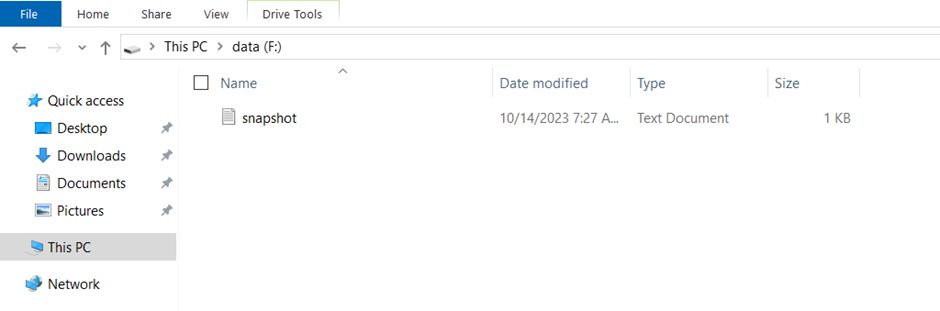
Step 1 : Crete a Virtual Machine(VM1) and add a file in Data Disk Level, so that the file will not be deleted when the virtual machine is shutdown.
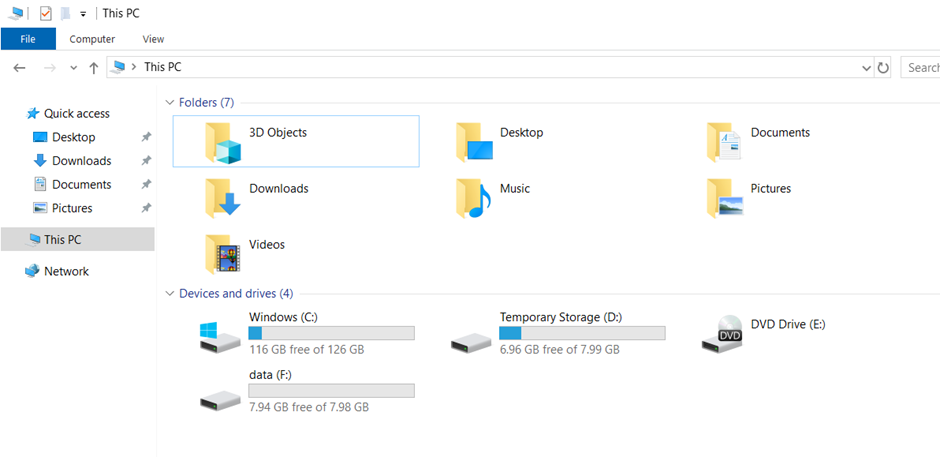
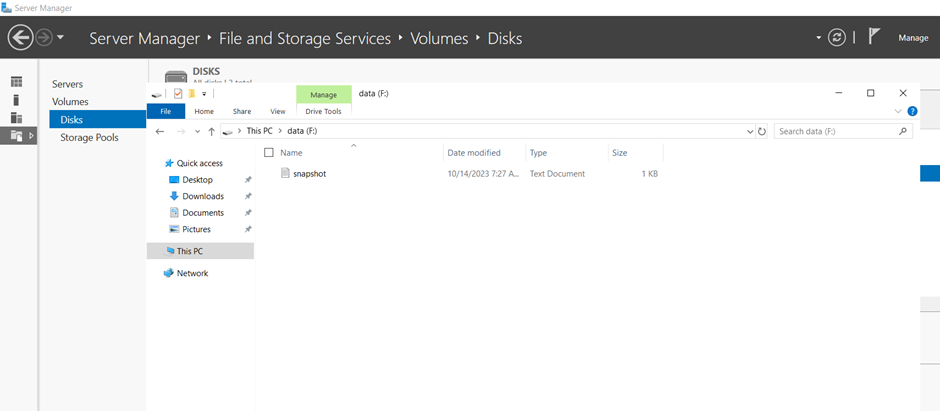
Here a Text file is added to the Added Data disk.
Step 2 : Create one more Virtual Machine(VM2) to which the snapshot will be converted to a Data Disk and be attached.
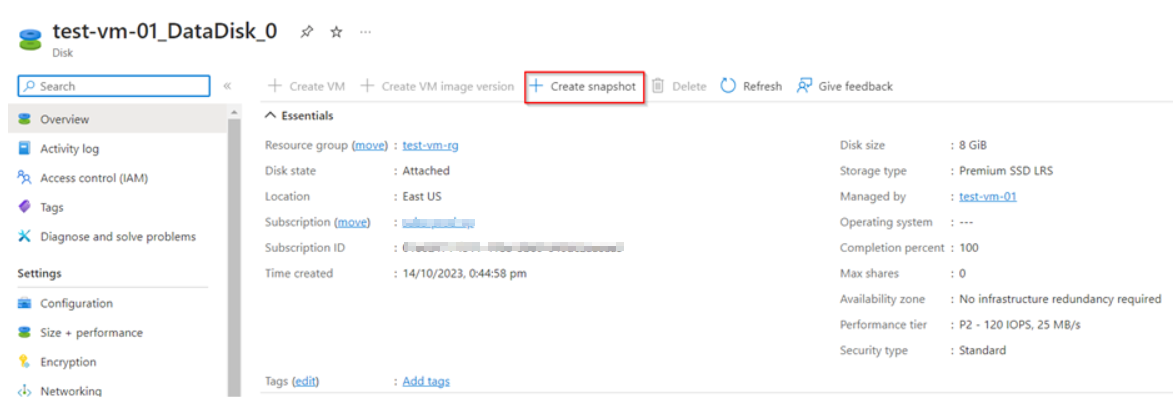
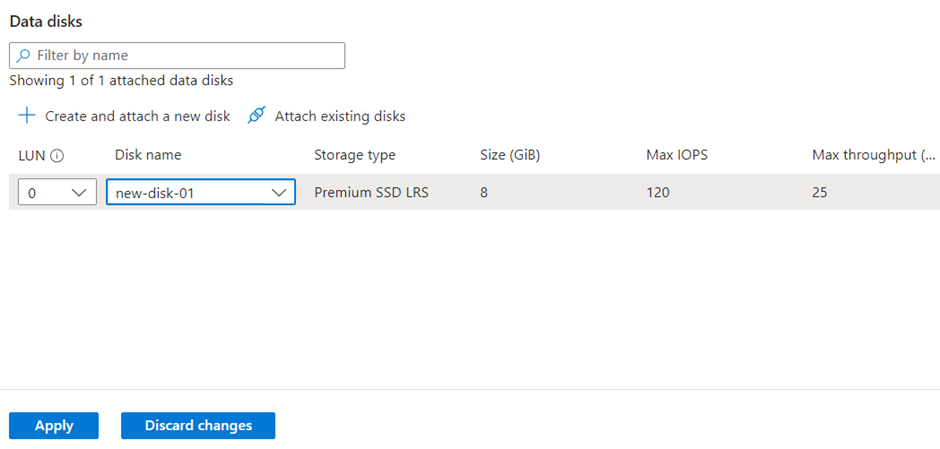
Step 3 : In Virtual Machine(VM1), click on Disk section. We can view both the OS disk and Data disk.
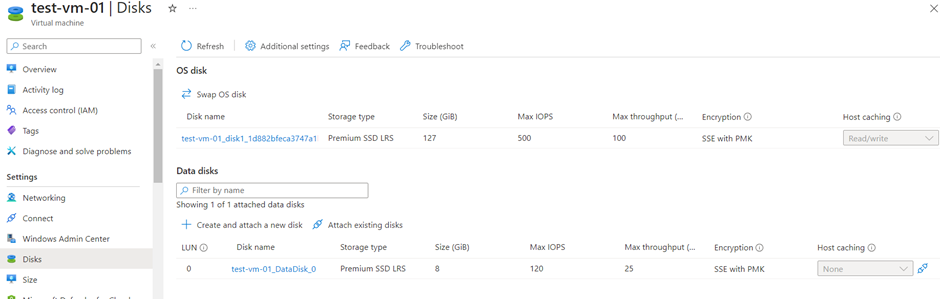
Step 4 : Click on the Data disk and Lets click on “Create snapshot” to create a snapshot of the data disk.
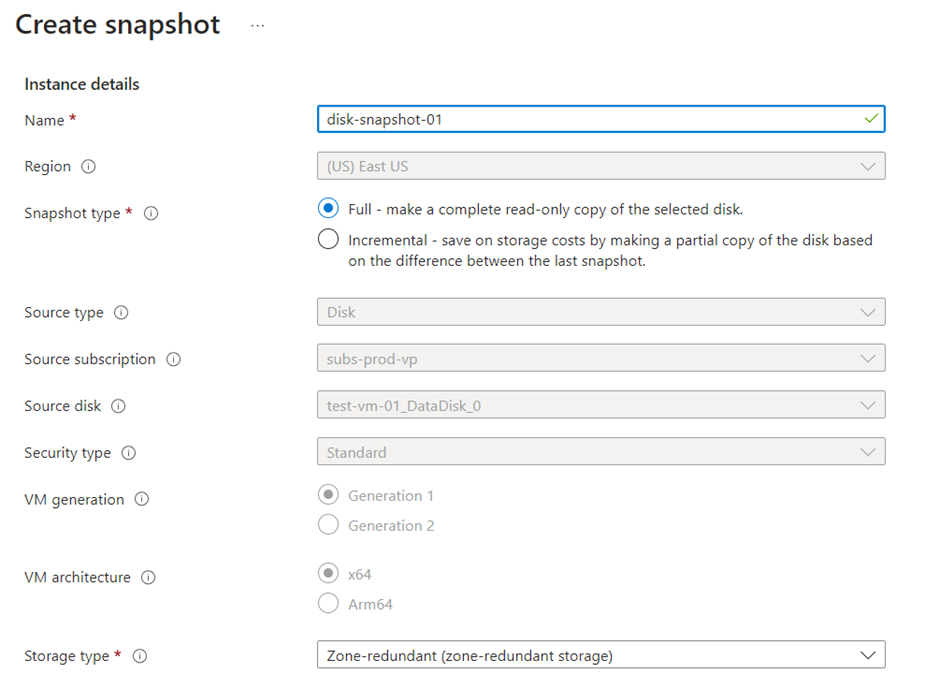
Step 5 : Create the snapshot of the Data disk with the required parameters.
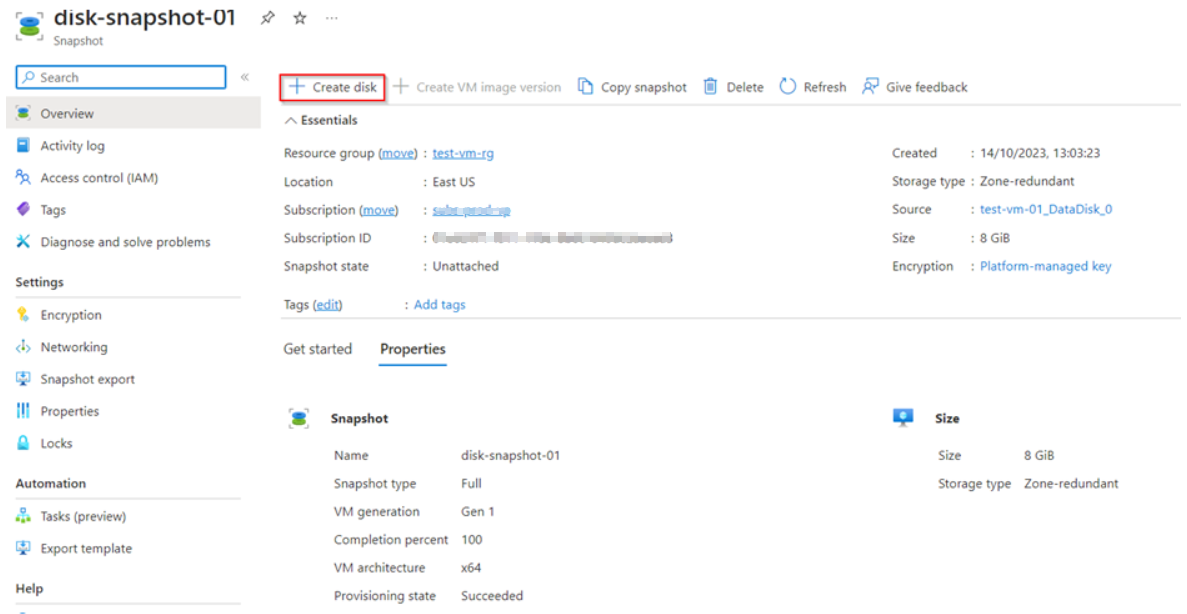
Step 6 : Once we are ready with the Snapshot of the data disk, Now we can convert the snapshot into a Data disk. Search for snapshot and click on the one we have created and click “Create disk” to make a data disk out of the snapshot.
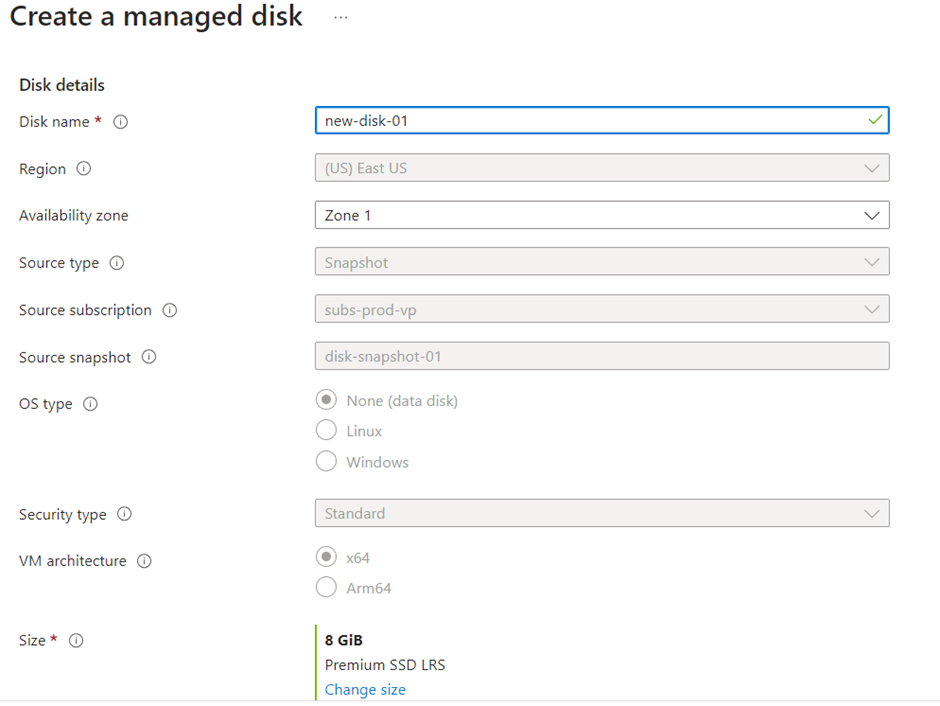
Step 7 : Give the required details to create a Data disk.
Step 8 : Once a Data disk is created from a Snapshot, now lets move to the Disk section of the Virtual machine(VM2) and add the Data disk.
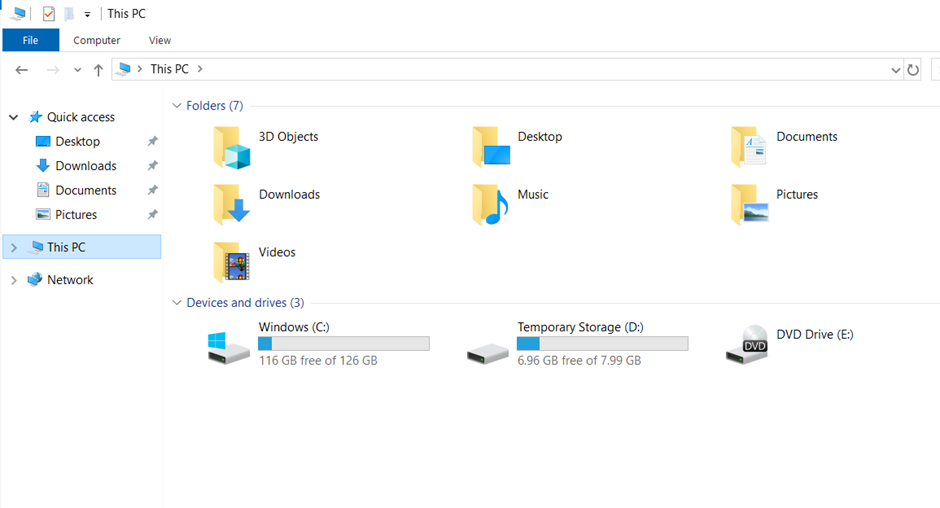
Step 9 : Login to Virtual Machine(VM2) and check for the required data in the added Data disk.
