Container images are a lightweight, standalone, and executable software package that includes everything needed to run a piece of software: the code, runtime, system tools, libraries, and settings. These images are the foundation of container-based technologies like Docker, allowing applications to be abstracted from the underlying infrastructure.
- Portability: Container images are highly portable and can run consistently across different environments, including development machines, testing environments, and various cloud or on-premises platforms.
- Isolation: Containers provide isolation at the application level, allowing multiple containers to run on the same host without interference. Each container runs as an independent process with its own filesystem and resources.
- Layered Structure: Images are built in layers, allowing for efficient sharing of common components. When changes are made, only the affected layers need to be updated, reducing image size and improving speed in image distribution and deployment.
- Immutable and Reproducible: Container images are immutable, meaning they cannot be modified once built. This immutability ensures consistency and reproducibility across different environments.
- Dockerfile and Registries: Images are created using a Dockerfile, which defines the configuration and dependencies needed for the application. Images are stored and distributed via container registries such as Docker Hub, Azure Container Registry, or others.
Step 1 : Now lets create a Linux Virtual Machine and then deploy a Containerized Image in it.

The Linux is deployed, here I have allowed SSH and HTTP
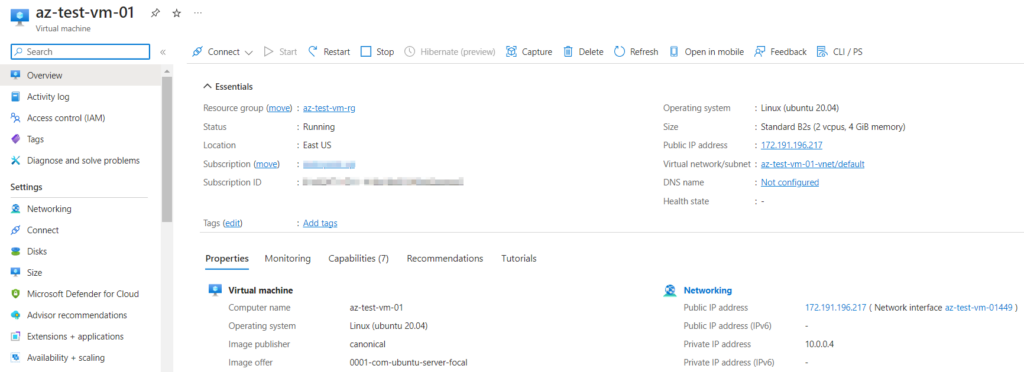
Step 2 : Lets connect to the Linux Virtual Machine using Public IP, with the help of Putty Software.

Login to the Virtual Machine with your credentials.
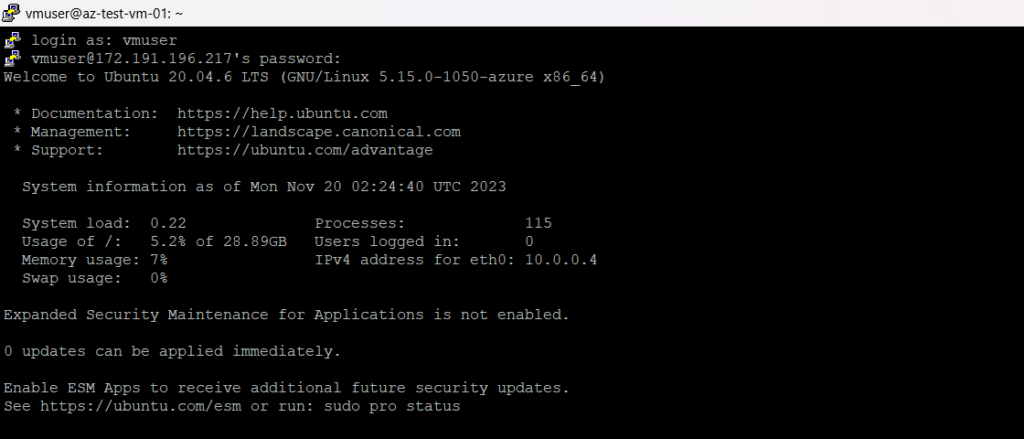
Step 3 : Once we login into our VM, lets start updating the packages to set up an environment to install Docker in the system.
Use the below codes to create an environment to install Docker.
sudo apt-get update
sudo apt-get install ca-certificates curl gnupg
sudo install -m 0755 -d /etc/apt/keyrings
curl -fsSL https://download.docker.com/linux/ubuntu/gpg | sudo gpg --dearmor -o /etc/apt/keyrings/docker.gpg
sudo chmod a+r /etc/apt/keyrings/docker.gpg

echo \
  "deb [arch="$(dpkg --print-architecture)" signed-by=/etc/apt/keyrings/docker.gpg] https://download.docker.com/linux/ubuntu \
  "$(. /etc/os-release && echo "$VERSION_CODENAME")" stable" | \
  sudo tee /etc/apt/sources.list.d/docker.list > /dev/null
sudo apt-get update
Step 4 : Now the environment setup is done. Lets install Docker in the system by using the below code.
sudo apt-get install docker-ce docker-ce-cli containerd.io docker-buildx-plugin docker-compose-plugin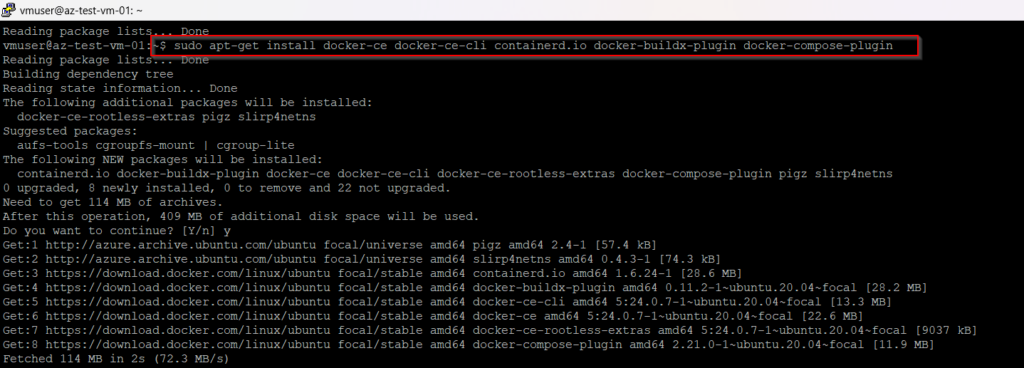
Lets check whether Docker is installed or not.

Step 5 : Once you confirm that Docker is installed in the system. Now lets login to Docker account with your credentials.

Step 6 : Lets install and run, a containerized image in the system.
sudo docker run --name mynginx -p 80:80 -d nginx
Step 7 : Lets check whether in containerized image is published or not.
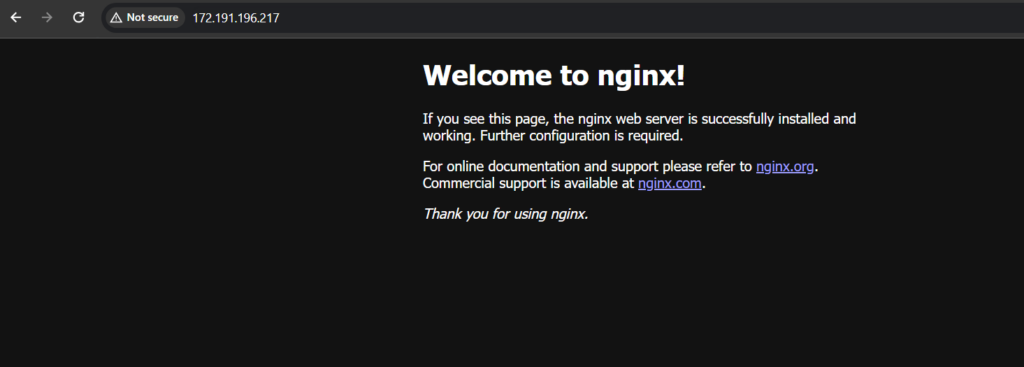
Successfully published the image in the Virtual Machine.

