Implementing Skype for Business on Windows 2012 R2 Environment with SQL 2014 Always ON – Part1
Implementing Skype for Business on Windows 2012 R2 Environment with SQL 2014 Always ON – Part2
Implementing Skype for Business on Windows 2012 R2 Environment with SQL 2014 Always ON – Part3
As Stated in Part1 –
Once Skype for Business Setup creates the databases in SQL1
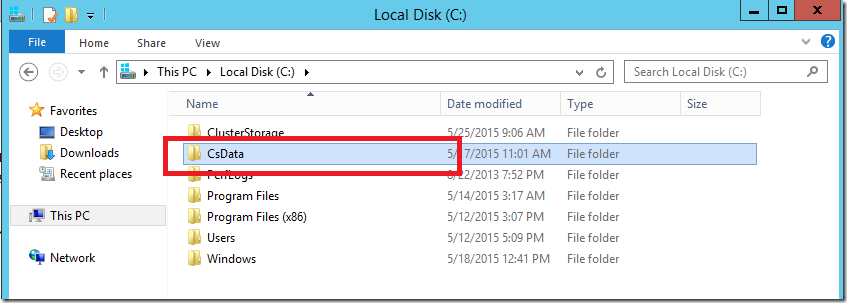
Copy folder structure from SQL1 to SQL2. (C:\CsData)
Take full backup.
Run a Full backup on all Skype for Business databases
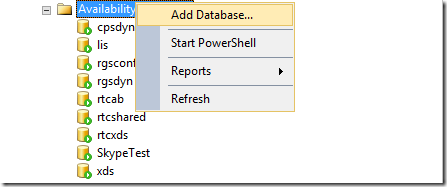
Right Click on Database
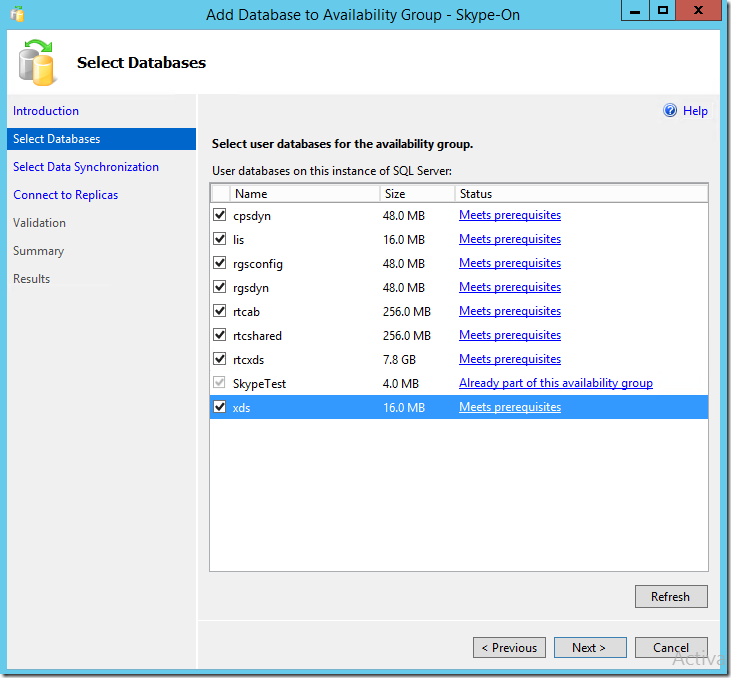
If you add database , It should say “Meets Prerequisites”
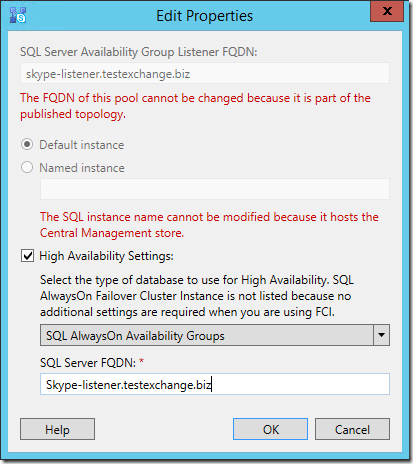
Once thats done.Change the SQL1 to listener name and publish the topology.
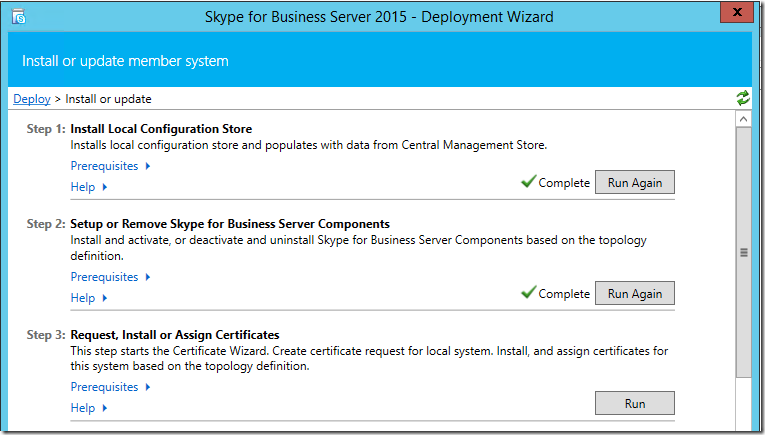
Install Local Configuration Store.
Run Skype for Business Setup.
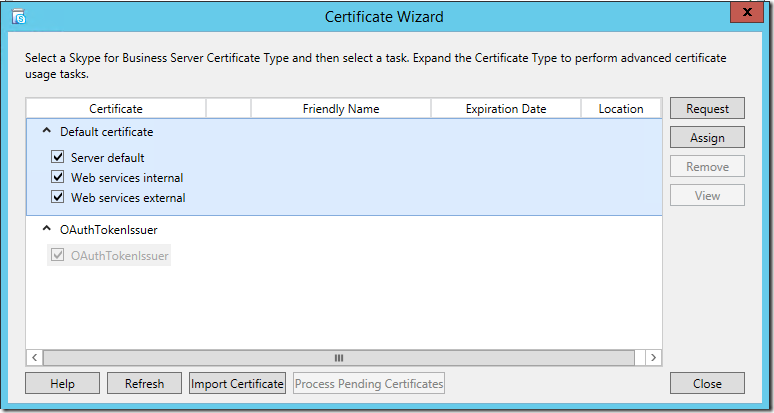
And Create Self Signed Certificate.
If you don’t have a internal CA, Use below link
how to install certificate authority on windows server 2012
Request Default Certificate,
Fill the Friendly name,
Once its completed , Assign the Cert. Do the same process for OAuthTokenIssuer.
Redo the Same thing on the Second Frontend Server – Setup will detect the Second front end FQDN and get it installed.
Now Frontend Servers can be load balanced with a hardware load balancer
Load balancing requirements for Skype for Business
Implementing Skype for Business on Windows 2012 R2 Environment with SQL 2014 Always ON – Part1
Implementing Skype for Business on Windows 2012 R2 Environment with SQL 2014 Always ON – Part2
Implementing Skype for Business on Windows 2012 R2 Environment with SQL 2014 Always ON – Part3


