33 C
Dubai
Wednesday, April 30, 2025
Home Blog Page 105

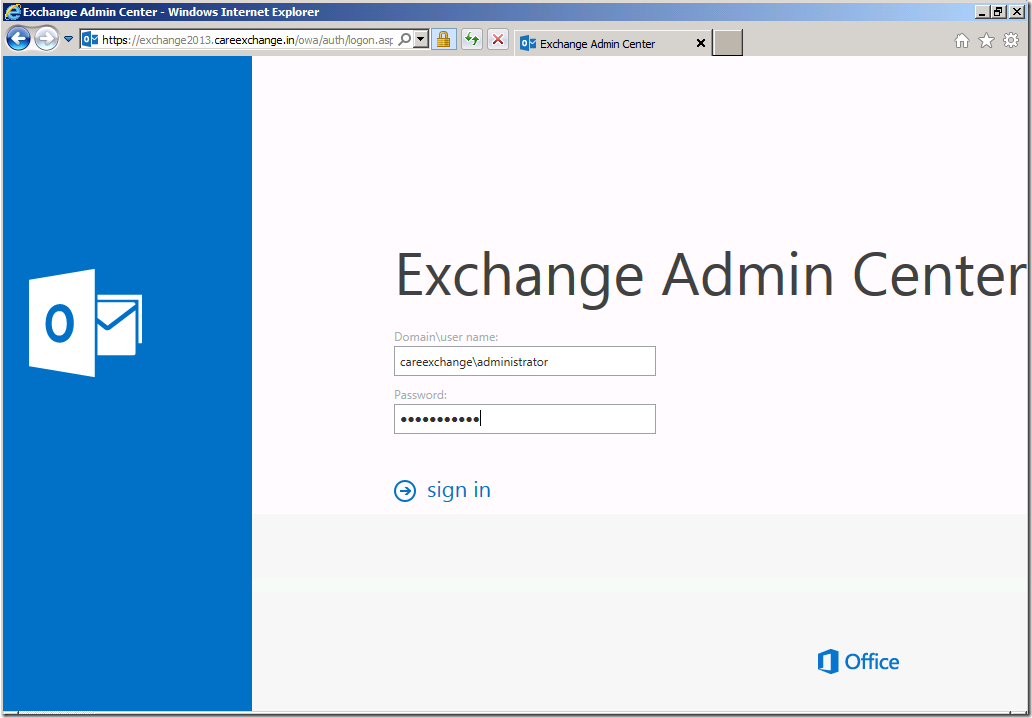
How to Login to Exchange Administration Center (EAC) in Exchange 2013 Preview

To Find your Server URL to login to Exchange Admin Center (EAC)

Get-ECPVirtualDirectory | Format-List InternalURL,ExternalURL

image

Open internet Explorer

image

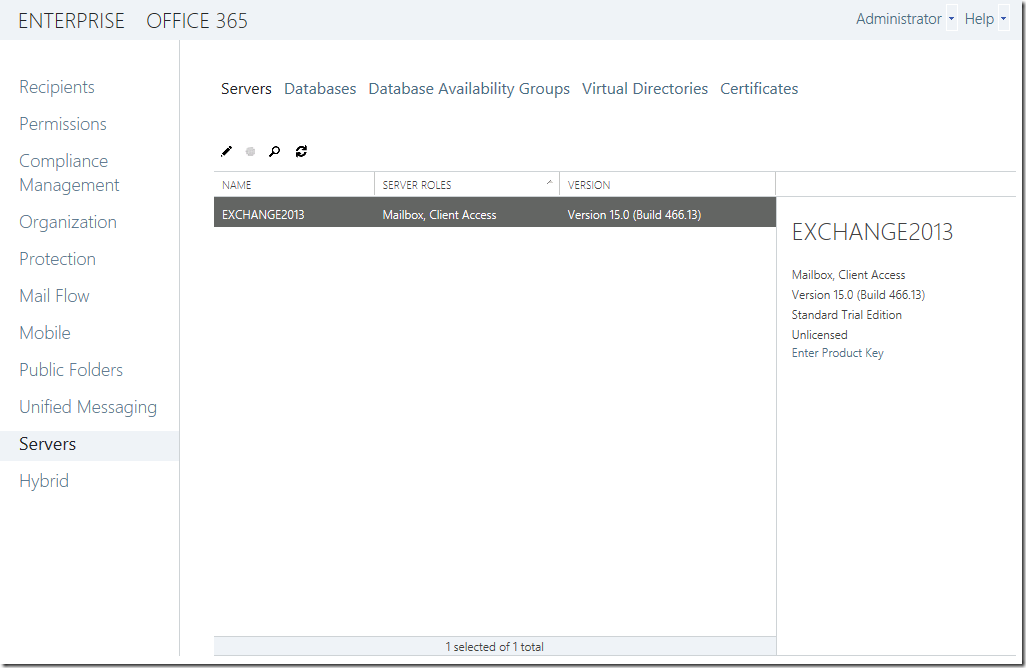
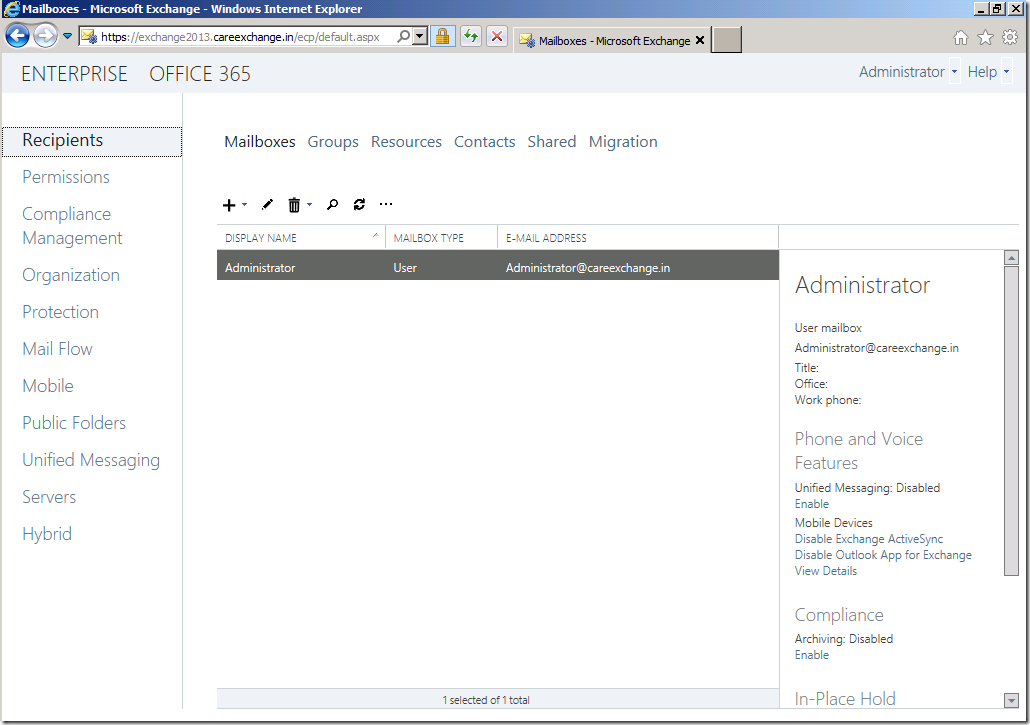
Now On-premise Exchange Server and Office 365 can be managed in the Same place !!

image

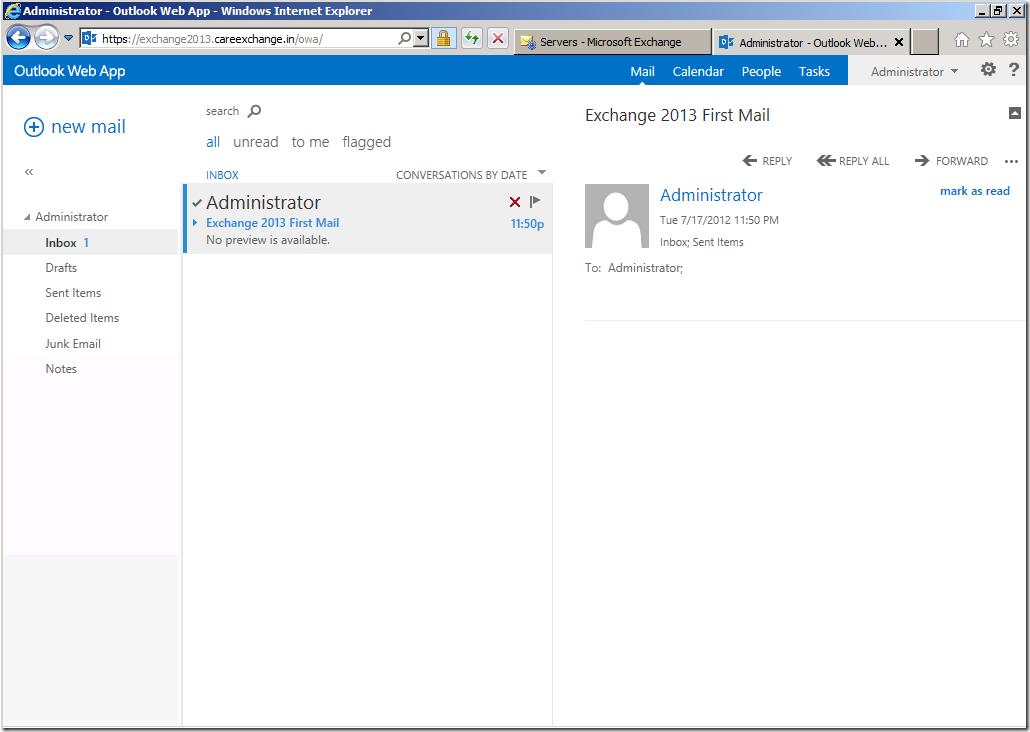
Just find the New Look Outlook Web App , which is smartly designed for smart phones !!

image

Hope the information !! Helped you

Tech Tip : Take a risk free trial to migrate your exchange server to the cloud with virtual servers & access email clients, windows applications or O365 with powerful virtual desktops from www.CloudDesktopOnline.com. You can also rent a server at affordable prices and dedicated migration support from Apps4Rent.

Installing Exchange 2013 Preview on Windows Server 2008 R2 Sp1

Domain Controller – Windows Server 2008R2 Sp1

Exchange 2013 on – Windows Server 2008R2 Sp1

Active Directory must be at Windows Server 2003 forest functionality mode or higher.

Am Going to install Exchange 2013 on a member Server

Please read some Important Guidelines , Before Installing Exchange 2013 Preview

Some Important Guidelines

Step 1:

  1. Open Windows PowerShell

Run

Import-Module ServerManager

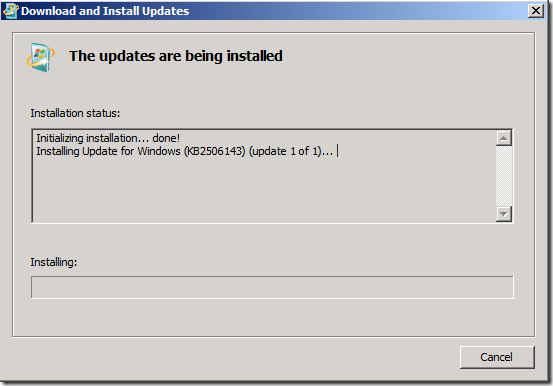
Run the following command to install the required Windows components.

Add-WindowsFeature Desktop-Experience, NET-Framework, NET-HTTP-Activation, RPC-over-HTTP-proxy, RSAT-Clustering, RSAT-Web-Server, WAS-Process-Model, Web-Asp-Net, Web-Basic-Auth, Web-Client-Auth, Web-Digest-Auth, Web-Dir-Browsing, Web-Dyn-Compression, Web-Http-Errors, Web-Http-Logging, Web-Http-Redirect, Web-Http-Tracing, Web-ISAPI-Ext, Web-ISAPI-Filter, Web-Lgcy-Mgmt-Console, Web-Metabase, Web-Mgmt-Console, Web-Mgmt-Service, Web-Net-Ext, Web-Request-Monitor, Web-Server, Web-Stat-Compression, Web-Static-Content, Web-Windows-Auth, Web-WMI

image

Reboot the Server

Download the Prerequisites in the Following Order and Install it :

1. Microsoft .NET Framework 4.5 RC

image

2. Windows Management Framework 3.0

image

Reboot the Server

3. Microsoft Unified Communications Managed API 4.0, Core Runtime 64-bit
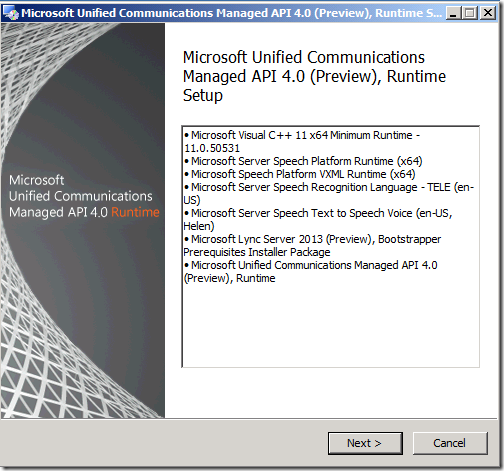
image

4. Microsoft Office 2010 Filter Pack 64 bit

image

5. Microsoft Office 2010 Filter Pack SP1 64 bit
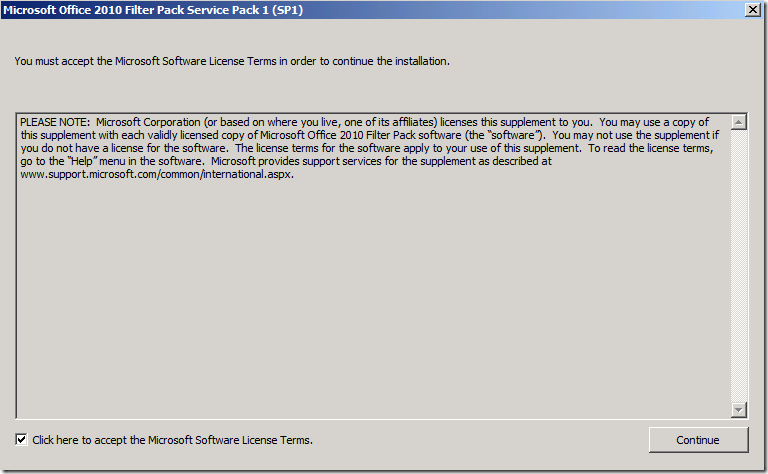
image

6. Microsoft Knowledge Base article KB974405 (Windows Identity Foundation)
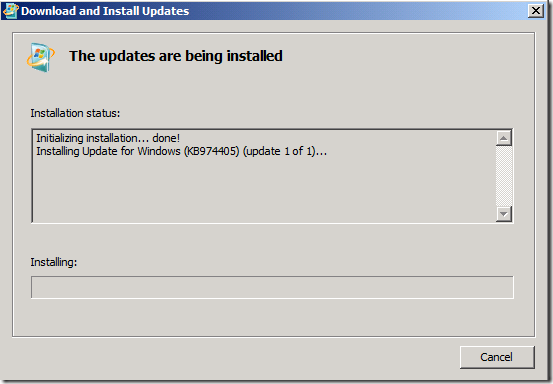
image

Below hot fix may already available if you have windows updates ON

7. Knowledge Base article KB2619234 (Enable the Association Cookie/GUID that is used by RPC over HTTP to also be used at the RPC layer in Windows 7 and in Windows Server 2008 R2)

image

Reboot the Server

8. Knowledge Base article KB2533623 (Insecure library loading could allow remote code execution

Step 2:

Before Installing Exchange 2013 Preview, you must also uninstall Microsoft Visual C++ 11 Beta Redistributable (x64).

. To uninstall Microsoft Visual C++ 11 Beta Redistributable (x64), do the following:

  1. Open Control Panel > Programs and Features. Select Visual C++ 11 Beta Redistributable (x64) – 11.0.50531 and then click Uninstall.

image

2. In Microsoft Visual C++ 11 Beta setup, click Uninstall.

image

3. When Microsoft Visual C++ 11 Beta is uninstalled, click Close.

Just for Information – If you have any doubts on Default file names –
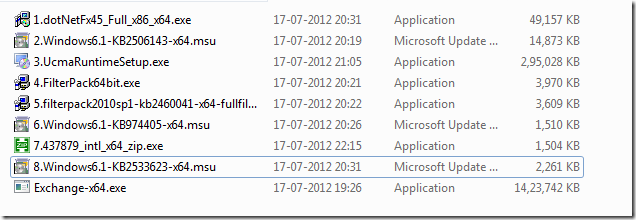
image

Step 3 :

Download Exchange 2013 Setup from the Below link

Download Microsoft Exchange Server 2013 Preview


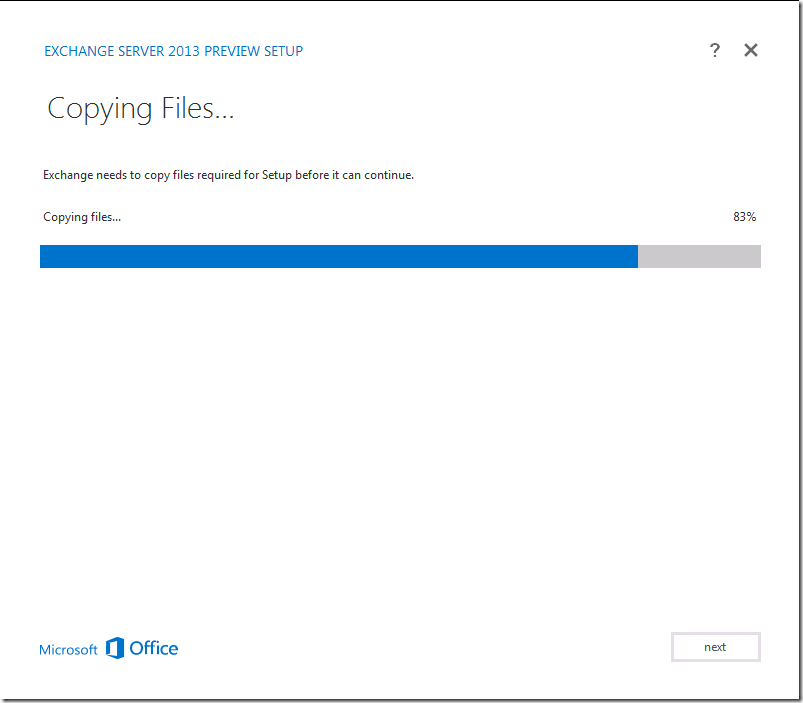
Run the Setup

image

Choose Next

image

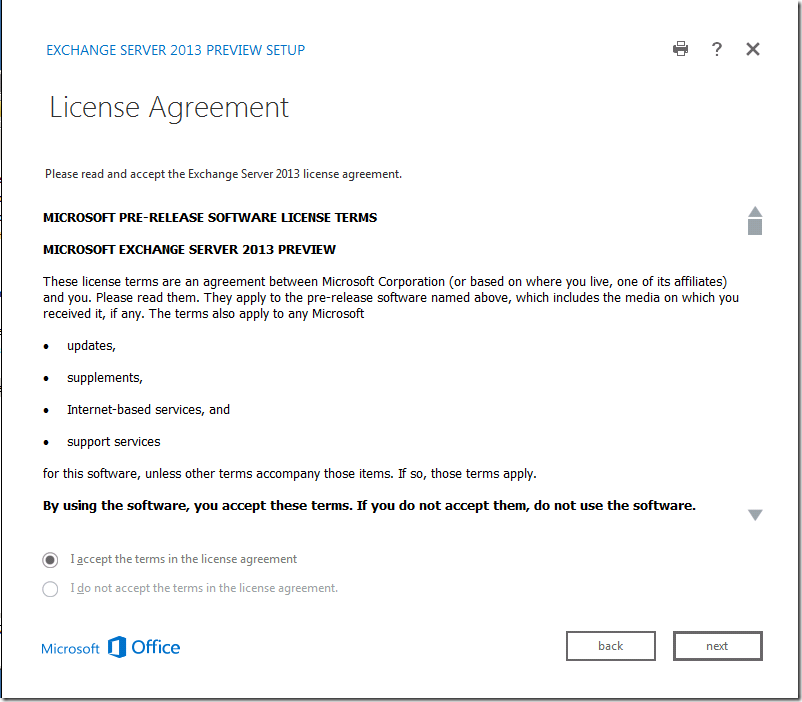
I accept –Choose Next

image

Choose Mailbox Role And Client Access Role – Choose Next
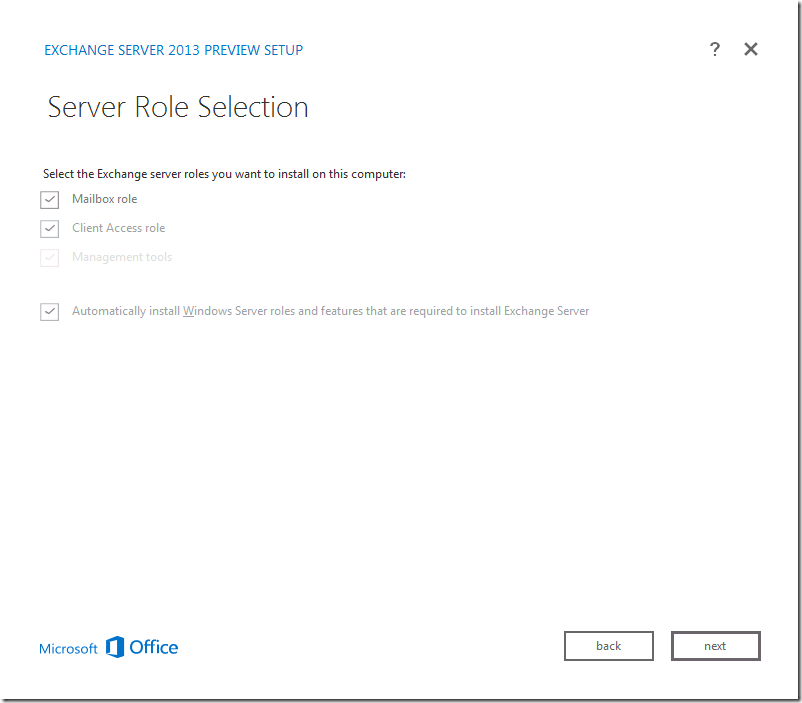
image

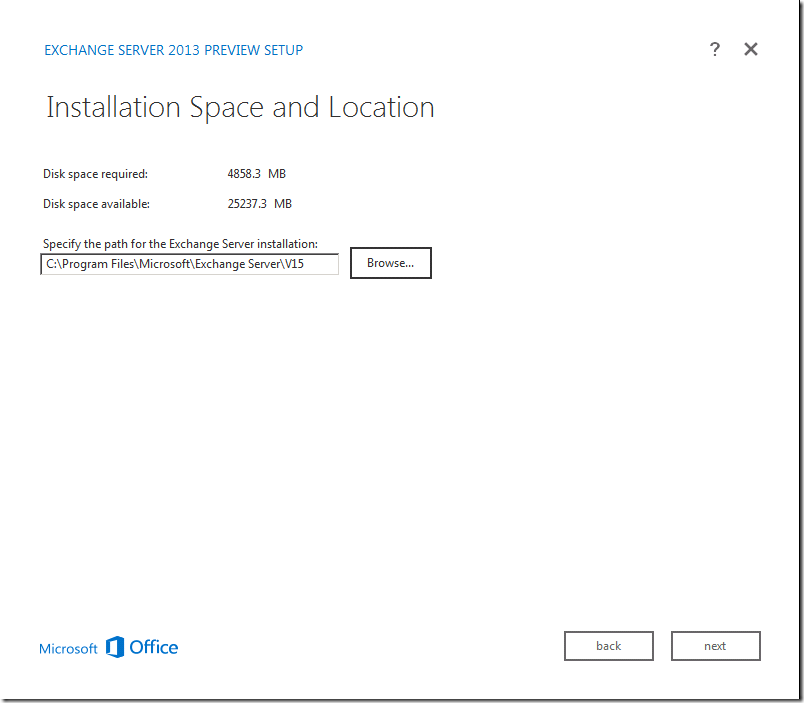
Choose Next

image

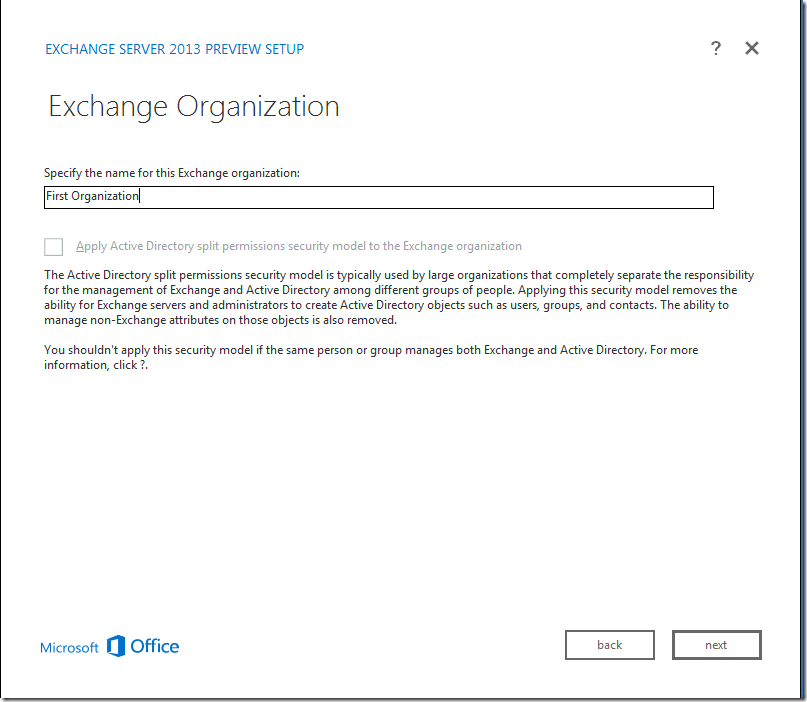
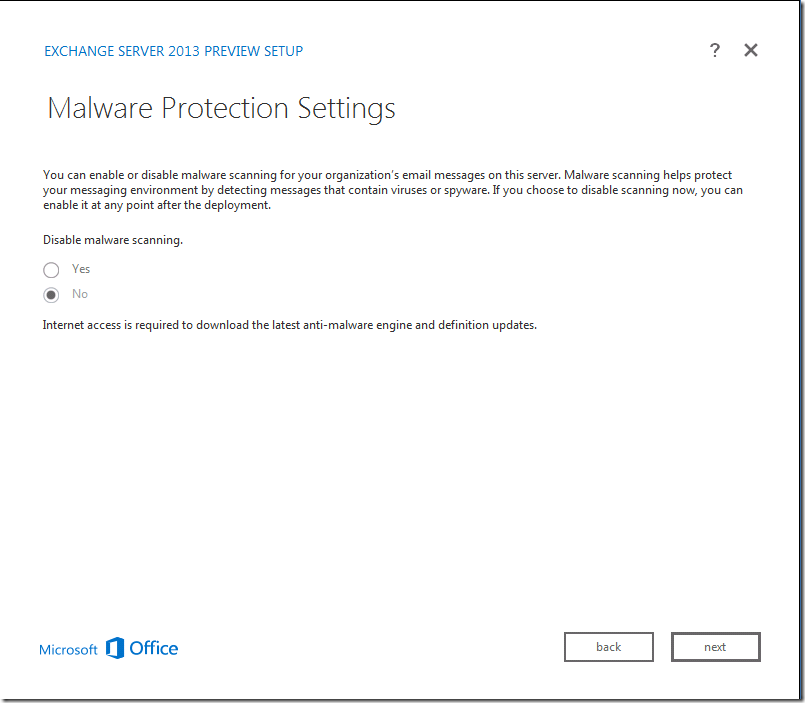
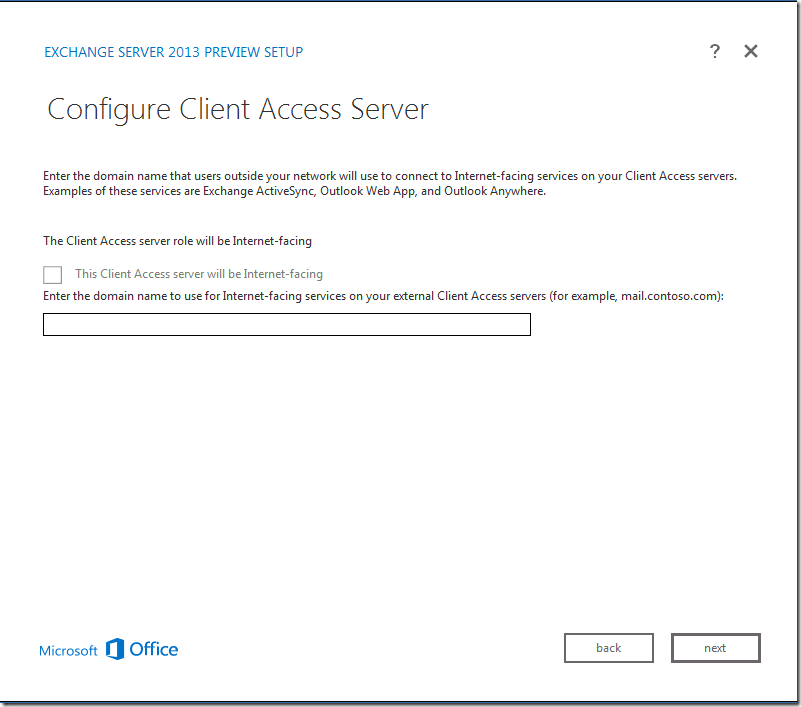
Choose Next

image

Choose Next

image

Choose Next

image

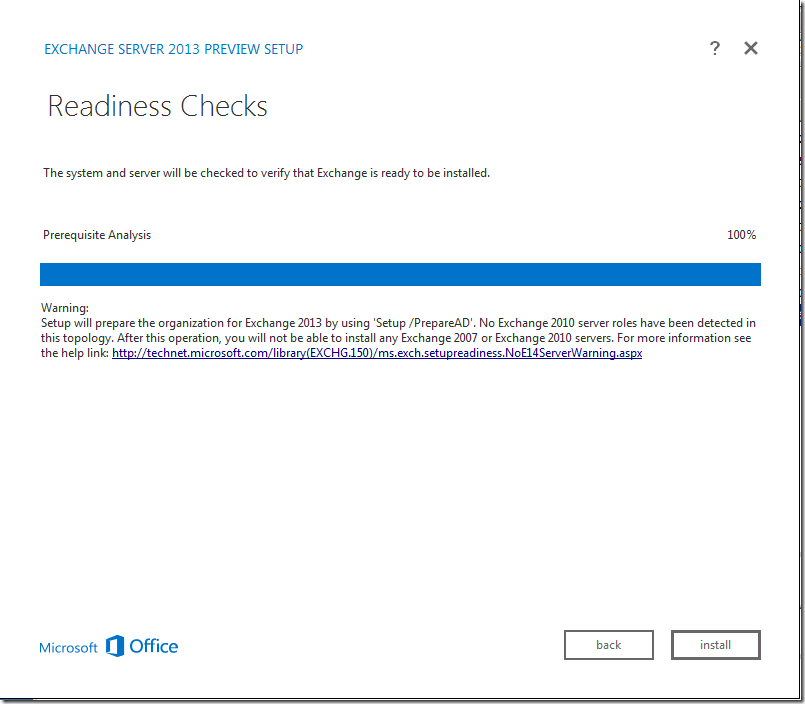
Choose Next


image


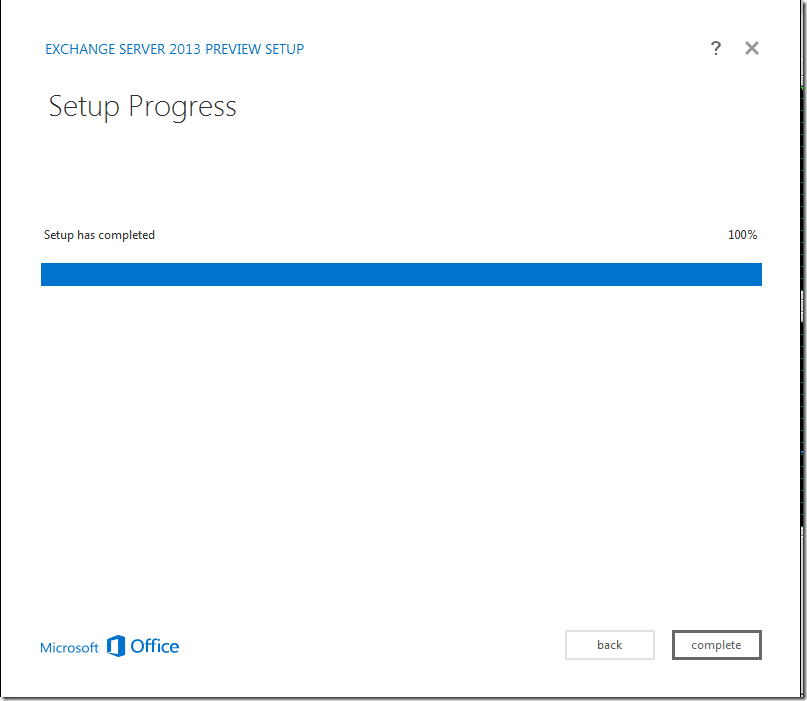
image

Great !!

You installed Exchange 2013 Preview Version Successfully !!


Microsoft Releases Exchange 2013 Preview Version !! – Download Exchange 2013 Preview Setup & Help Link

Atlast !!  Microsoft Releases its Next version Exchange 2013 !!

A Vast difference in Architecture

Microsoft Exchange Server 2013 has only Two Roles :

  • Client Access server role – All Client Requests hit only the Client Access Server Role as there is Hub Transport role anymore !!

Client Requests such as  Microsoft Office Outlook, Outlook Web App, mobile devices, POP, and SMTP and also accepts mail from and delivers mail to other mail hosts on the Internet.

High Availability – CAS array

  • Mailbox server role – It stores all the mailbox data, All requests from Client access Server for client connections proxied by the Client Access server,

It also handles Unified Messaging requests.

High Availability – database availability groups (DAGs).

The Exchange Administration Center (EAC) is the web-based management console in Microsoft Exchange Server 2013 Preview that allows for ease of use and is optimized for on-premises, online, or hybrid Exchange deployments.

The EAC replaces the Exchange Management Console (EMC) and the Exchange Control Panel (ECP)

image

Great right !! Hassle free Without any console issues and Less server requirement !!

You can Download the Help Link for Exchange 2013 to read it offline.

For On premises – Download

Microsoft Exchange Server 2013 


Before Downloading – Please Read the Important Guidelines from the Help Document

– The Edge Transport server role isn’t included with Exchange 2013 Preview

– Coexistence with Exchange 2007 or Exchange 2010 is Not supported with Exchange 2013 Preview.

Coexistence with Exchange 2007 and Exchange 2010 will be supported with Exchange 2013 RTM.

– So Exchange 2013 Preview can’t be installed in the same Active Directory forest as Exchange 2007 or Exchange 2010.

Use an Active Directory forest with no prior installations of Exchange 2007 or Exchange 2010.

–  Although you can create and manage public folder mailboxes from the Exchange Administration Center (EAC),

you can’t do some tasks yet like creating, retrieving, updating, and deleting public folders, and modifying permissions on public folders.

To work around this issue, use the Microsoft Office Outlook client to manage public folders.

– Address book Policies is not fully functional yet

I just had only the important lines above . Please read the help file for brief description

More to Come !!

See also –

Installing Exchange 2013 Preview on Windows Server 2008 R2 Sp1

How to Login to Exchange Administration Center (EAC) in Exchange 2013 Preview


How to Disable “User must change password at next logon” after cross forest move using ADMT 3.2

After moving mailboxes across forest using ADMT.

If users are using Password Export Server to Export their passwords

After moving the mailboxes across forest using ADMT.

Users will be prompted to change their passwords at their first logon

“You are required to change your password at first logon”

image

If you feel you got to disable that , You won’t able to disable it using GUI

Open Active Directory Users and computers – View – Advance Features

Go to User properties – Attribute Editor

Set “PwdLastSet” attribute to –1

image

Now User won’t be getting the below prompt

image

You can Search for Tools like Admodify to do it in bulk


How to Enable MRS Proxy and Increase timeout In Exchange 2010

The Mailbox Replication Proxy (MRSProxy) service is installed on every Exchange 2010 Client Access server. MRSProxy helps to facilitate cross-forest move requests and runs on the remote forest’s Exchange 2010 Client Access server. However, by default, MRSProxy is disabled

If we are going to do a Cross forest move mailbox ,

Source Forest Exchange 2010 Client Access Server should have MRS proxy enabled to facilitate the Remote move

If the Source Forest CAS servers are in a Cas Array

All Client Access servers in the Network Load Balancing (NLB) array must have MRSProxy started

Otherwise you will end up with an Error

image

 To Enable MRS Proxy

Set-WebServicesVirtualDirectory -Identity "EWS (Default Web Site)" -MRSProxyEnabled $true

image

To Increase Time Out

Browse to the Below Location

C:\Program FIles\Microsoft\Exchange Server\v14\ClientAccess\exchweb\ews

image

Open Web.Config Using Notepad

Browse to the bottom or Find Mrsproxy , Get to the Below Location

By default It will be “00:01:00” , Where if you feel MRS proxy gets to a idle time out we can increase that 20:00:00 minutes maximum

image

Take a Copy of the Web.config File , you can change to “00:20:00” minutes as below

image

Save And Close it

and Do a iisreset in your command prompt

Reference Link –

http://technet.microsoft.com/en-us/library/ee732395.aspx


How to Migrate Users Across forest (Cross Forest) using ADMT 3.2 with sid and Passwords

Once Trust is in place

Open Administrators Group in the Source Forest , Add Administrator of the Target Forest to acquire proper Permissions

Vice Versa

Open Administrators Group in the Target Forest , Add Administrator of the Source Forest to acquire proper Permissions

otherwise you will end up with Access denied errors while Moving Users back and forth

image

Once permission part is done

We have to configure a Password Export Server in the source domain to allow exporting the passwords to the Target domain

If your Source Domain DC is running a 64 bit Version

Password Export Server version 3.1 (x64)

If your Source Domain DC is running a 32 bit Version

Password Export Server version 3.1 (x86)

Choose Next

image

Before you choose next , We need to create a password Encryption file from the Target Domain

Reference –

Enabling Migration of Passwords

http://technet.microsoft.com/en-us/library/cc974435(v=ws.10).aspx

Open a Command Prompt where ADMT is installed on the Target Domain , Run the Below Command to Create a .pes file

admt key /option:create /sourcedomain:<SourceDomain> /keyfile:<KeyFilePath>

image

Once the File is Created on the Target Domain , Bring the File to the Source domain and Browse for the file

image

image

Click Finish

Reboot the Server to complete the installation

Start the “Password Export Serve Service”

image

Now Open ADMT , Choose User Account Migration Wizard

image

Choose Source Domain and Target domain

image

Now Select users from Domain.

If you want to Choose Custom set of users from a CSV file , See below link

How to Prepare a Include File For ADMT 3.2

image

image

Choose the Target OU

image

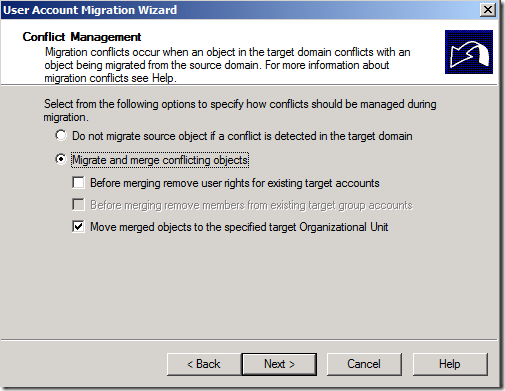
Choose Migrate Passwords

image

Choose Target Same as source

Choose Migrate User SIDS to Target Domain

image

Type User name and Password of the Source domain

image

Choose Next

image

Choose Next

image

Choose Next

image

image

Great !!

Now Users with SID and Password have been migrated across forest (Cross forest) Successfully

× How can I help you?