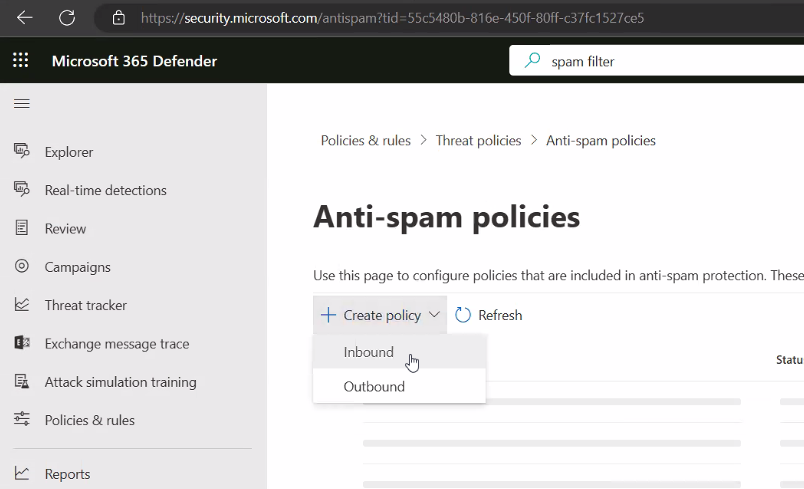
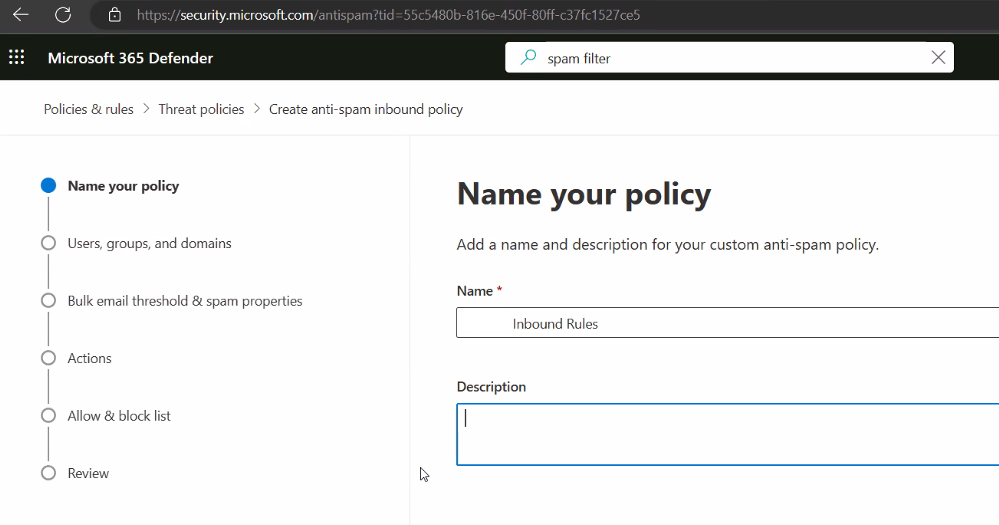
Let’s see how to optimize anti-spam settings in Microsoft 365. Anti-spam settings can be modified from the protection portal of Microsoft 365. By default, this service is available for all Exchange online users.
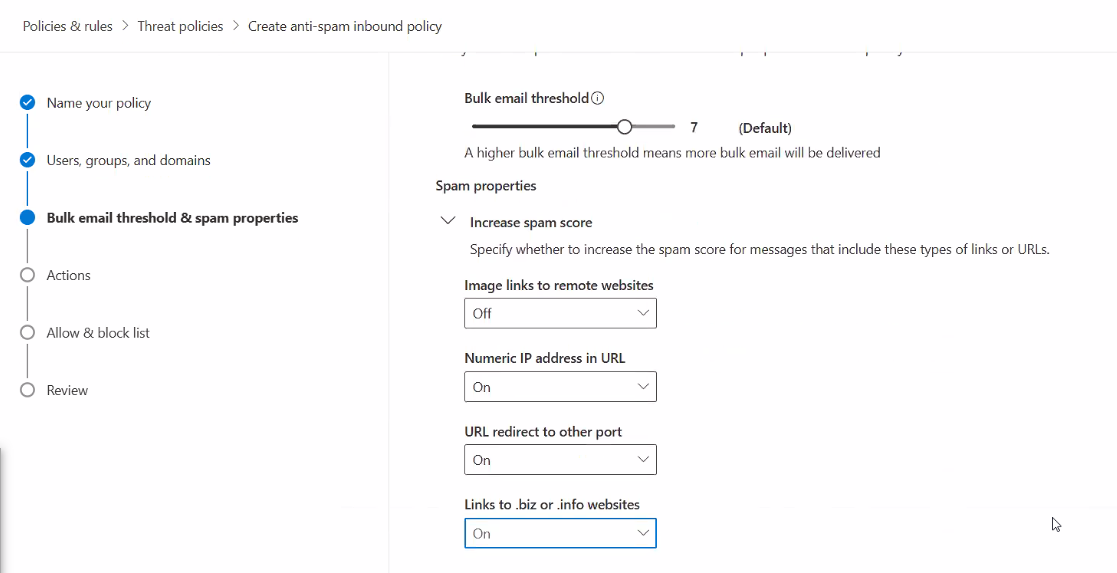
Spam Properties – Increase Spam Core – Turned on below.
Number of IP Addresses in URL
URL to biz or info websites
URL Redirect to other Port
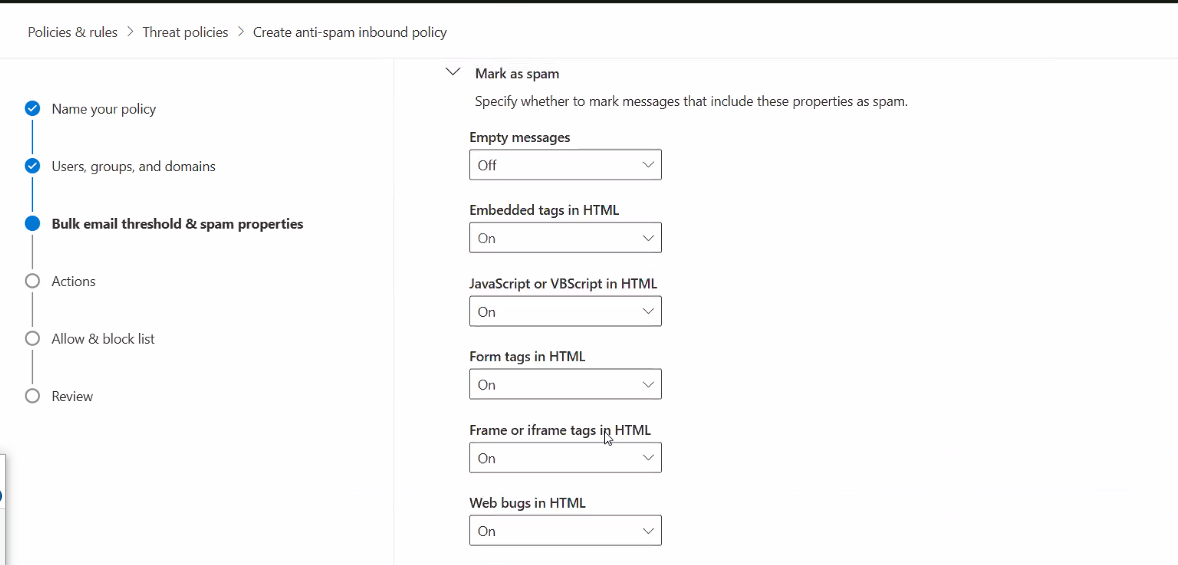
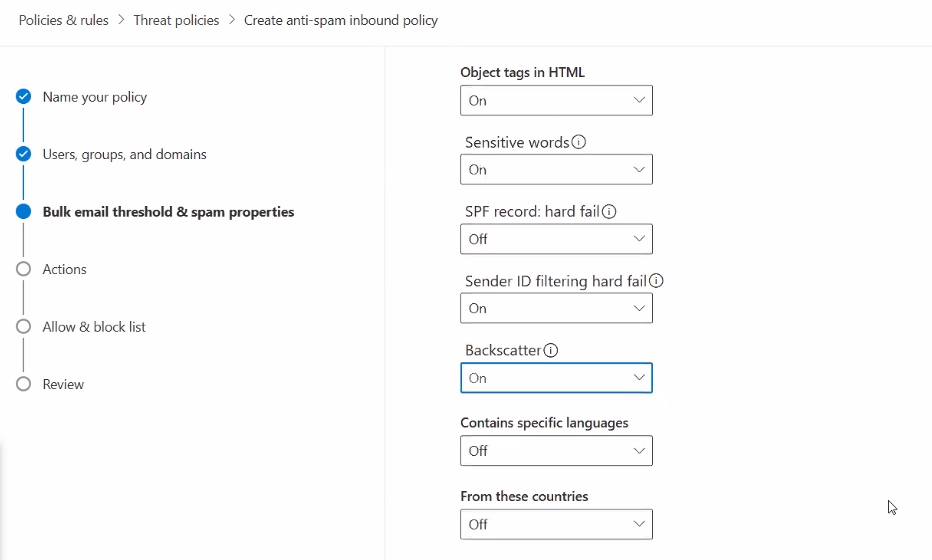
Spam Properties – Mark as Spam – Turned on below.
Embed tags in HTML
JavaScript or VBScript in HTML
Form Tags in HTML
Frame or IFrame Tags in HTML
Web bugs in HTML
Object tags in HTML
Apply sensitive words list.
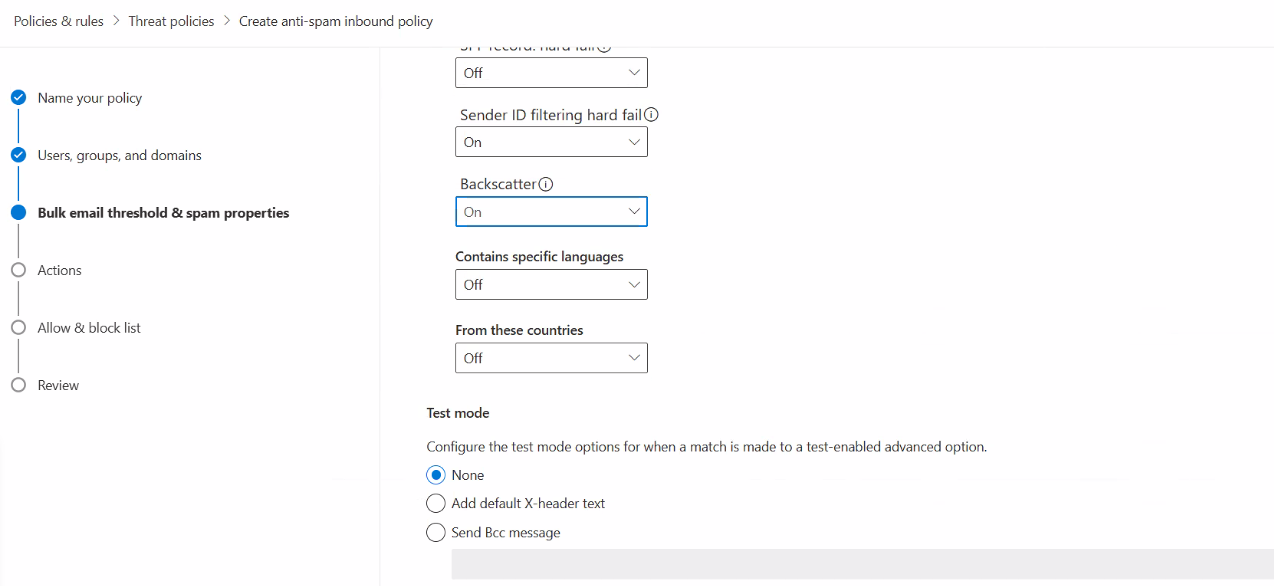
SPF Record Hard fail
Conditional Sender ID filtering – Hard Fail.
NDR Backscatter.
...
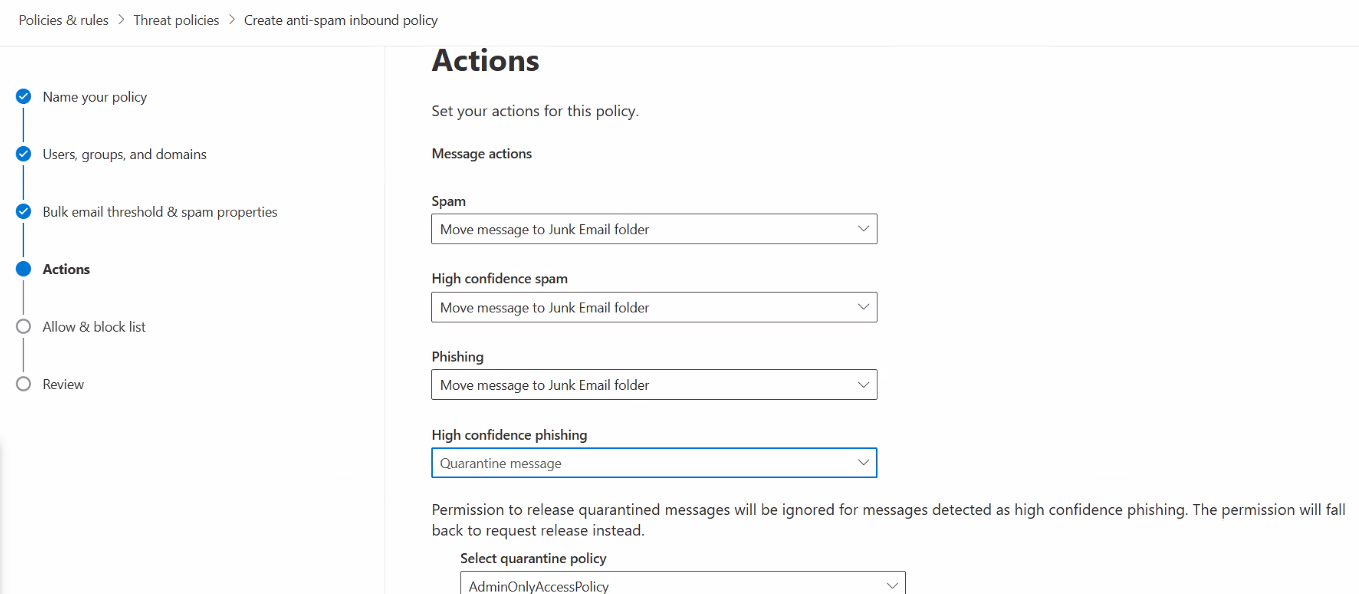
Default Spam Filter Policy – Edit Policy –
Spam and Bulk actions –
Spam
High Confidence Spam
Phishing Email
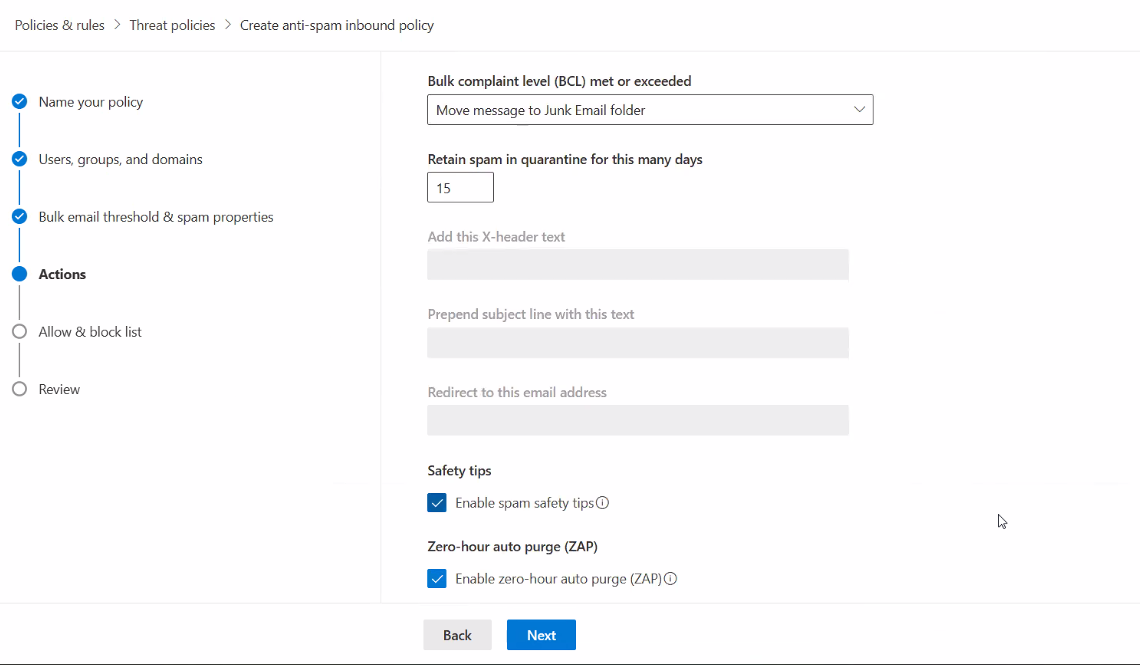
Bulk Email
All Set to – Move Message to Junk Email Folder
So that all sort of emails are in the junk. As this specific org doesn’t want to release email from quarantine. Please set as per the organization needs.
.
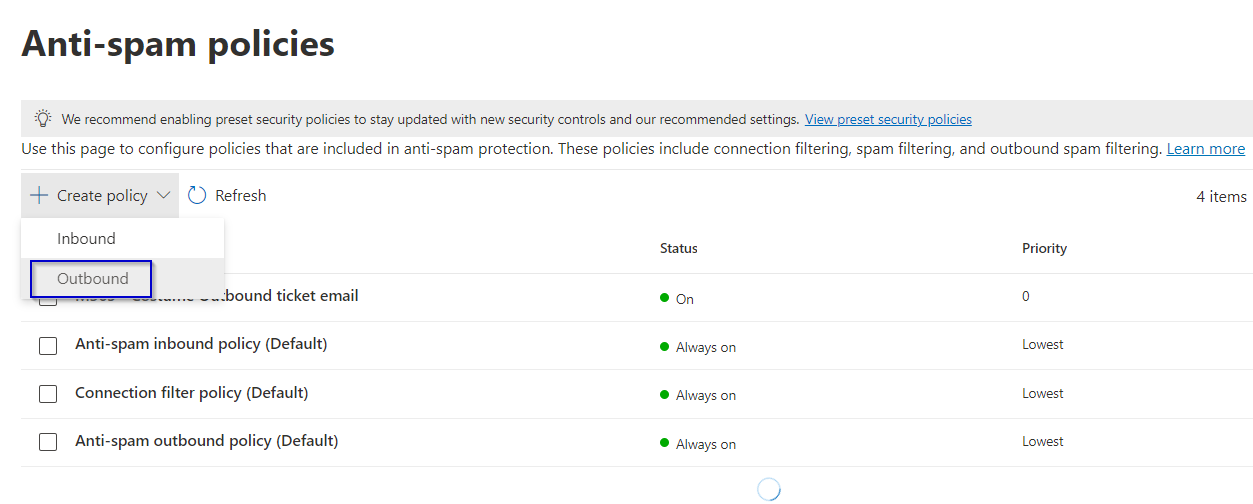
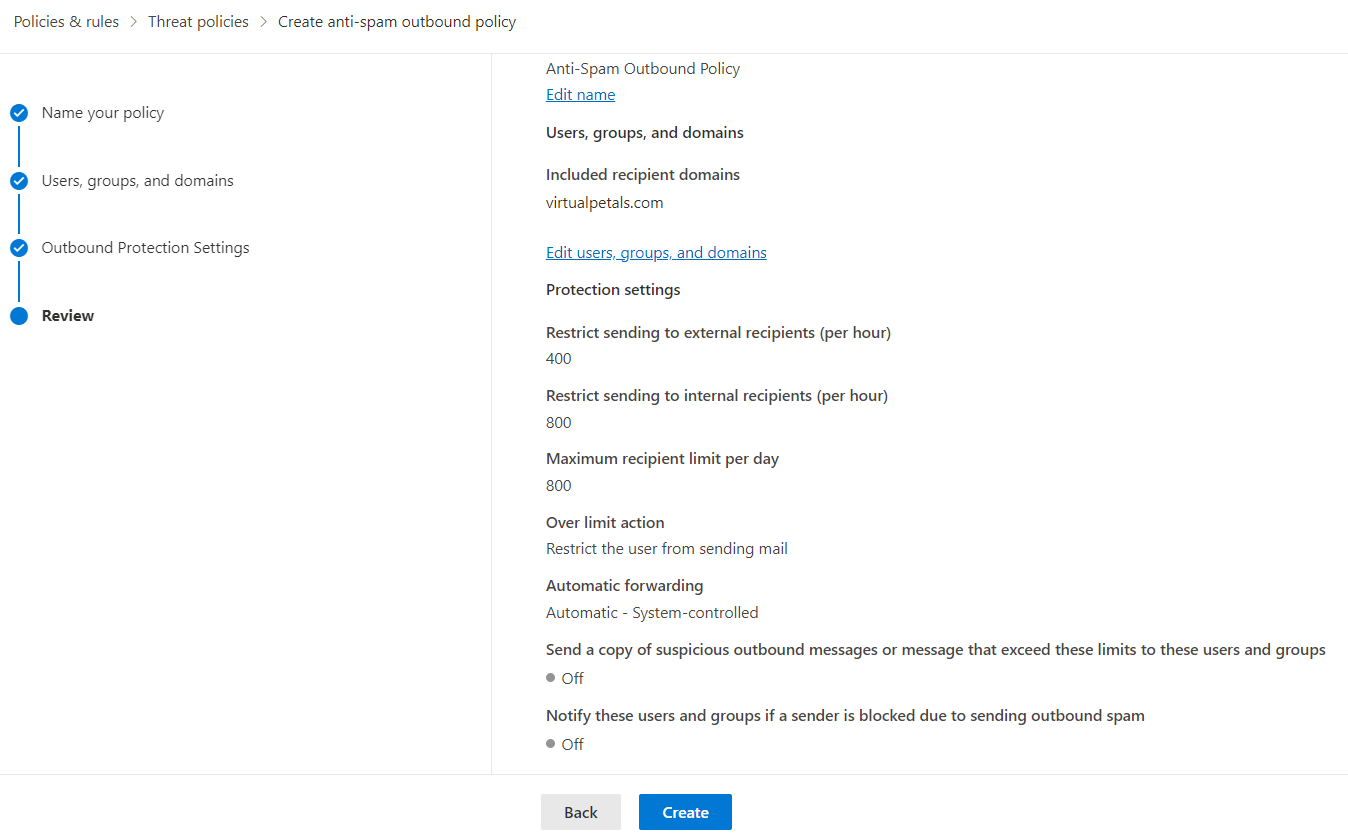
Outbound Policy
....
So far these settings have worked out for me very well , have applied the same in few office 365 tenants.
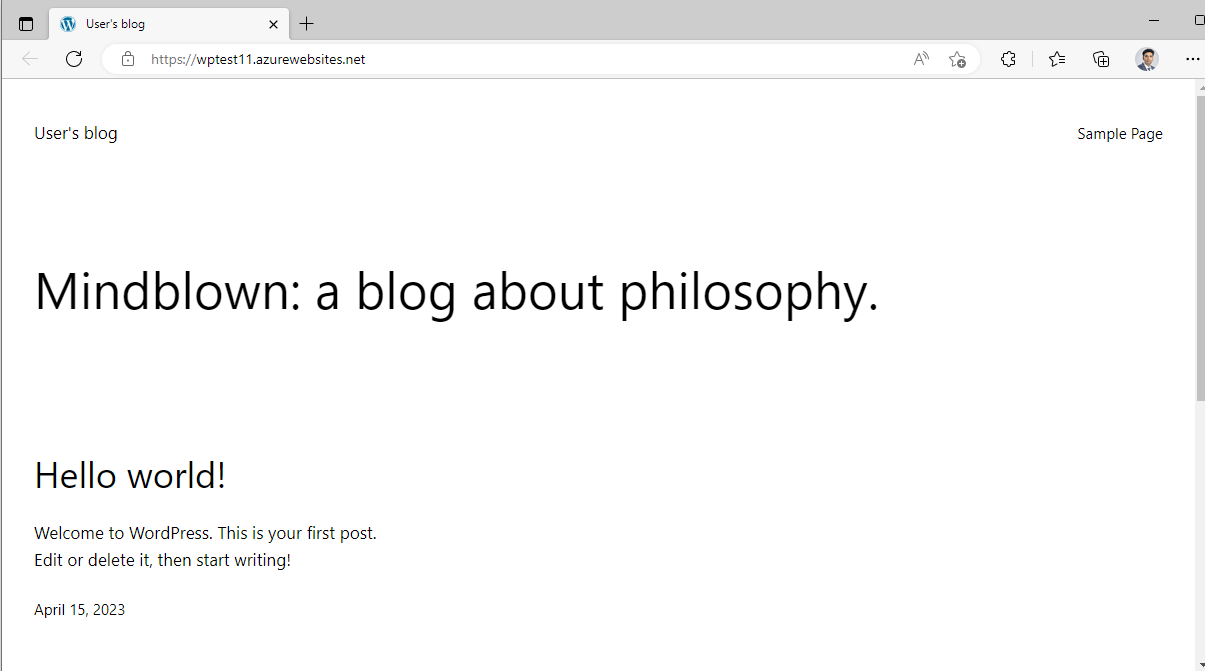
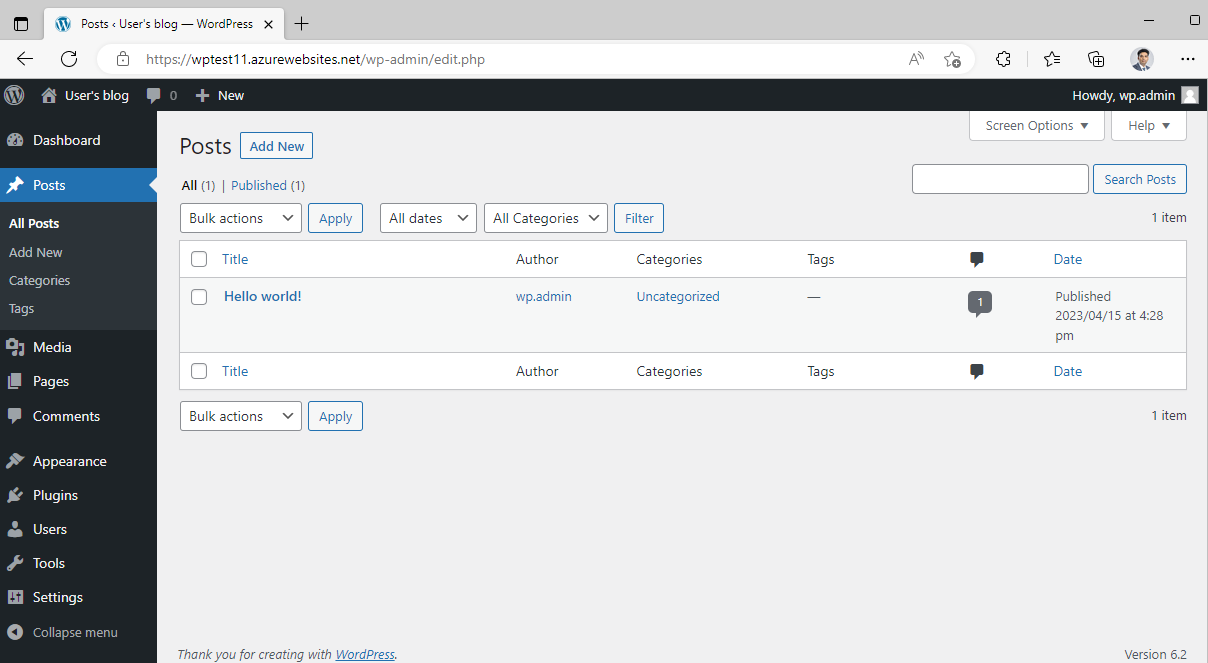
Docker Compose is a powerful tool for defining and running multi-container Docker applications, and it can be used to deploy applications on Azure App Service. With Docker Compose, you can define a complete application stack, including containers for the application itself, its dependencies, and any other services needed to function. By using Docker Compose to define the application stack, you can ensure that the application runs consistently across different environments, making it easier to move the application between different cloud providers or between development, staging, and production environments.
Simplified Deployment: Docker Compose provides a simple way to define and deploy multi-container applications, making deploying and managing Bitnami WordPress in App Service easier.
Consistent Environment: Docker Compose ensures that Bitnami WordPress and its dependencies run in a consistent environment, regardless of the underlying host operating system or hardware.
Portability: Docker Compose enables you to define the application stack in a portable way, allowing you to move the application between different environments or cloud providers easily.
Scalability: Docker Compose makes it easy to scale the Bitnami WordPress deployment by adding or removing containers as needed, enabling the application to handle increased traffic or workload.
Isolation: Docker Compose allows you to isolate the Bitnami WordPress application and its dependencies from the host operating system and other applications, improving security and stability.
Easy Updates: Docker Compose lets you easily update the Bitnami WordPress application and its dependencies to the latest version without affecting other applications running on the same host.
Resource Efficiency: Docker Compose enables you to optimize resource utilization by running multiple containers on the same host, reducing costs and improving performance.
.
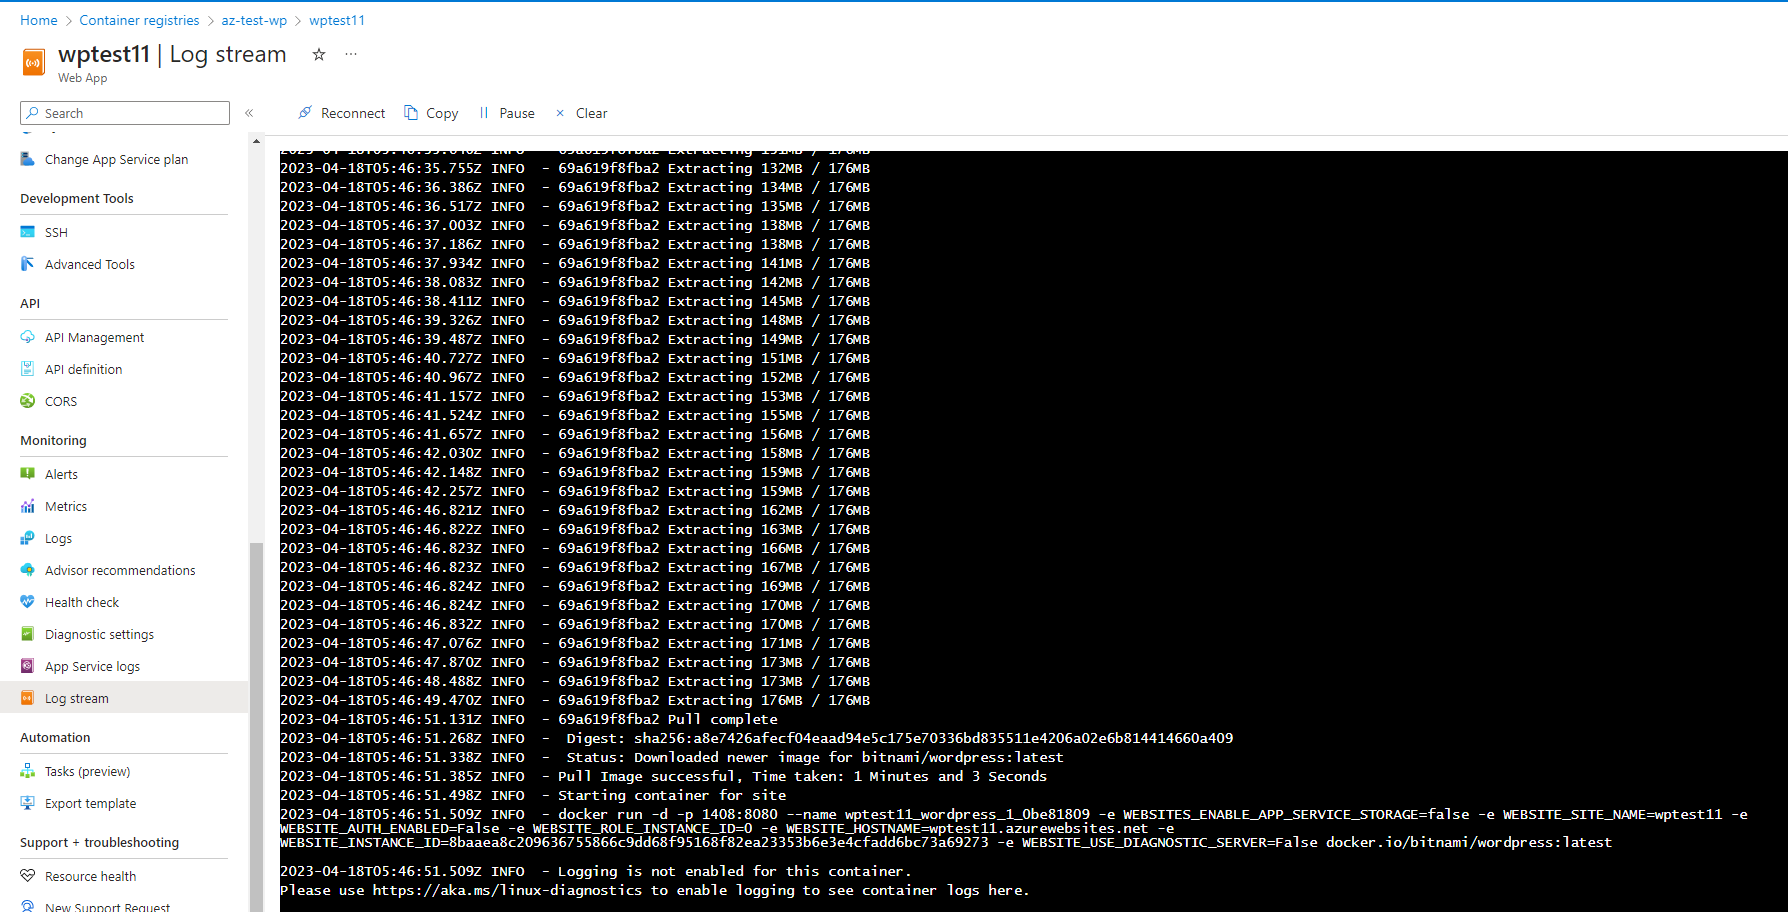
Paste this yaml file in the config location of the Azure App service and save it.
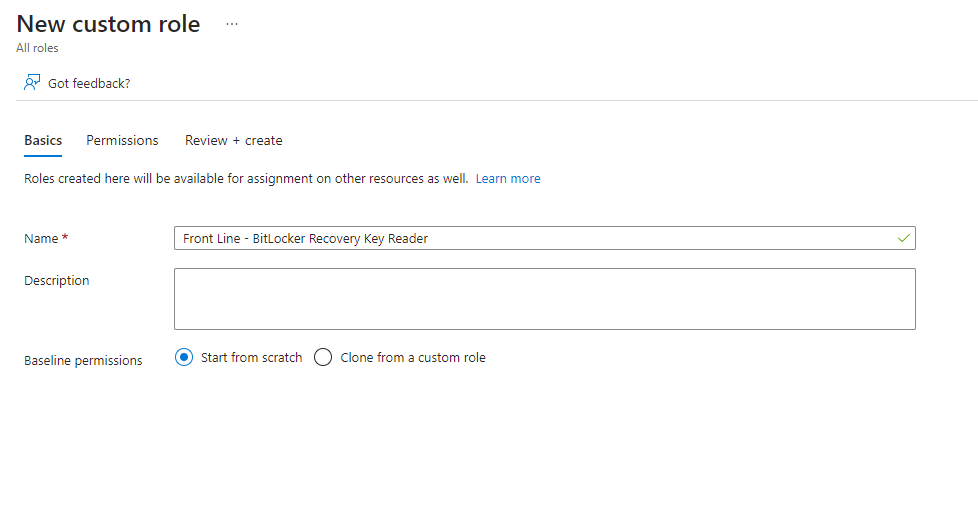
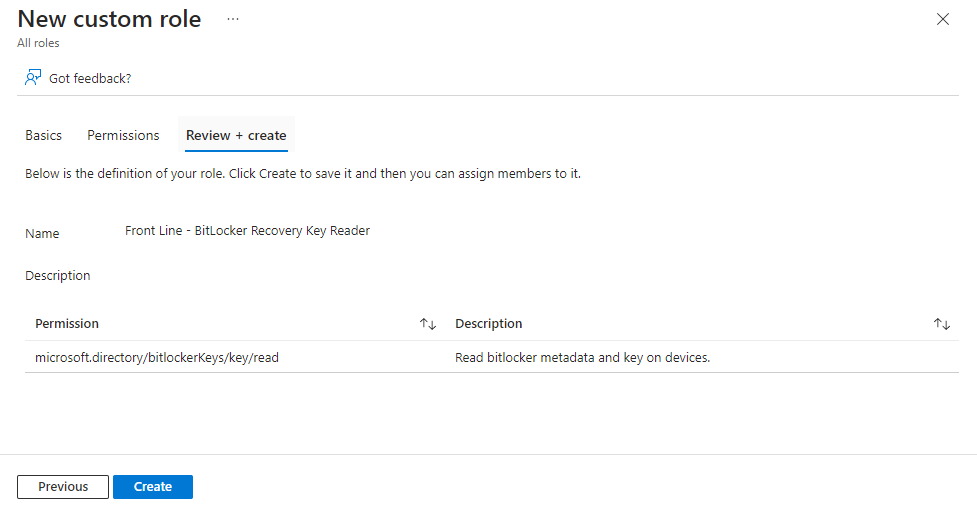
Custom Bit locker Role to Read Recovery Keys only through administrative units. So that the frontline team can access recover keys only and not do anything else with the devices.
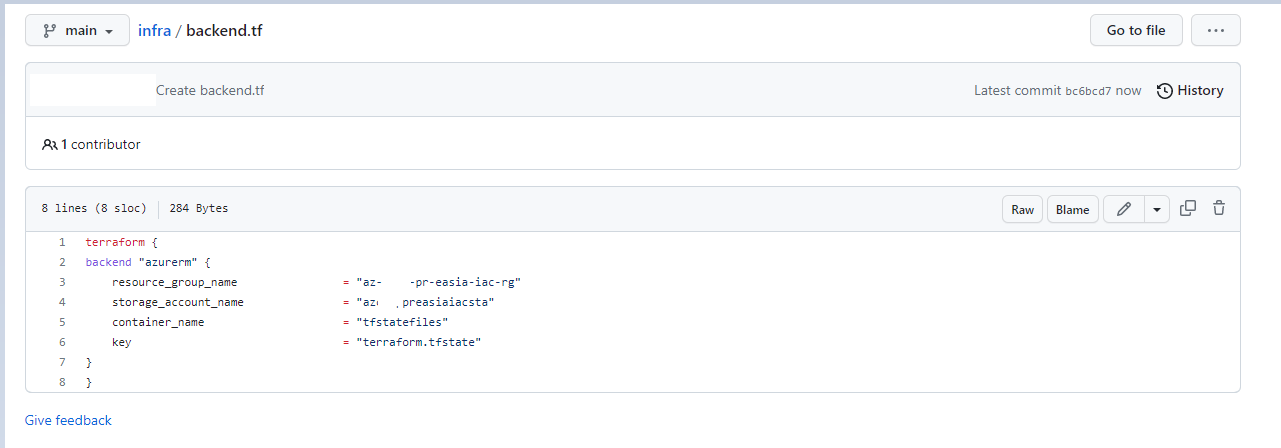
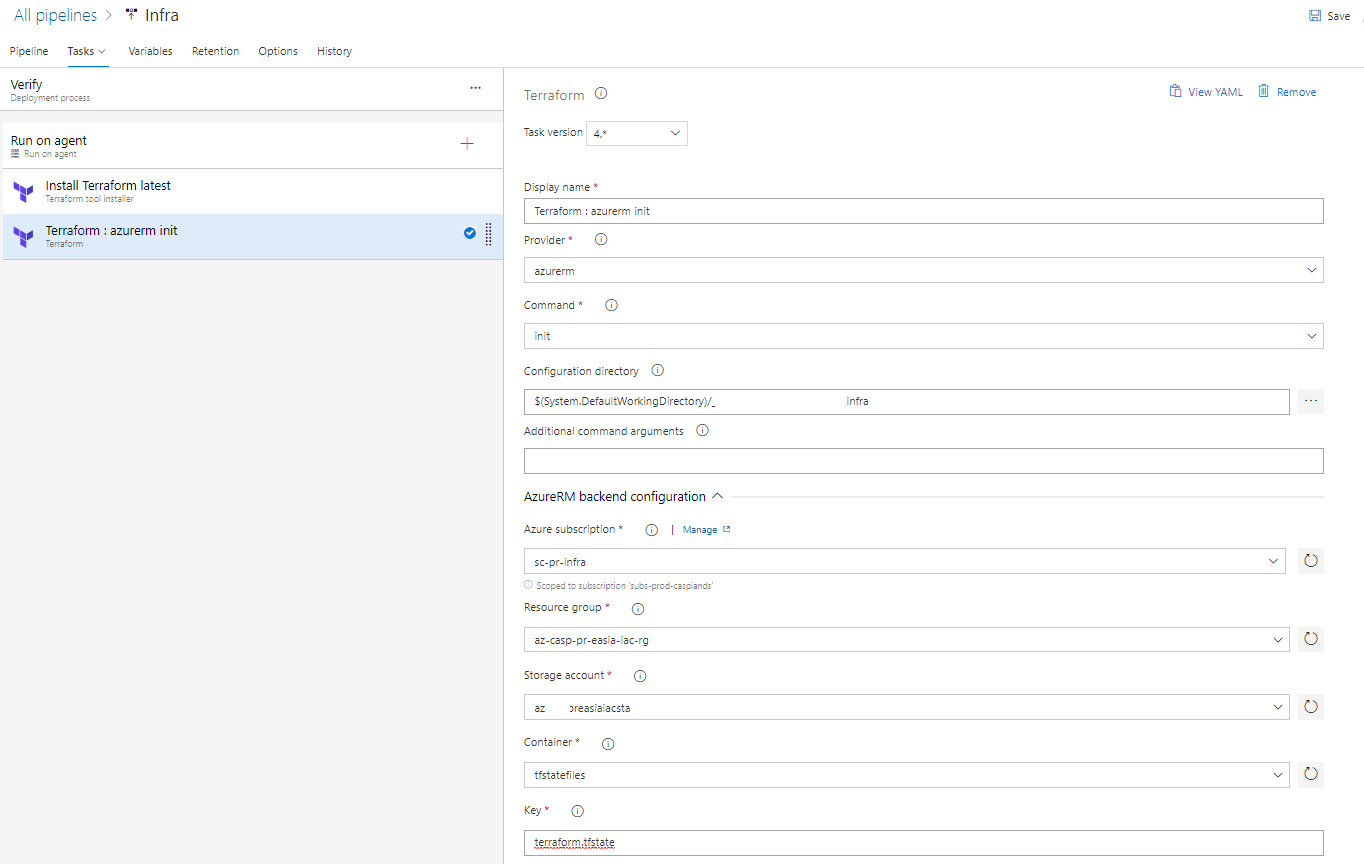
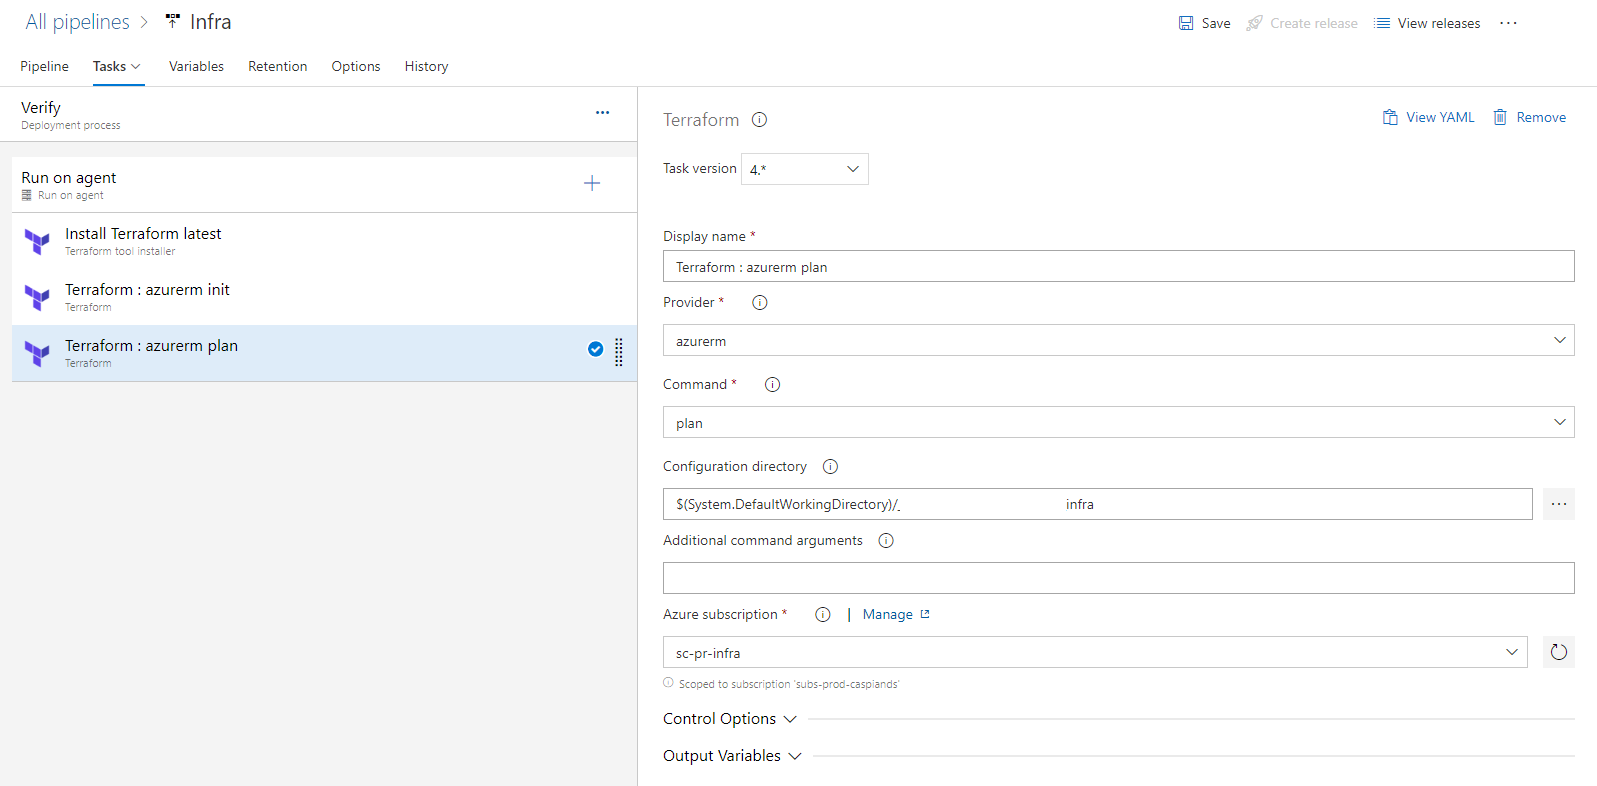
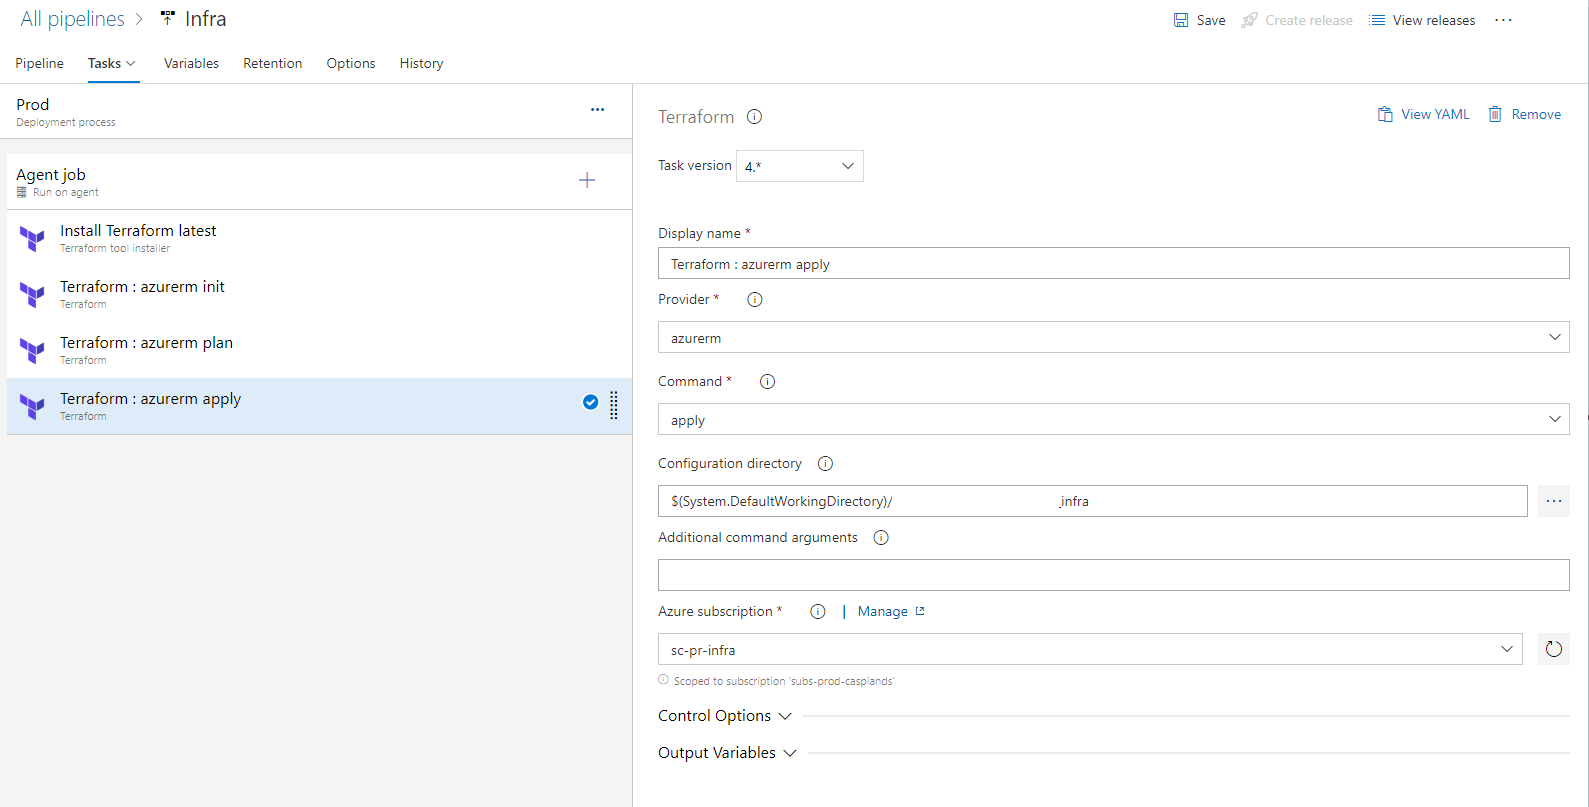
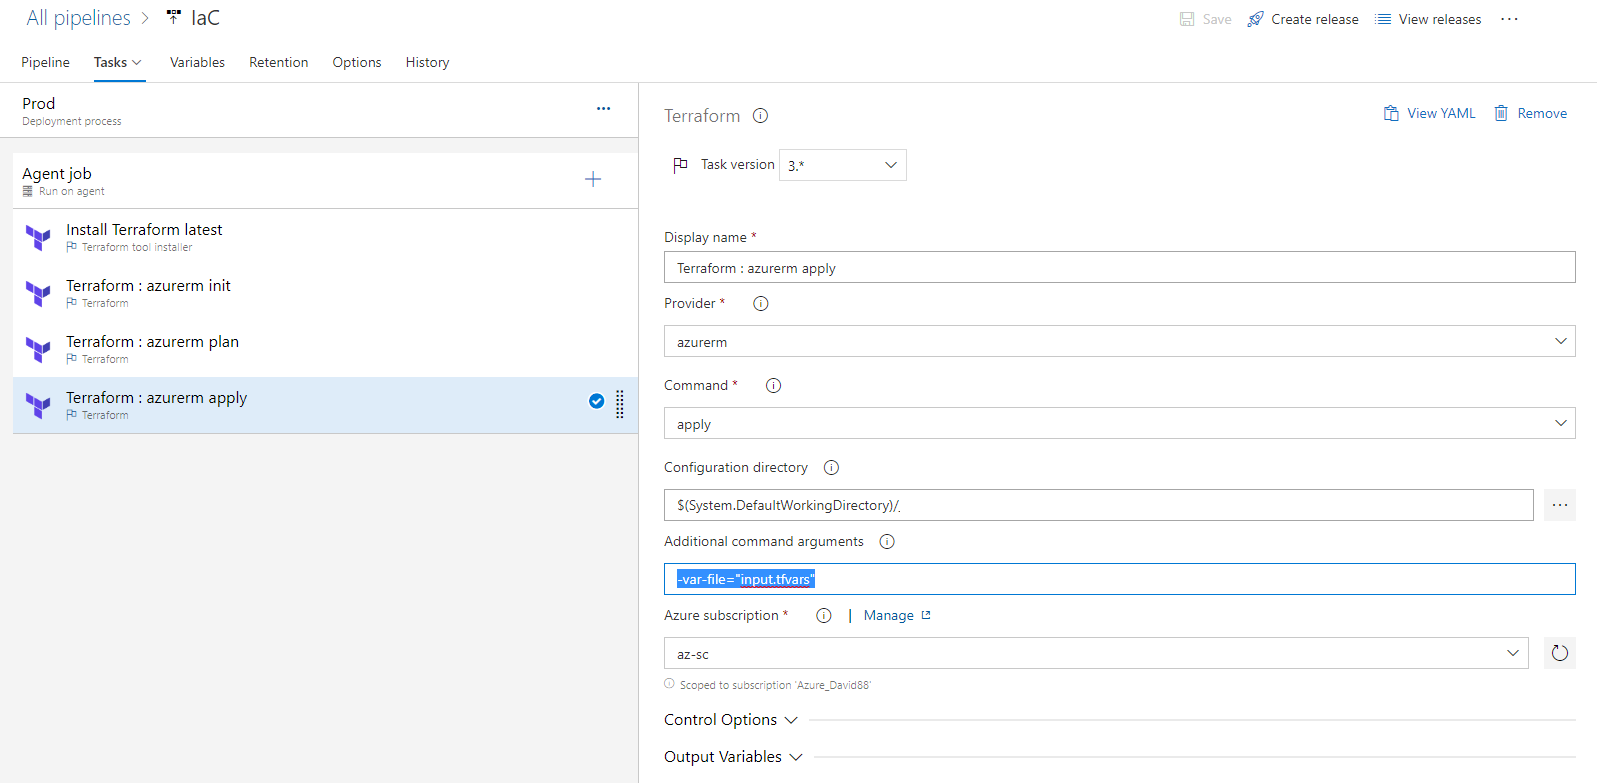
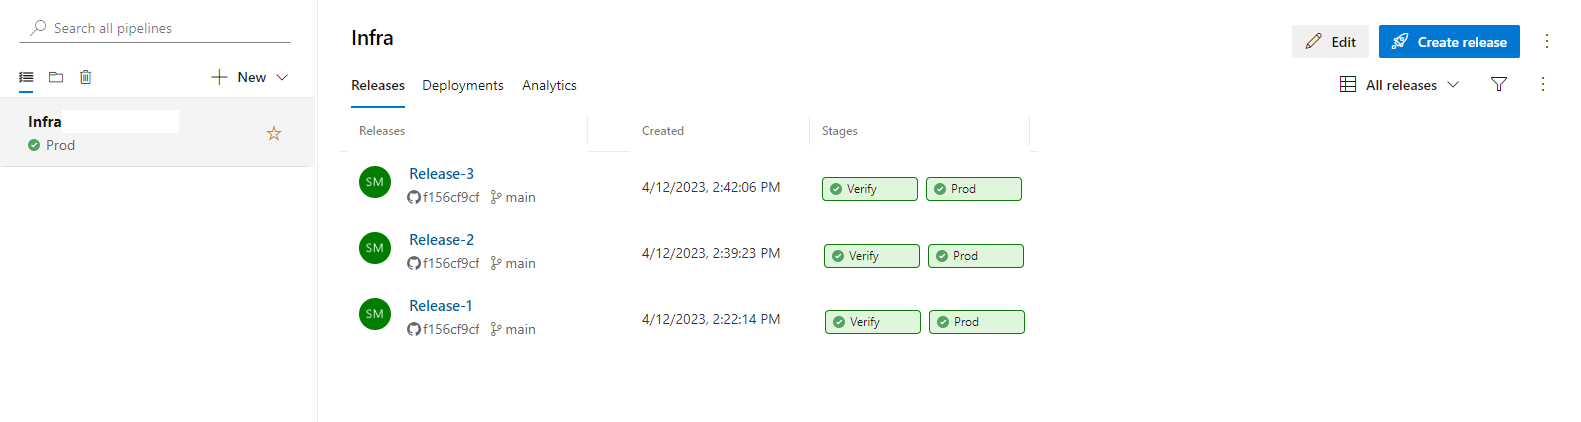
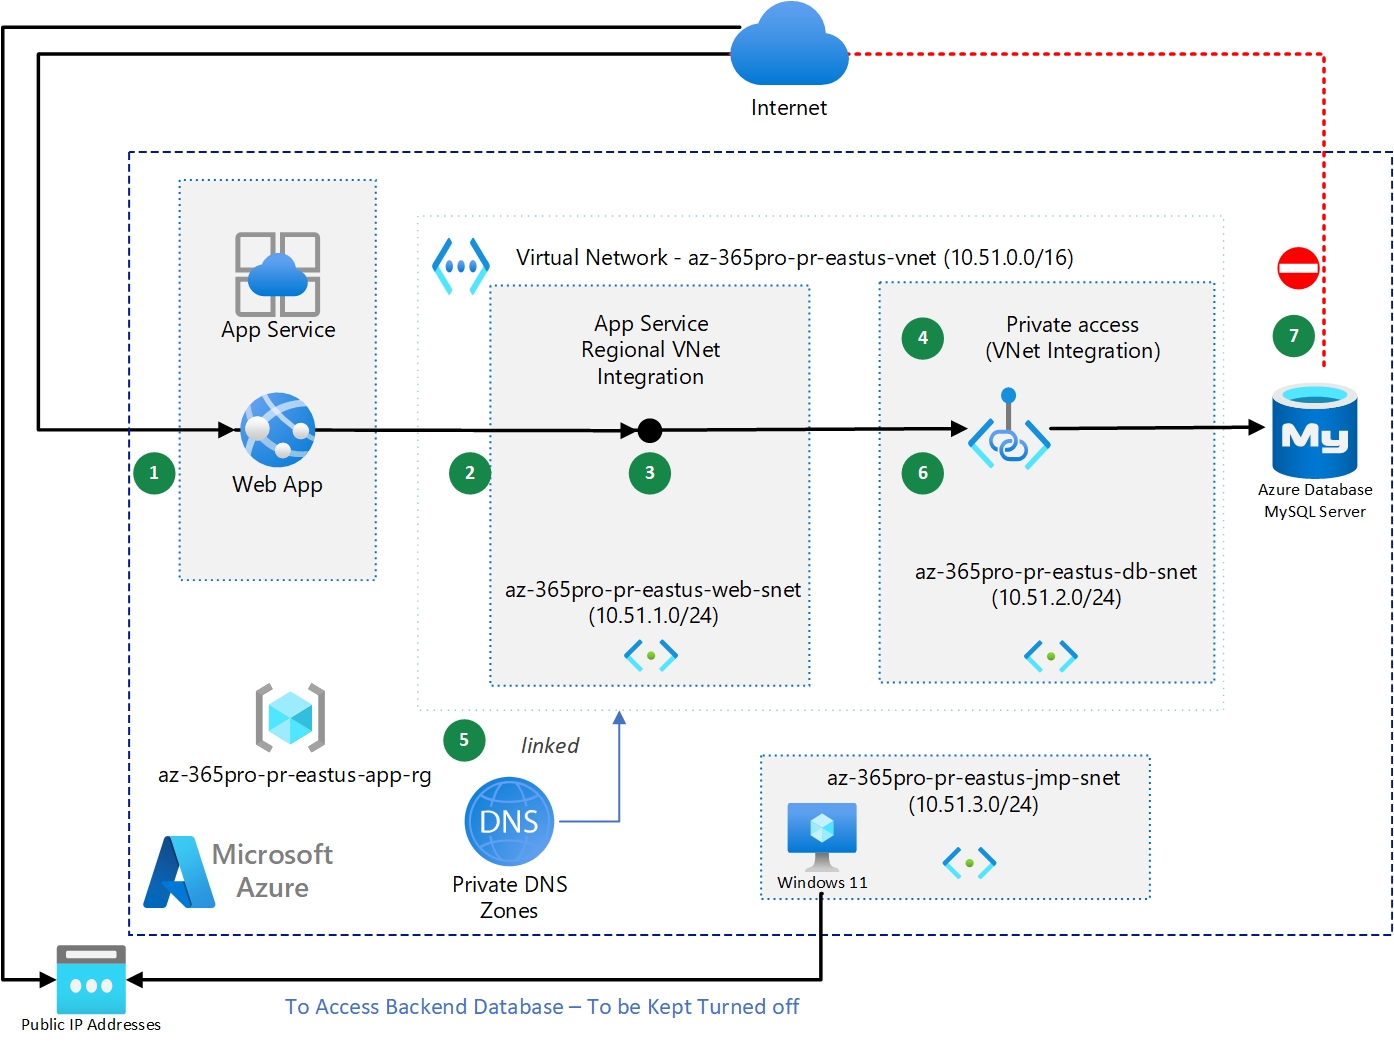
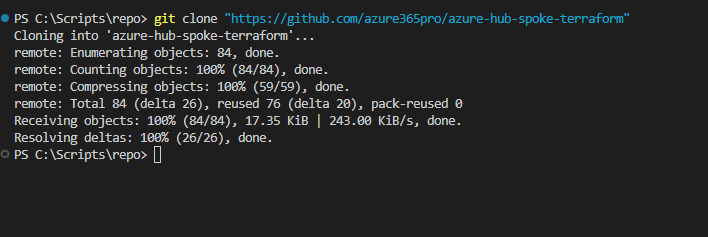
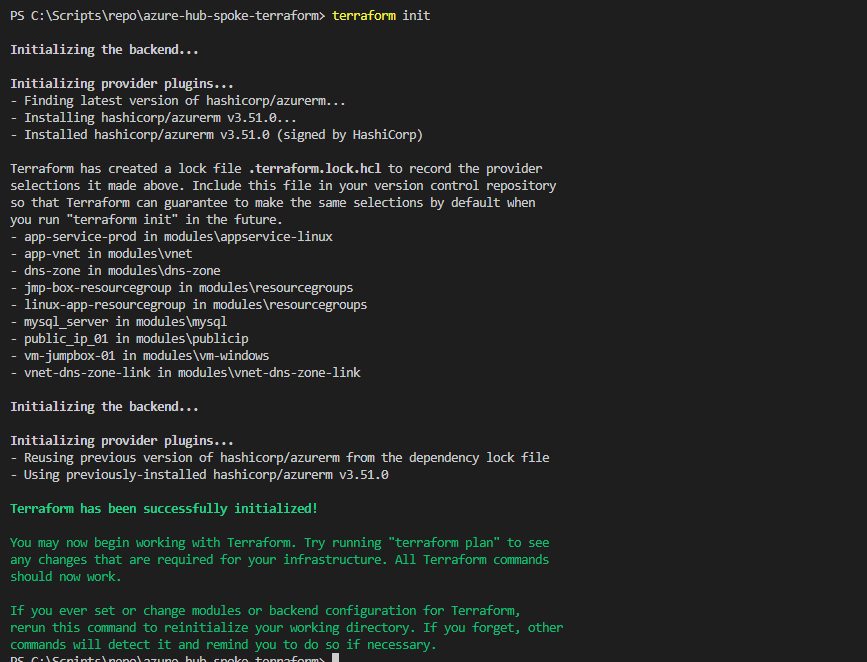
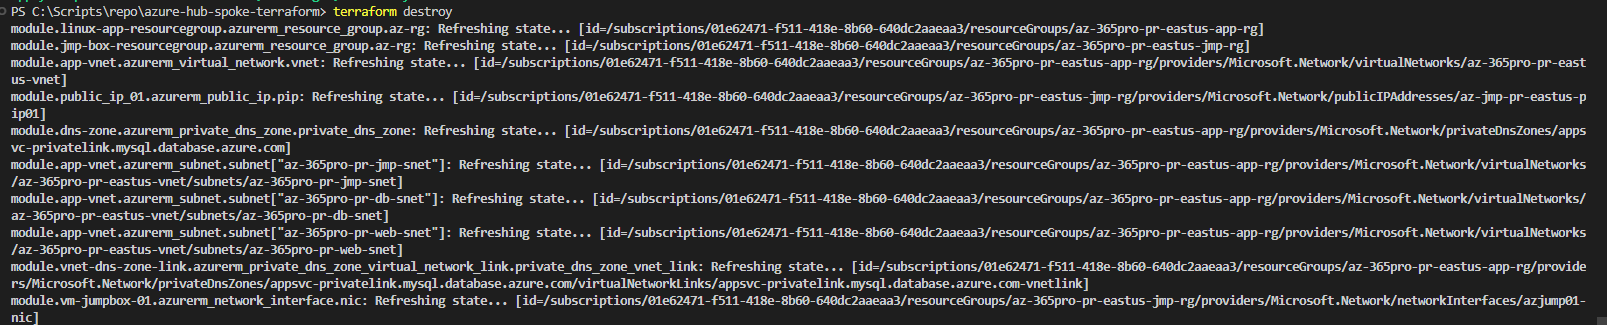
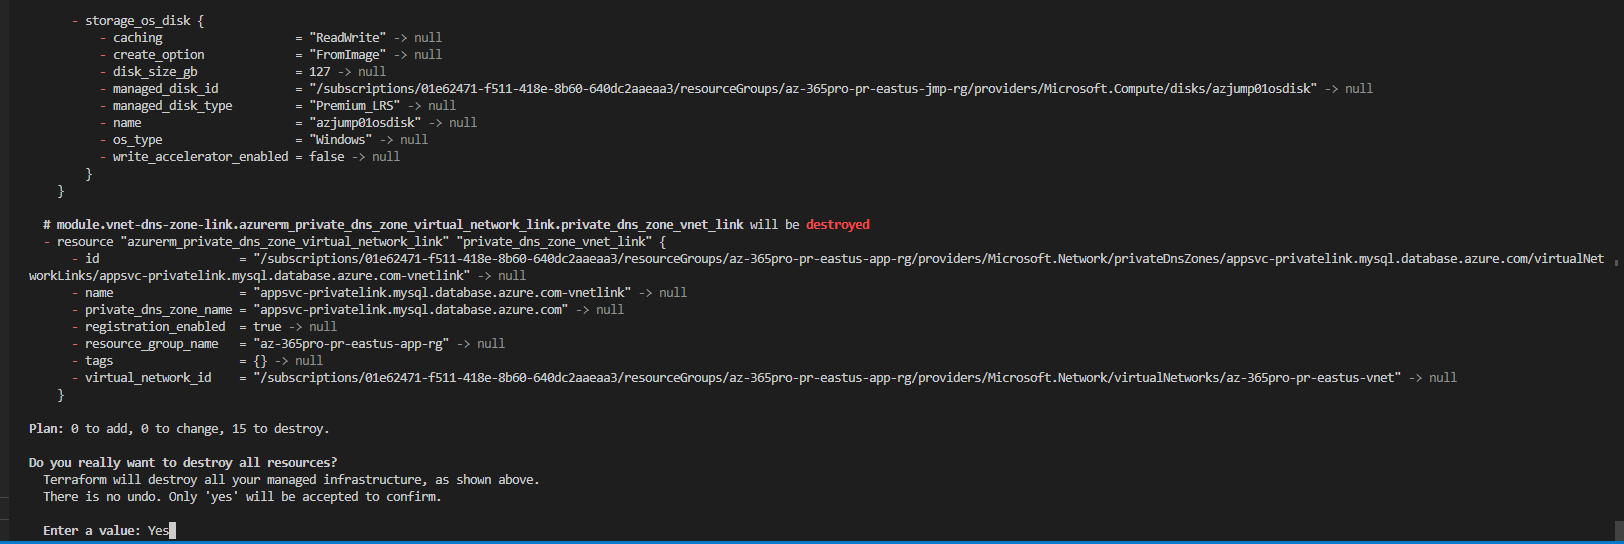
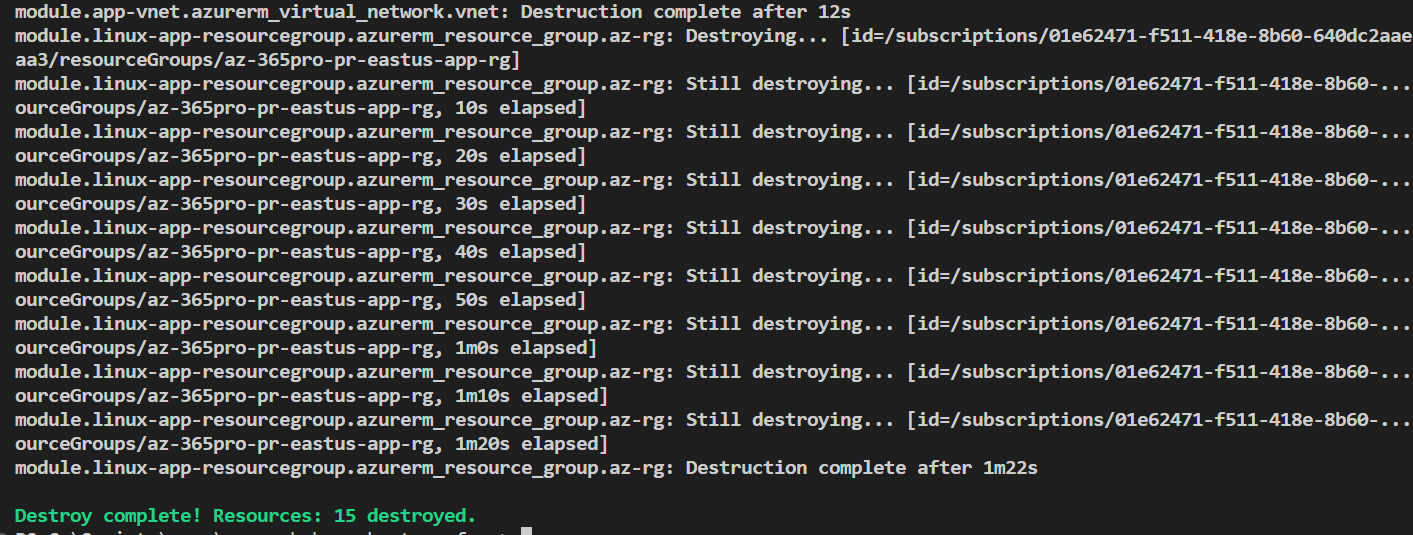
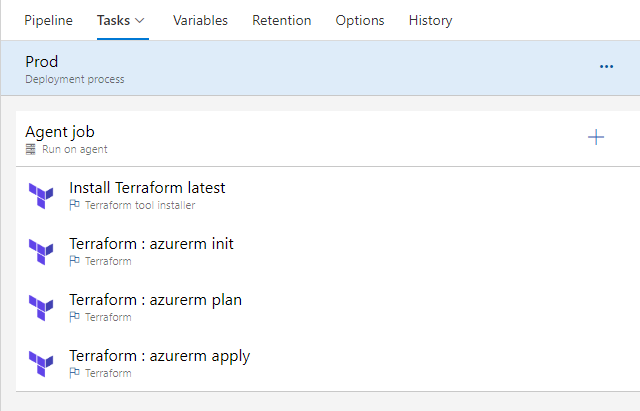
We will deploy the resources below using Terraform reusable modules utilizing the Azure landing zone concept, part of the Cloud Adoption Framework (CAF). In this setup, we are talking about only infra resources; if you are new to Terraform, the same concept has been explained using the Azure Portal; I have spoken about Azure Management Groups and Subscription Planning in this link – Azure Management Groups and Subscriptions Design.
Azure landing zone design that accounts for scale, security governance, networking, and identity, which enables seamless application migration, modernization, and innovation at the enterprise scale in Azure. This approach considers all platform resources like infrastructure (Iaas) or platform as a service.
Benefits of Azure Landing Zones –
Good Governance ( Like you can place a policy in the overall environment that no internet-exposing storage accounts can be provisioned)
Scalability (Multi Datacenter or Improving the design with Virtual WAN should be seamless)
Cost Savings (Segregated billing with subscriptions – Overall Control or like can apply Hybrid benefit using policies)
As the requirement to start from small, Azure Firewall or Azure Application Gateway is not consumed in this design
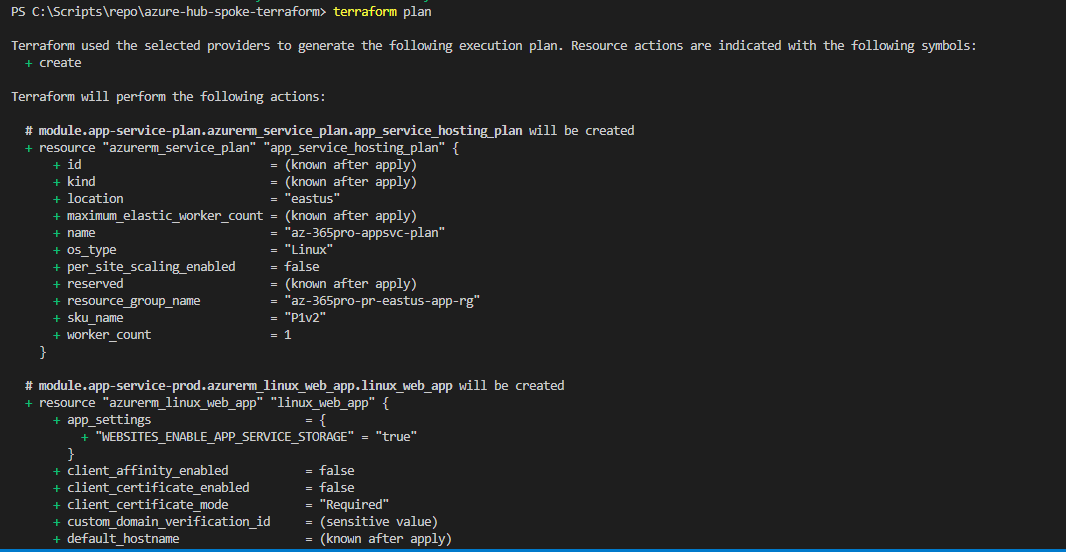
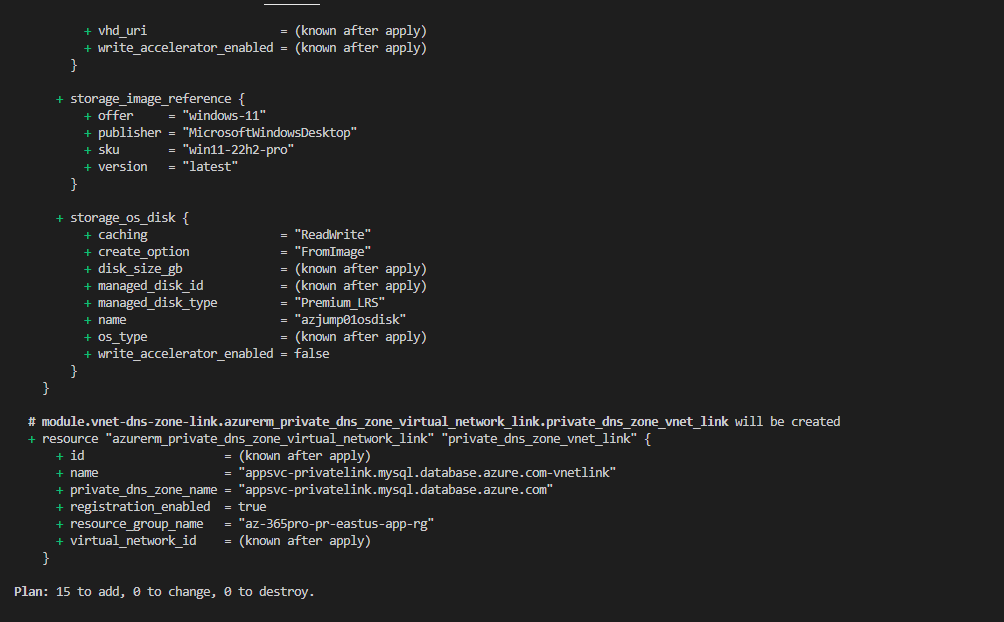
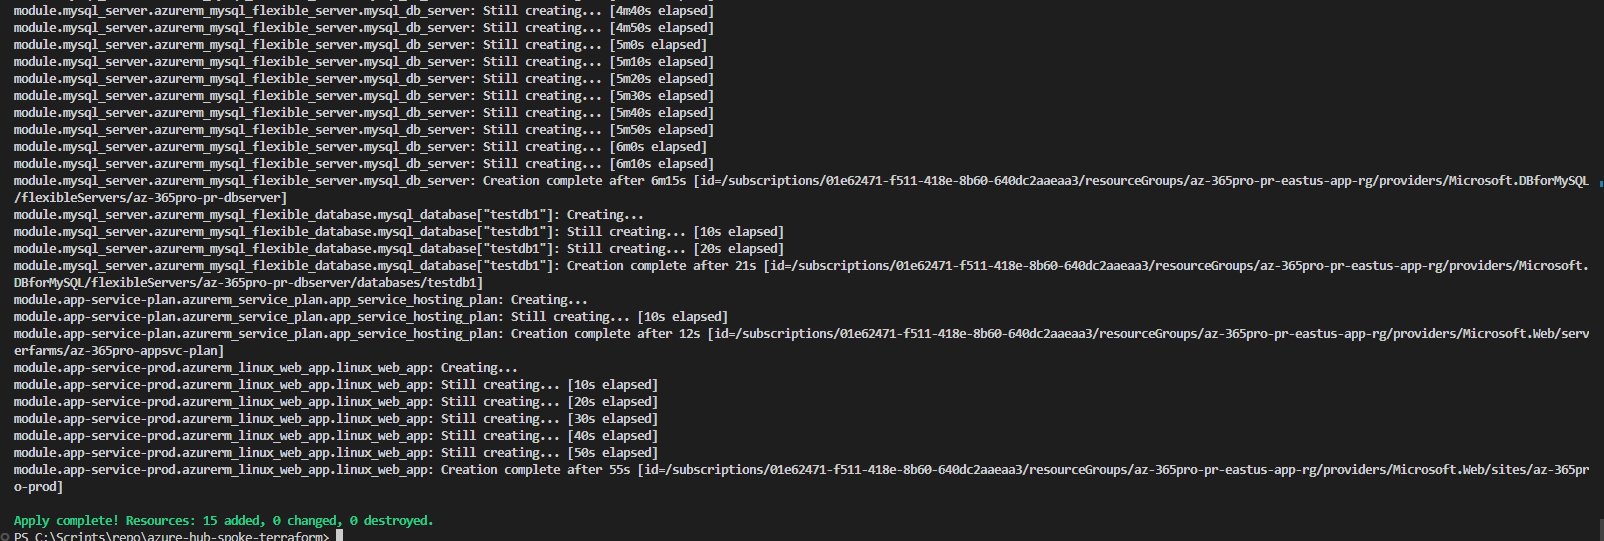
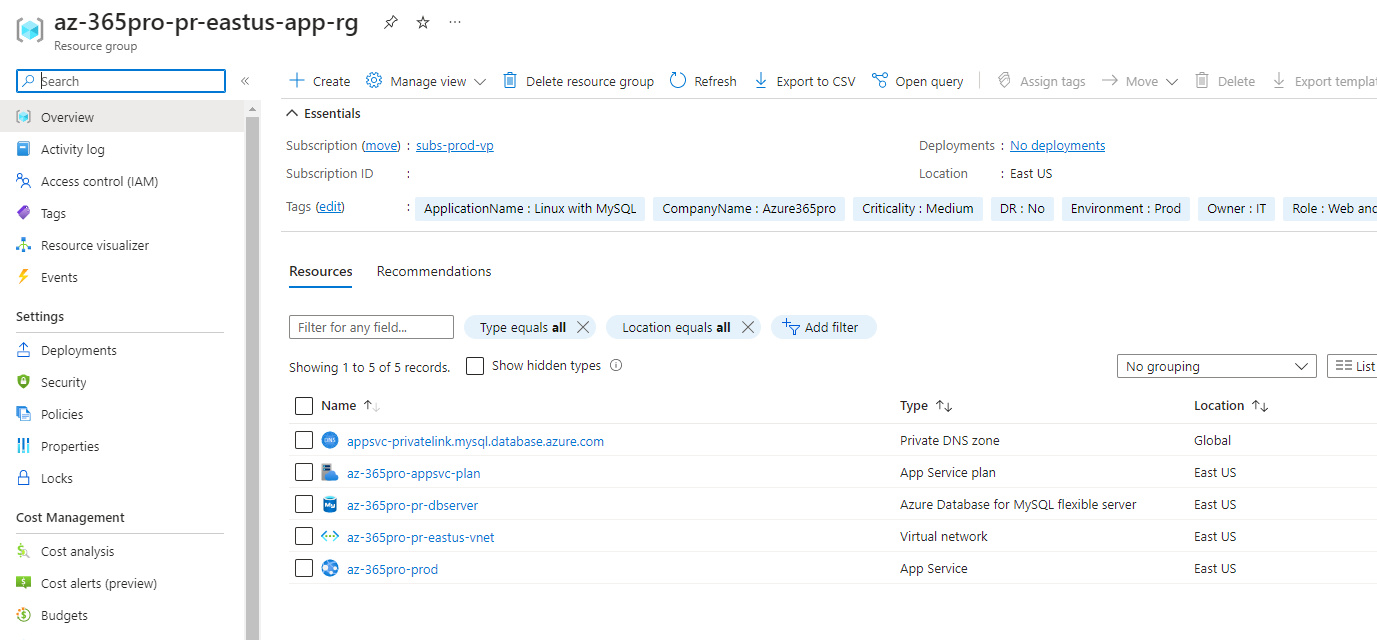
Resources Provisioned –
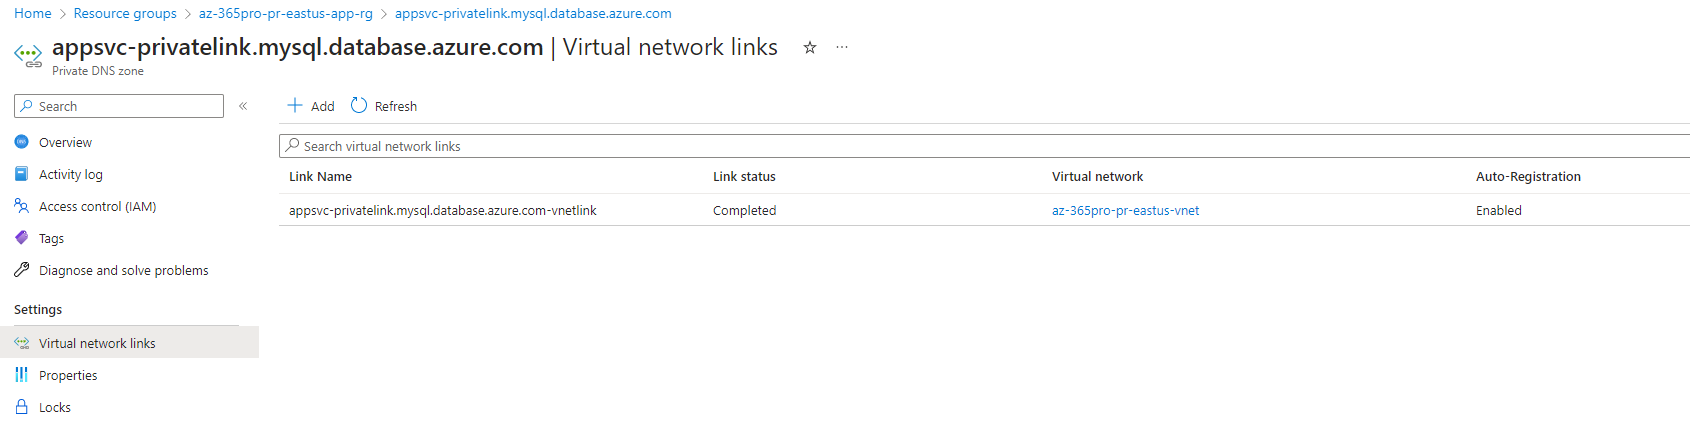
1. Virtual Networks ( 10.51.0.0/16) 2. Linux App Service Plan 3. Linux App Service with PHP 8.0 4. Virtual Network 5. Private DNS Zone
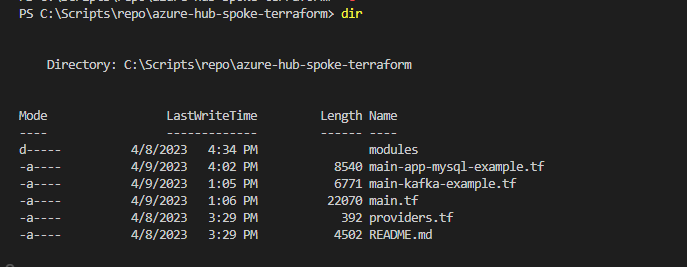
Modules are convenient to place into folders and reuse resource configurations with Terraform for multiple deployments. Also, changing/upgrading specific resource configurations becomes easier.