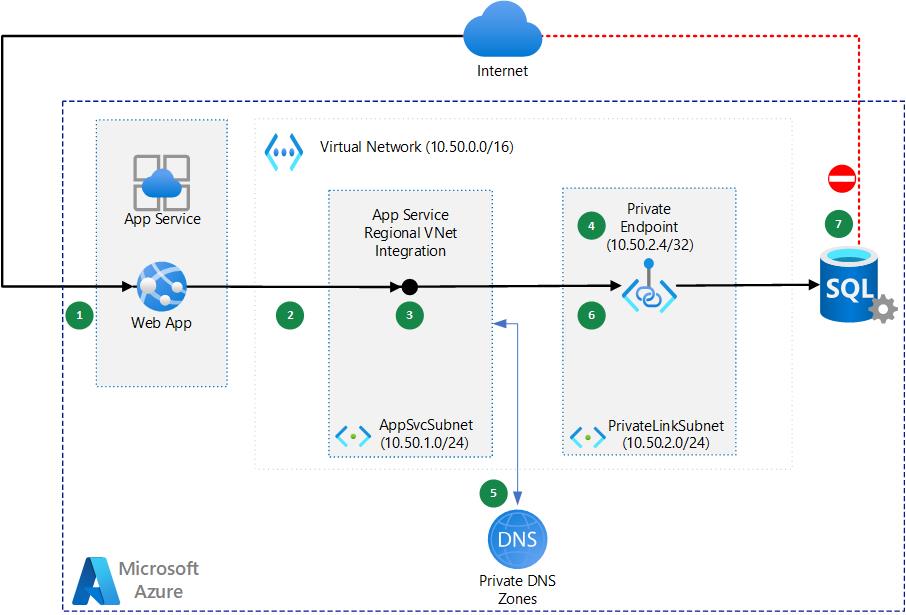
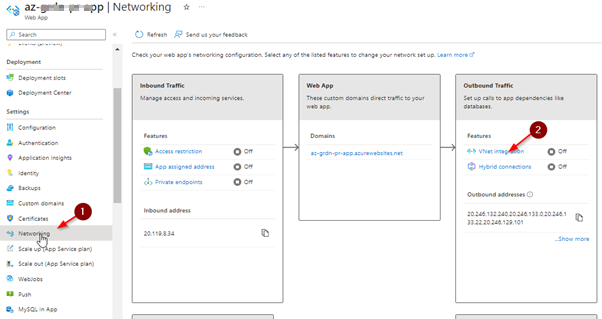
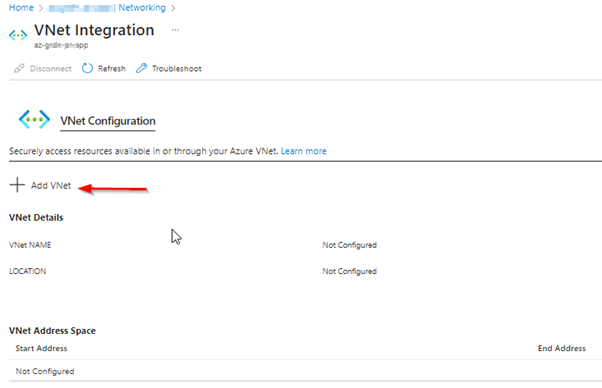
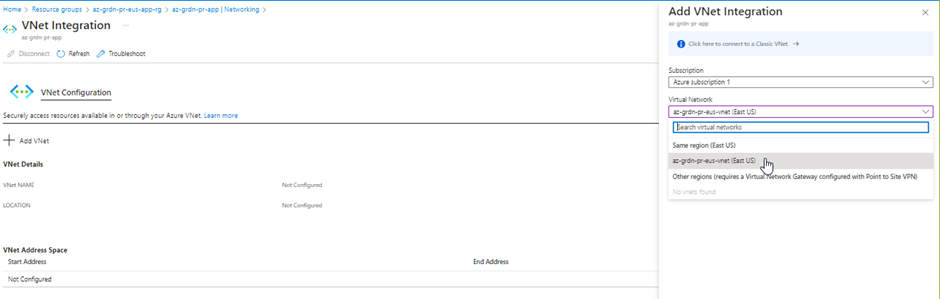
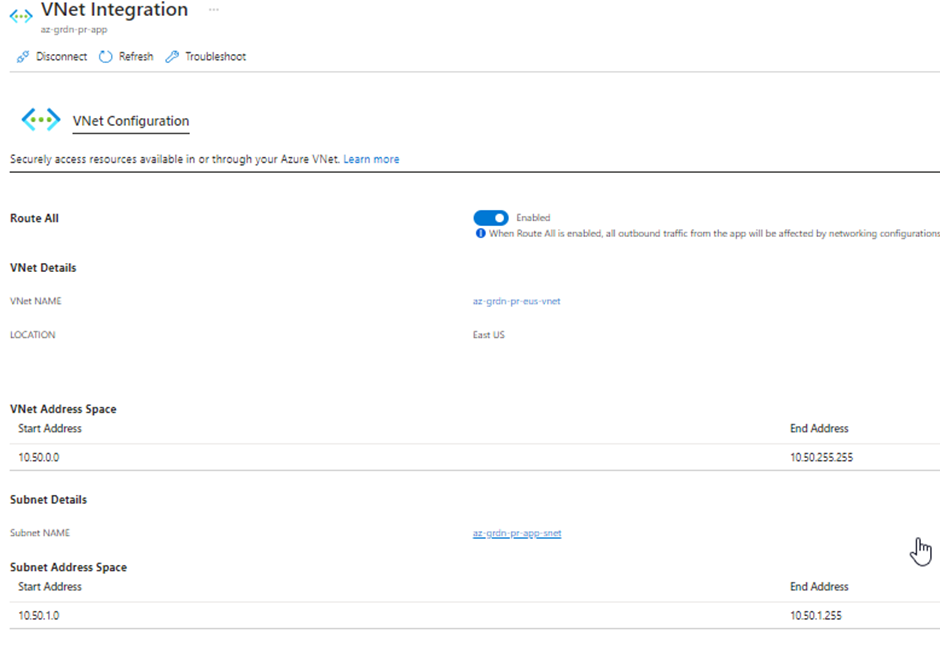
In this requirement. Dedicated Application Gateways and App services are needed without the usage of staging slots as multiple hardening rules have to be tested where a dedicated application gateway is chosen so that no one will mess with the production application gateway for testing.
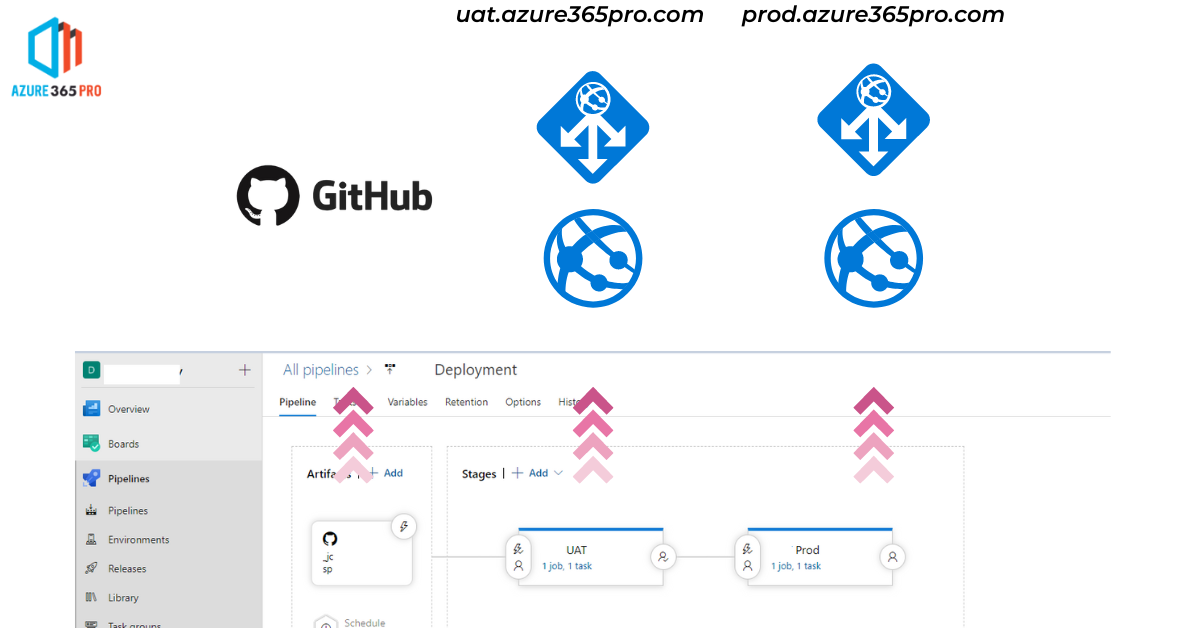
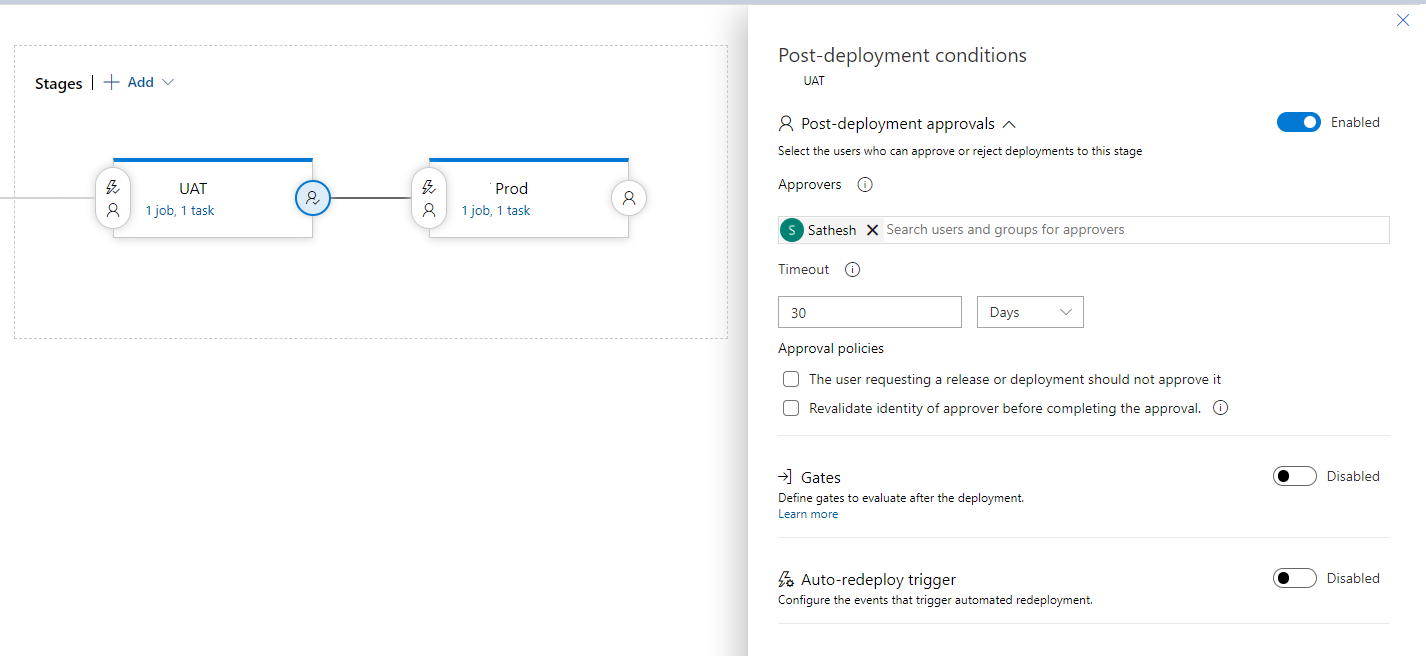
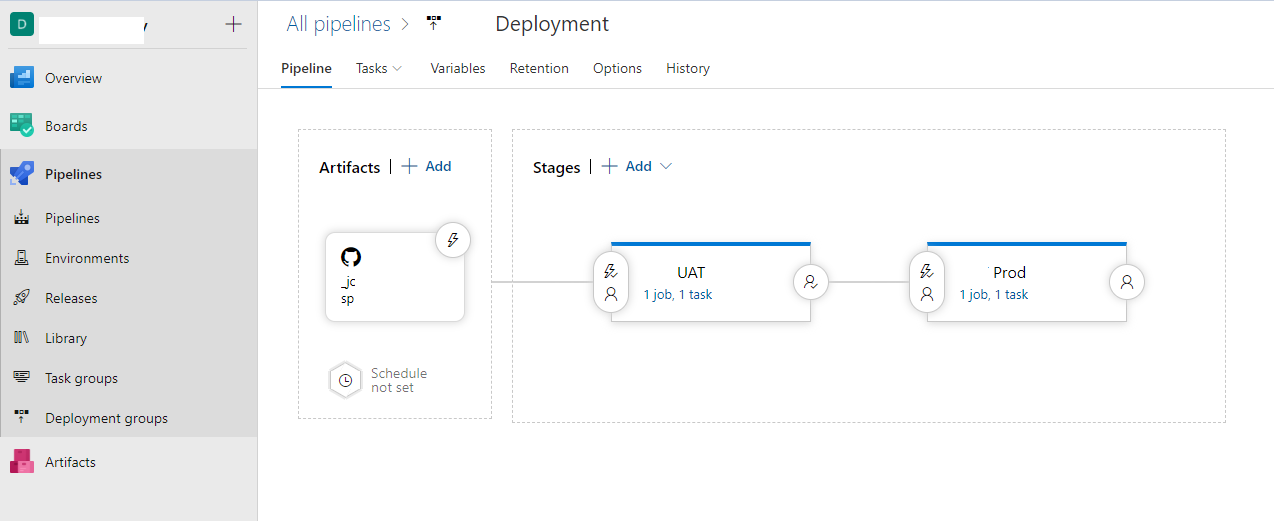
Pipelines are integrated with GitHub Repo for CI / CD, and it deploys to UAT where they can be tested if it gets approved after testing it will be deployed to Production.
- Implementing Application Gateway with Web Application Firewall – Azure365Pro.com
- Restricting App Service through Application Gateway – Azure365Pro.com
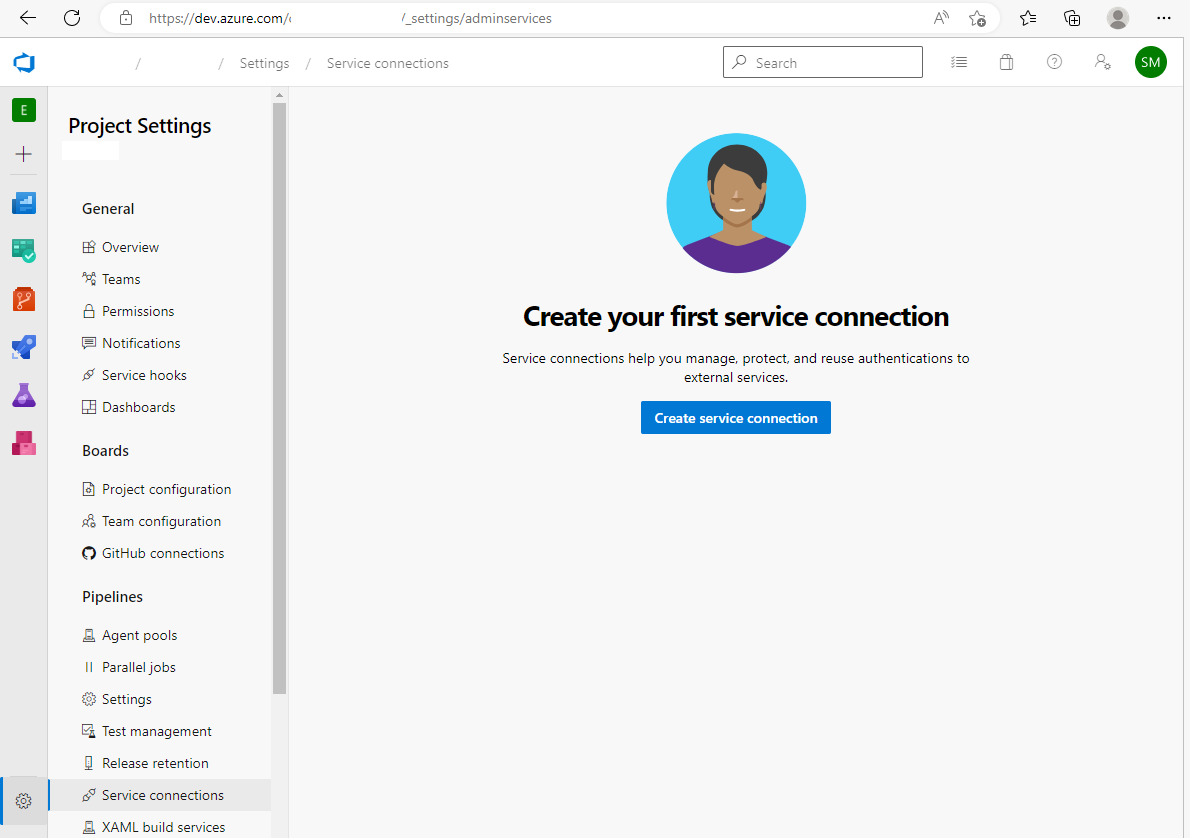
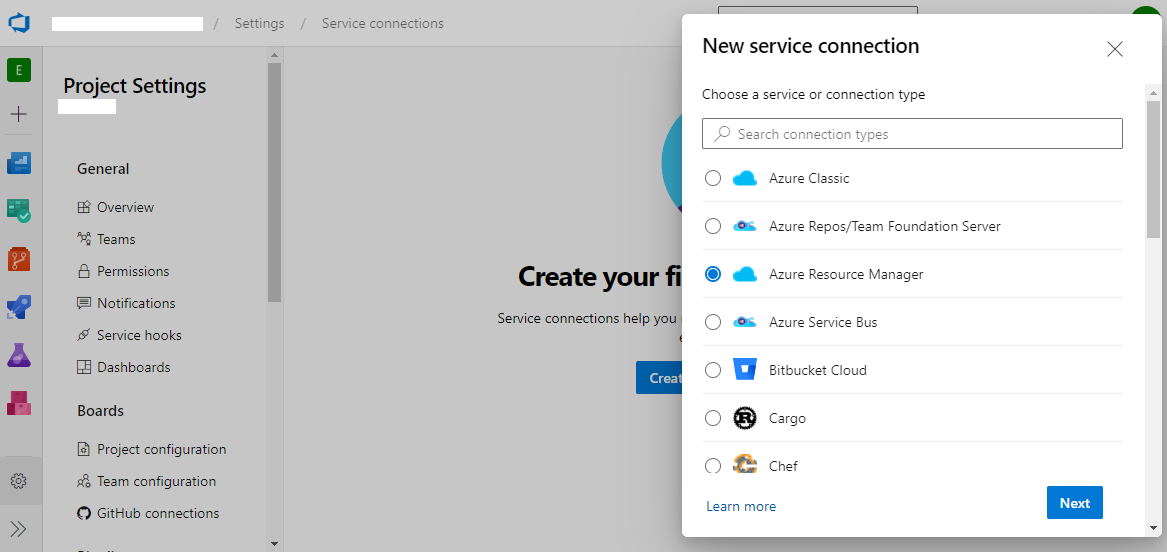
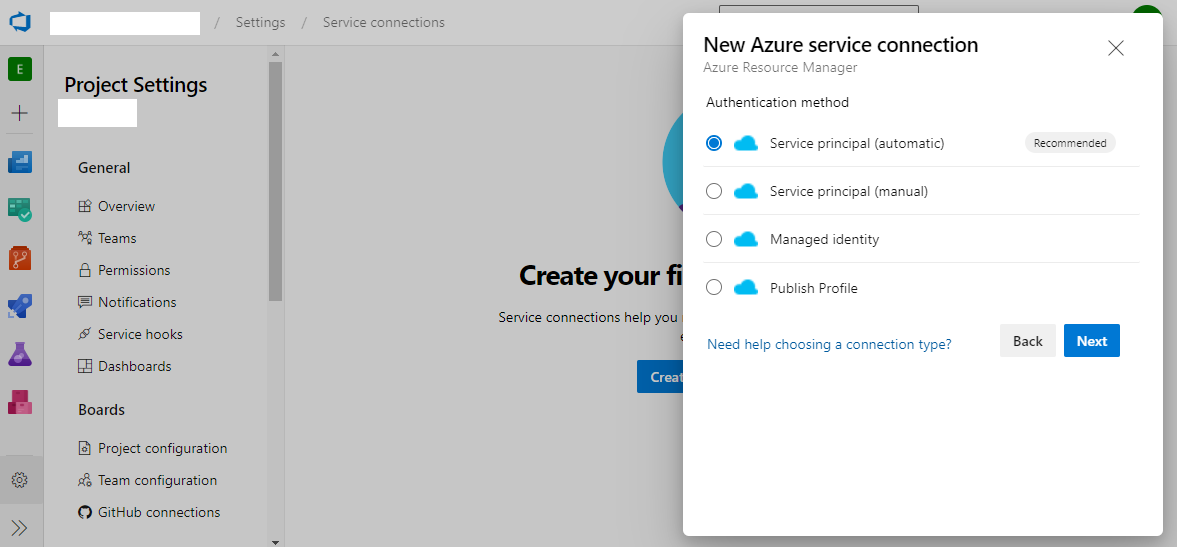
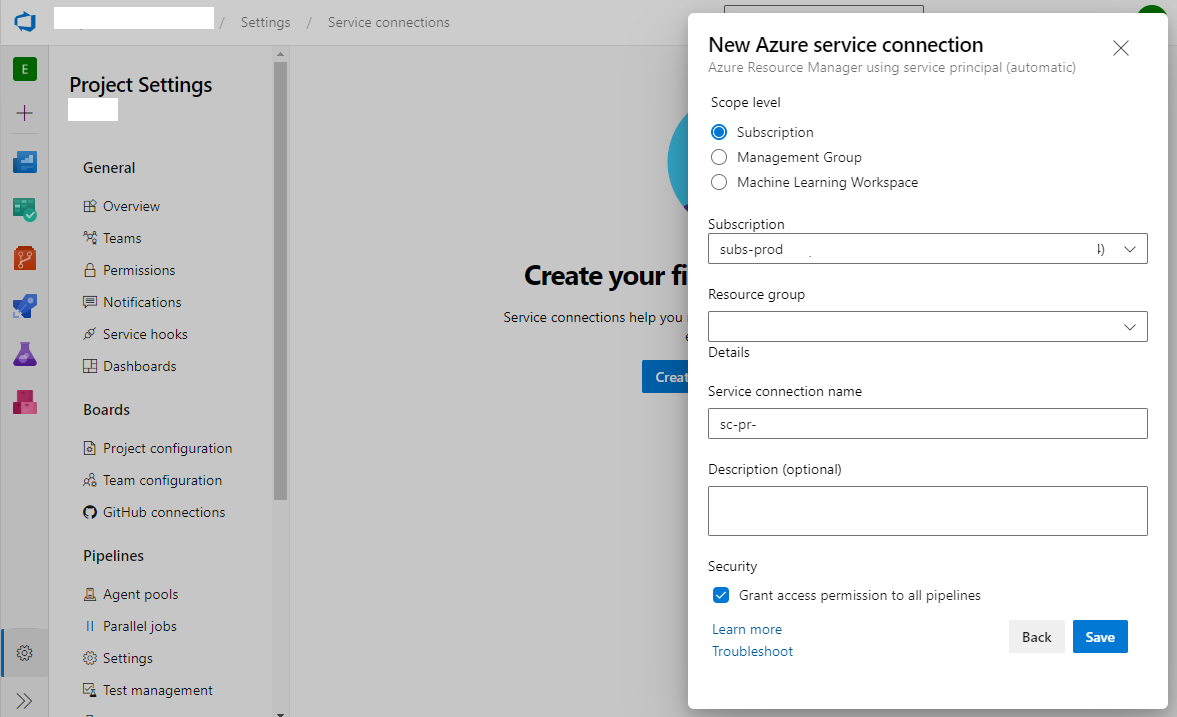
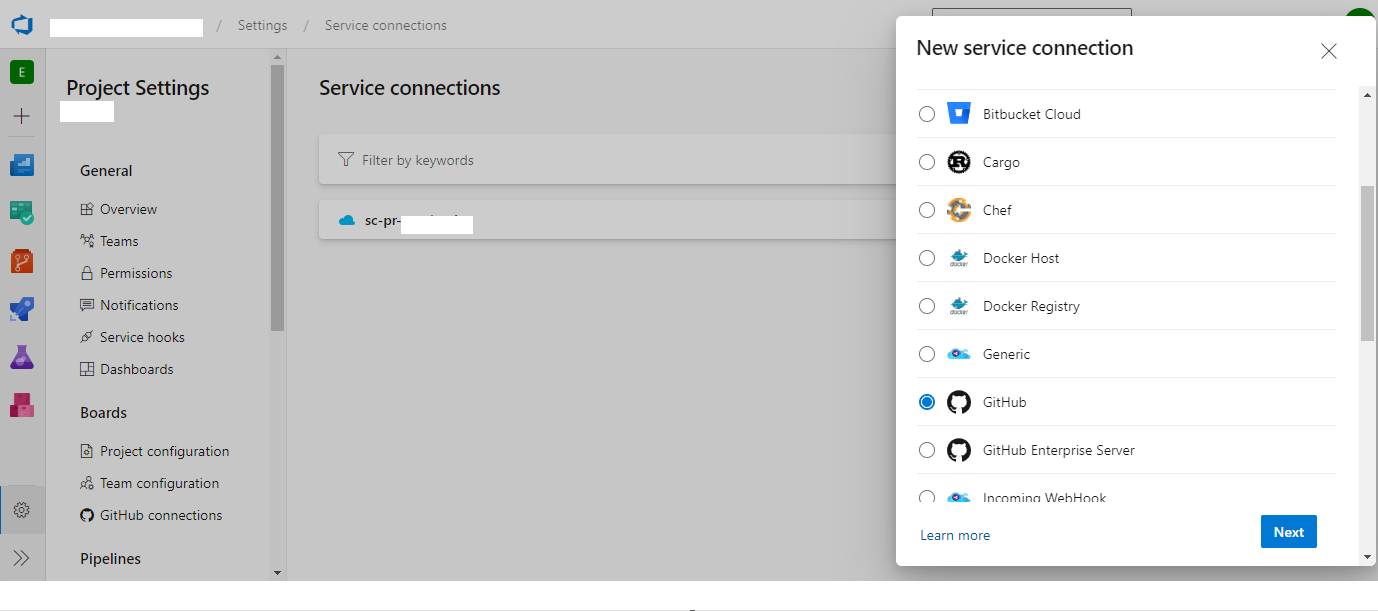
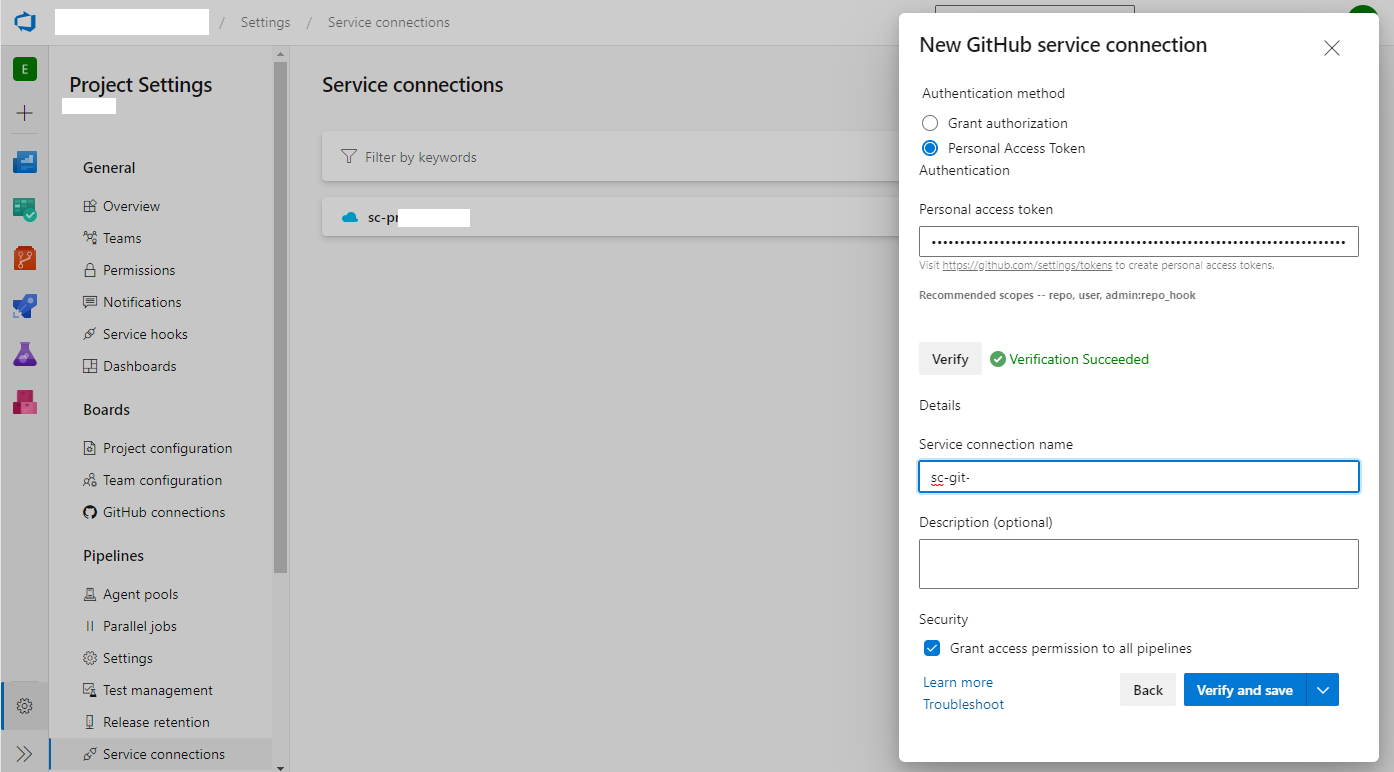
Let’s get started with a service connection. So that pipelines can have full permission over the subscription to modify resources in this case.
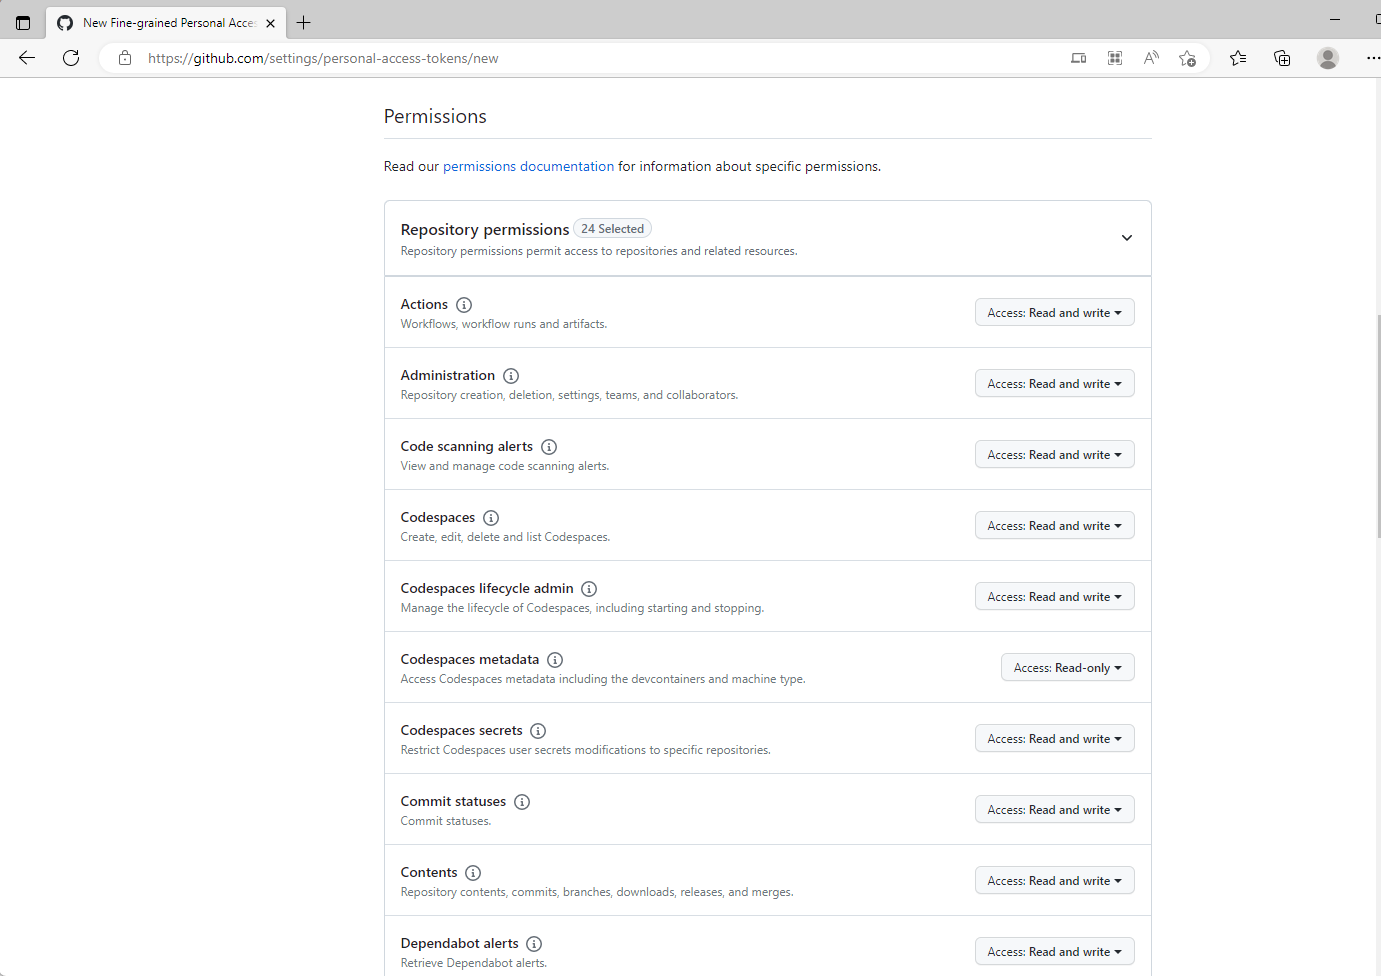
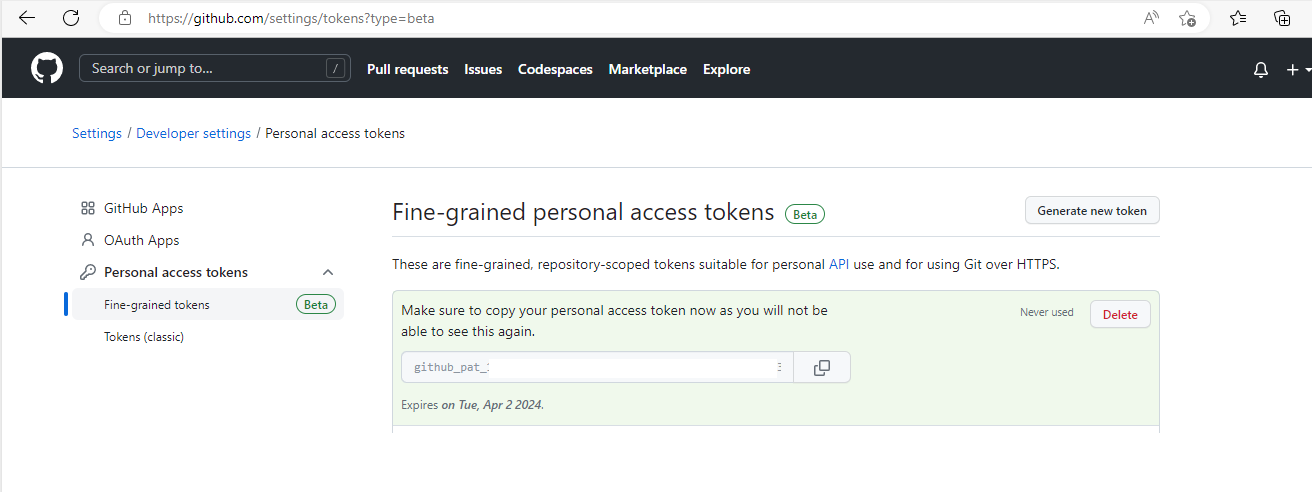
Add a Service Connection for GitHub –
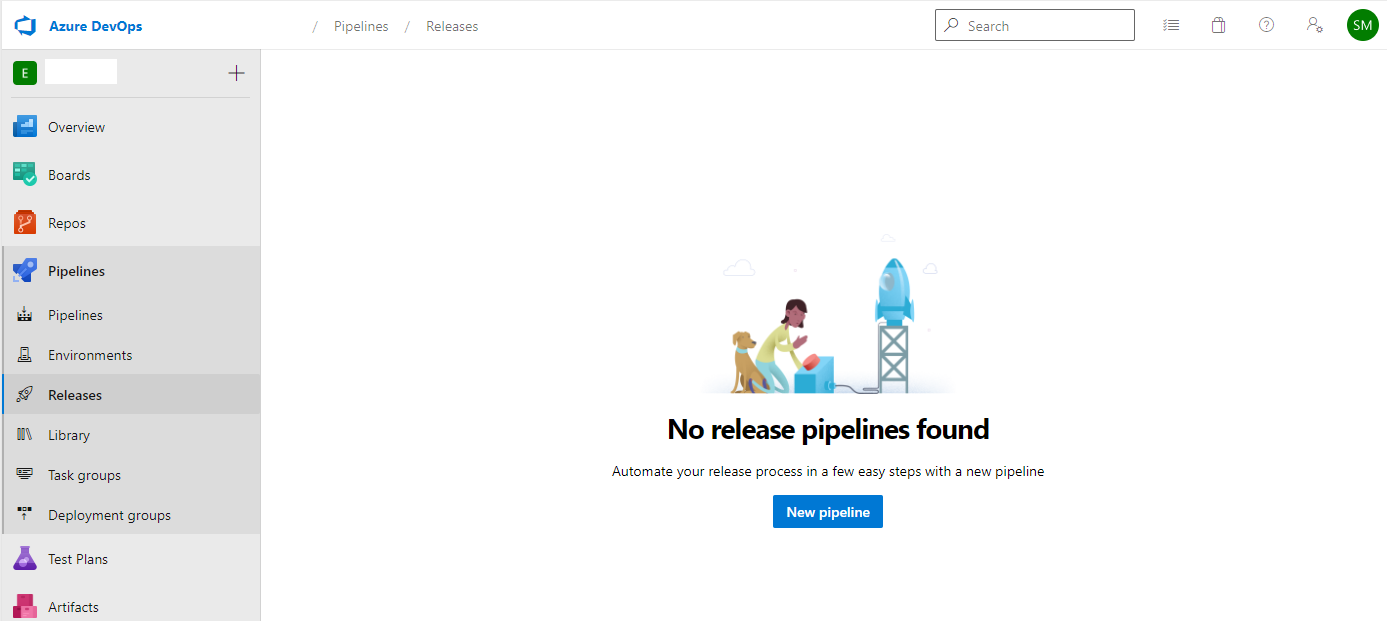
Let’s create a new release pipeline.
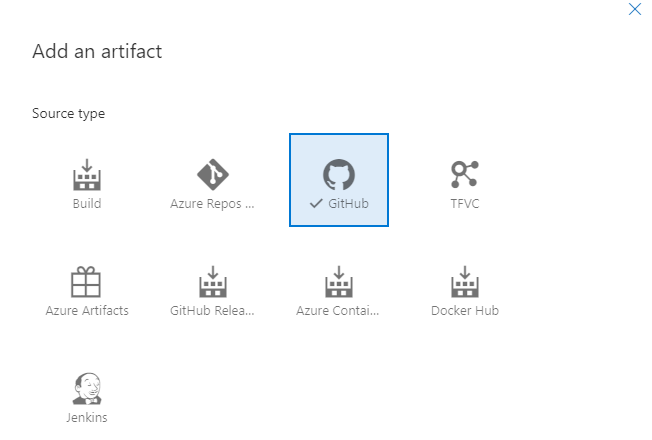
Utilizing Source Type GitHub Artifact
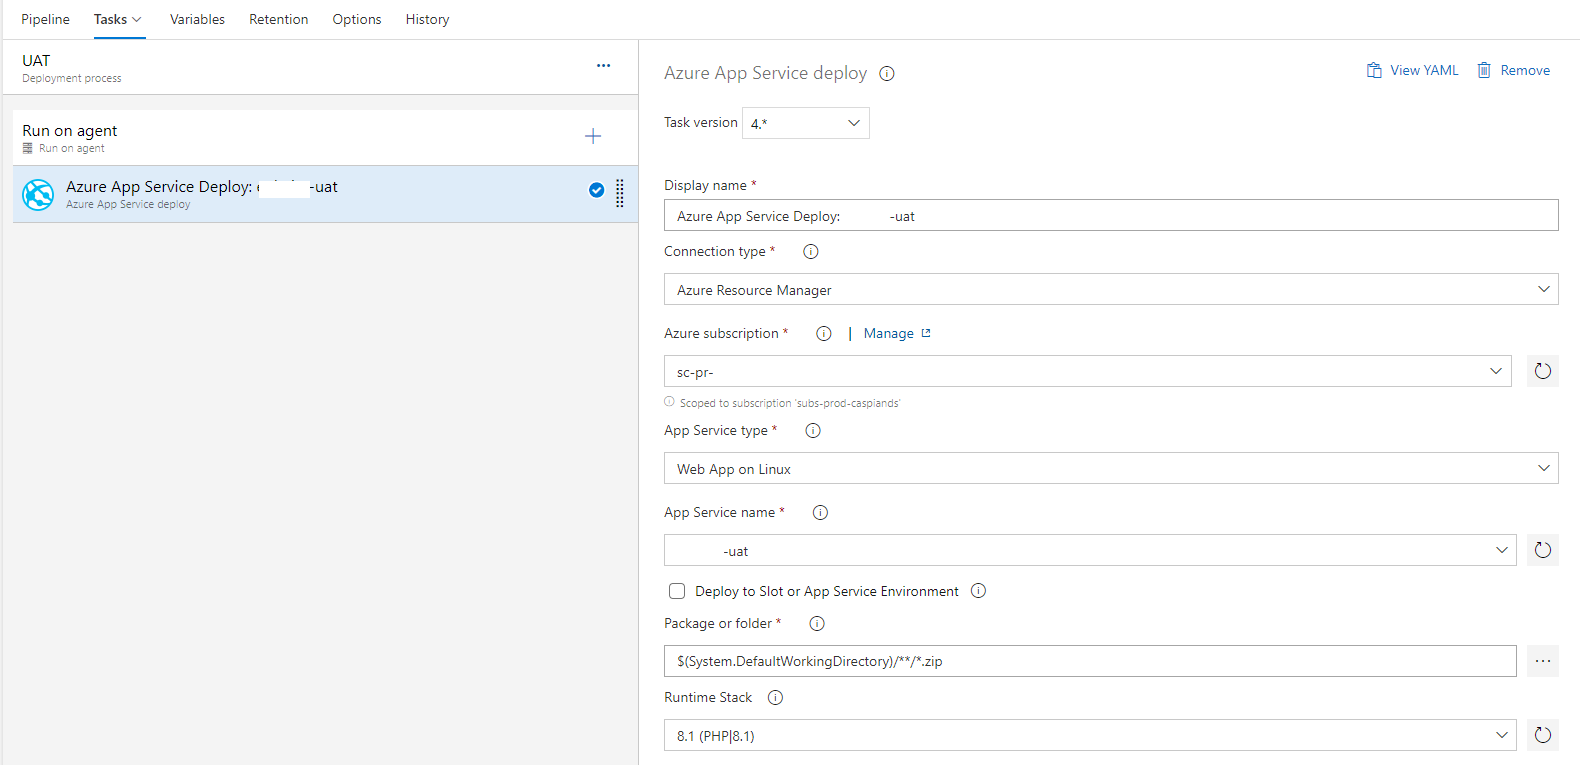
For UAT App Service Deployment
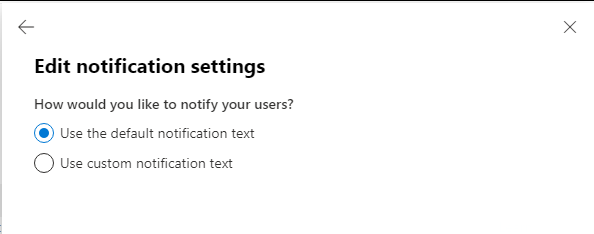
Post Deployment Approval is set
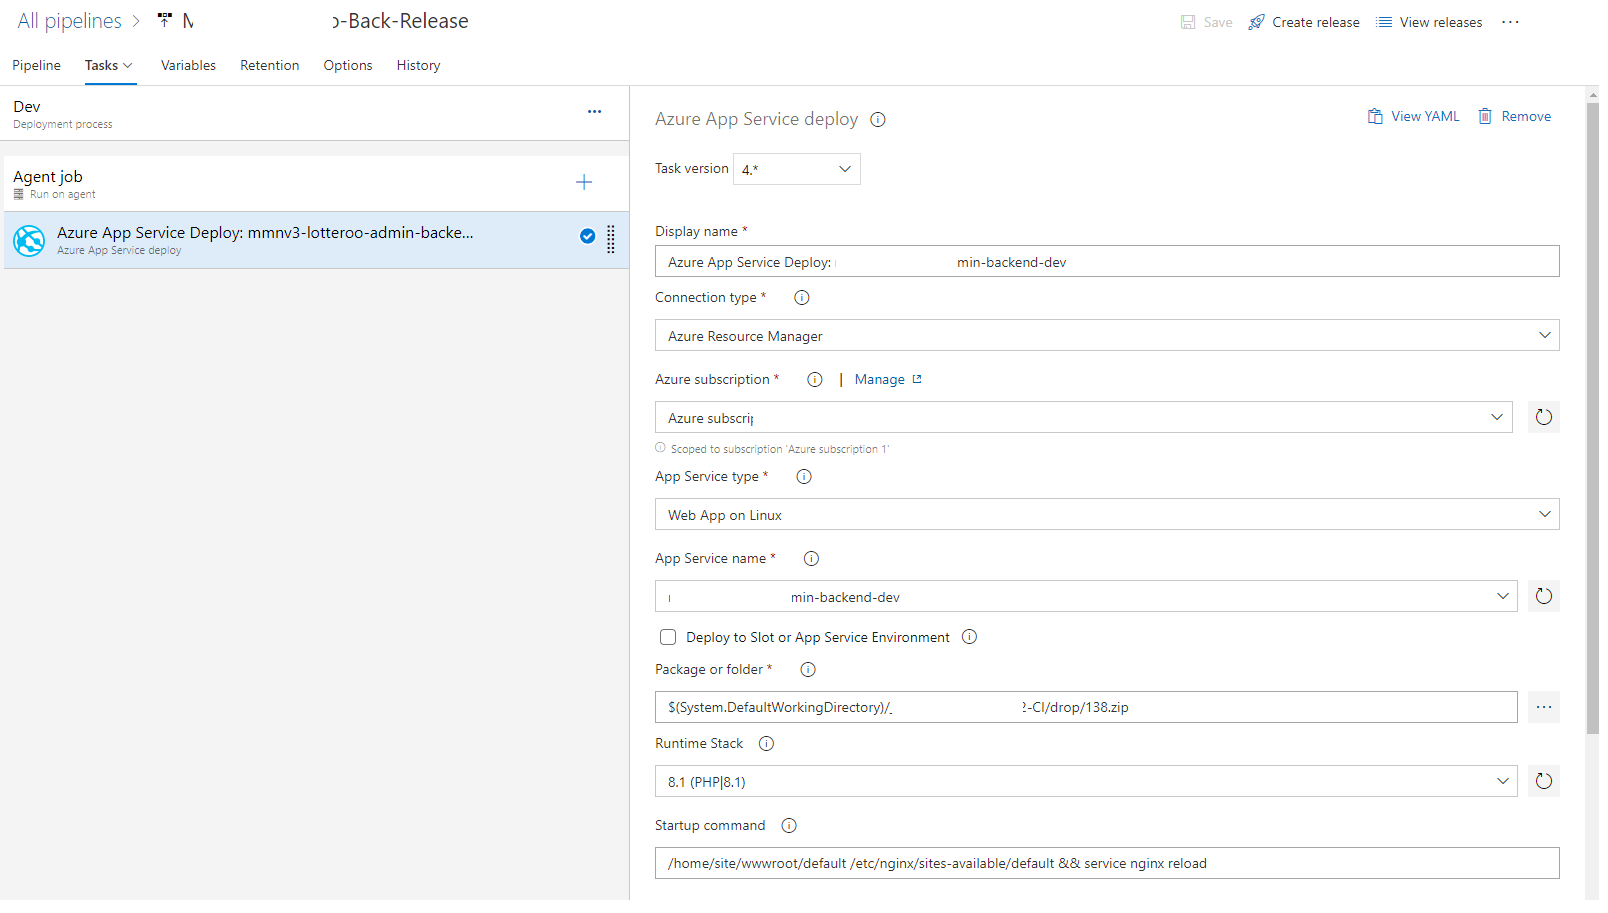
Scenario #1 – For Production App Service Deployment ( PHP 8.0- Web Application is used in this scenario)

Scenario #2 – For Production App Service Deployment (Yii PHP Framework Web Application is used in this scenario collecting the files published from Artifact)
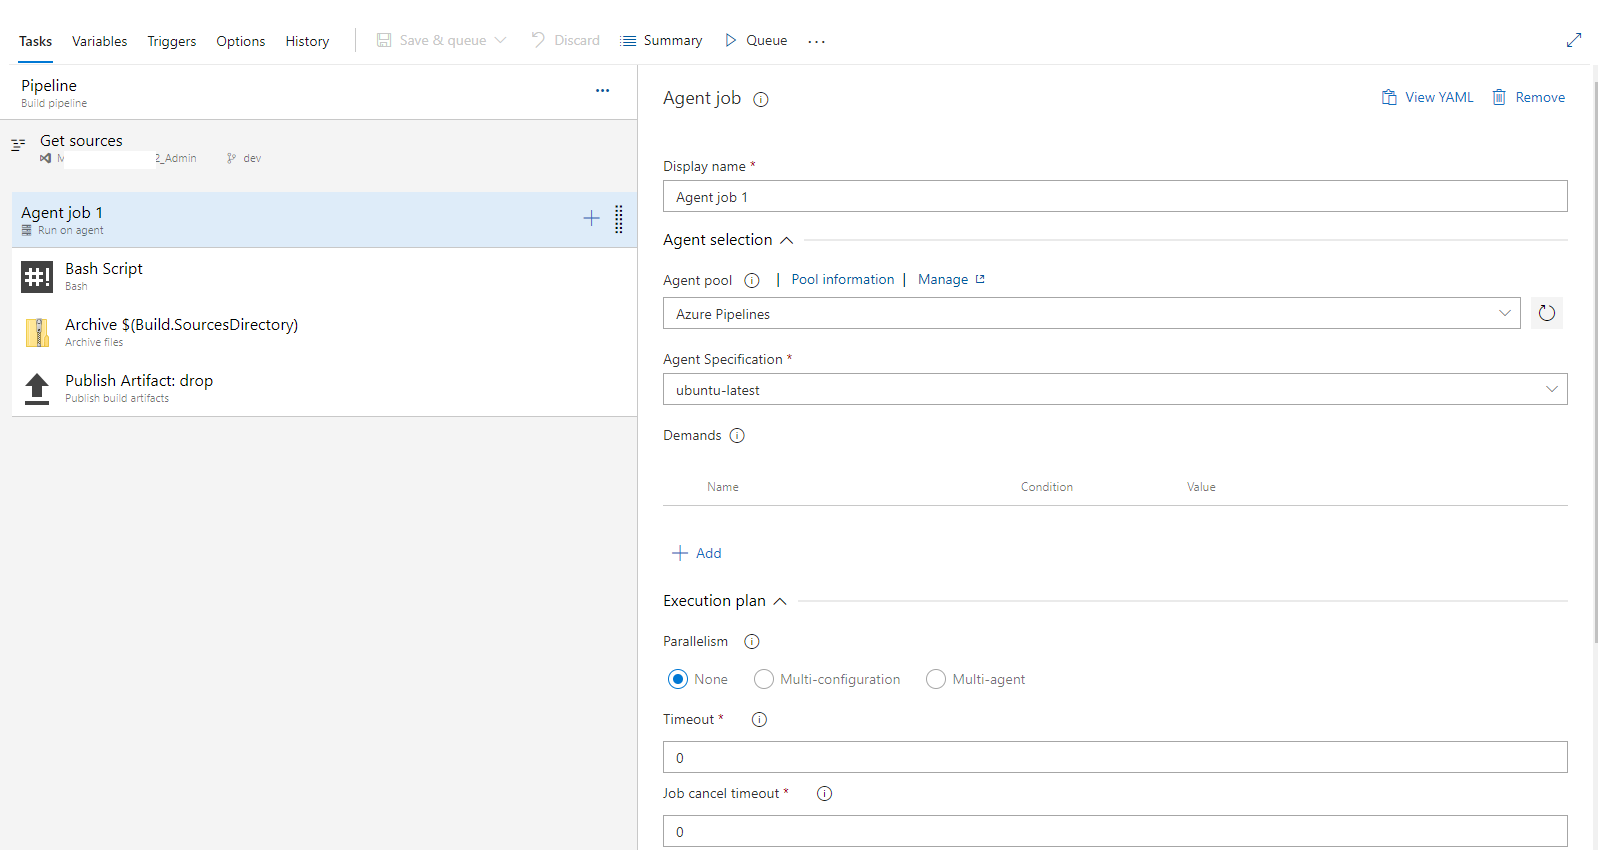
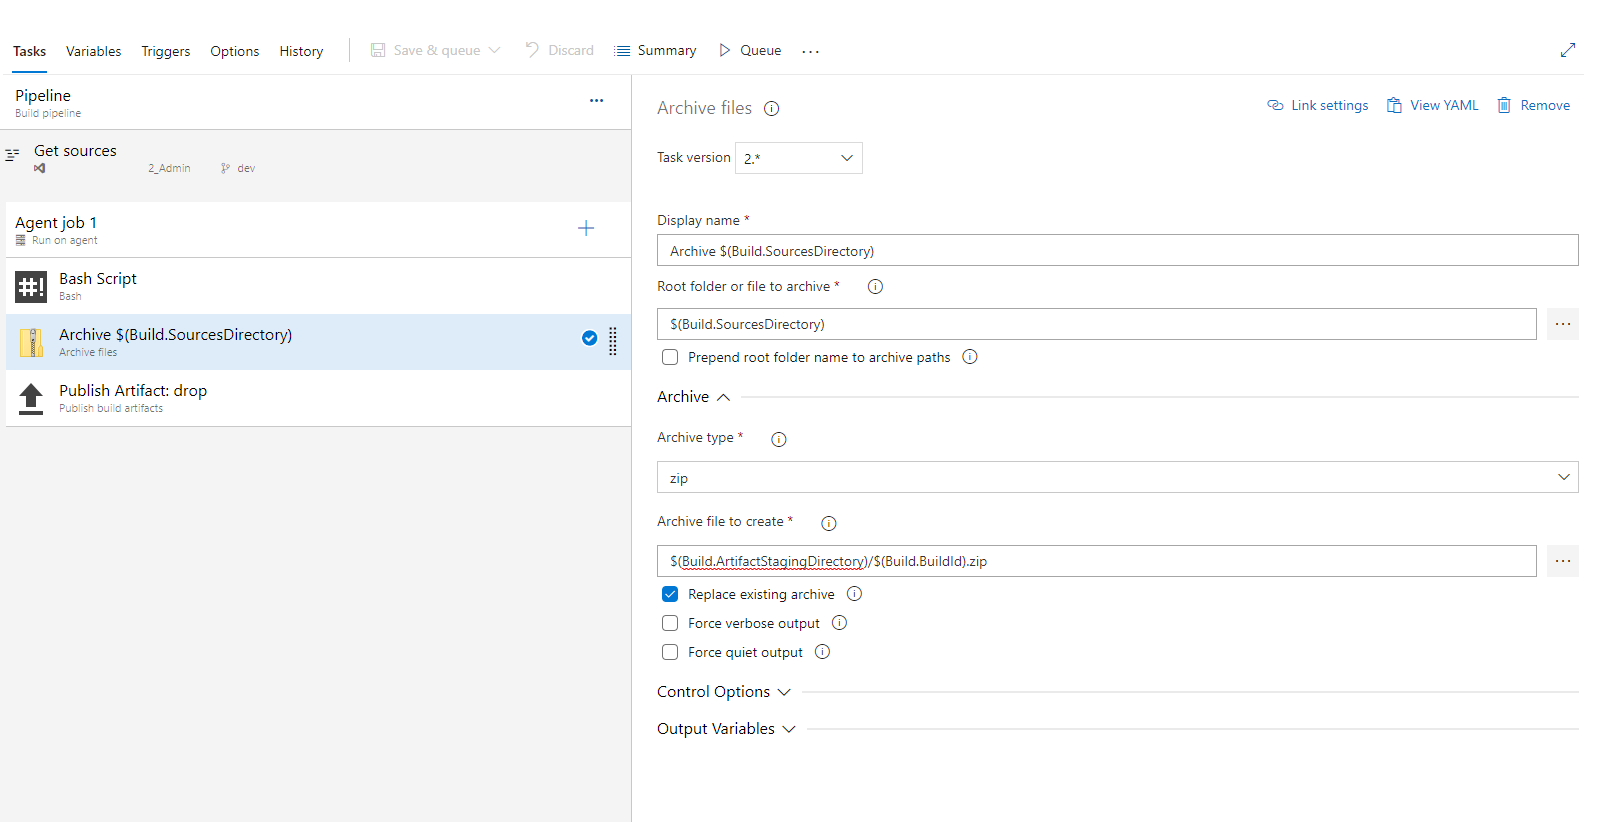
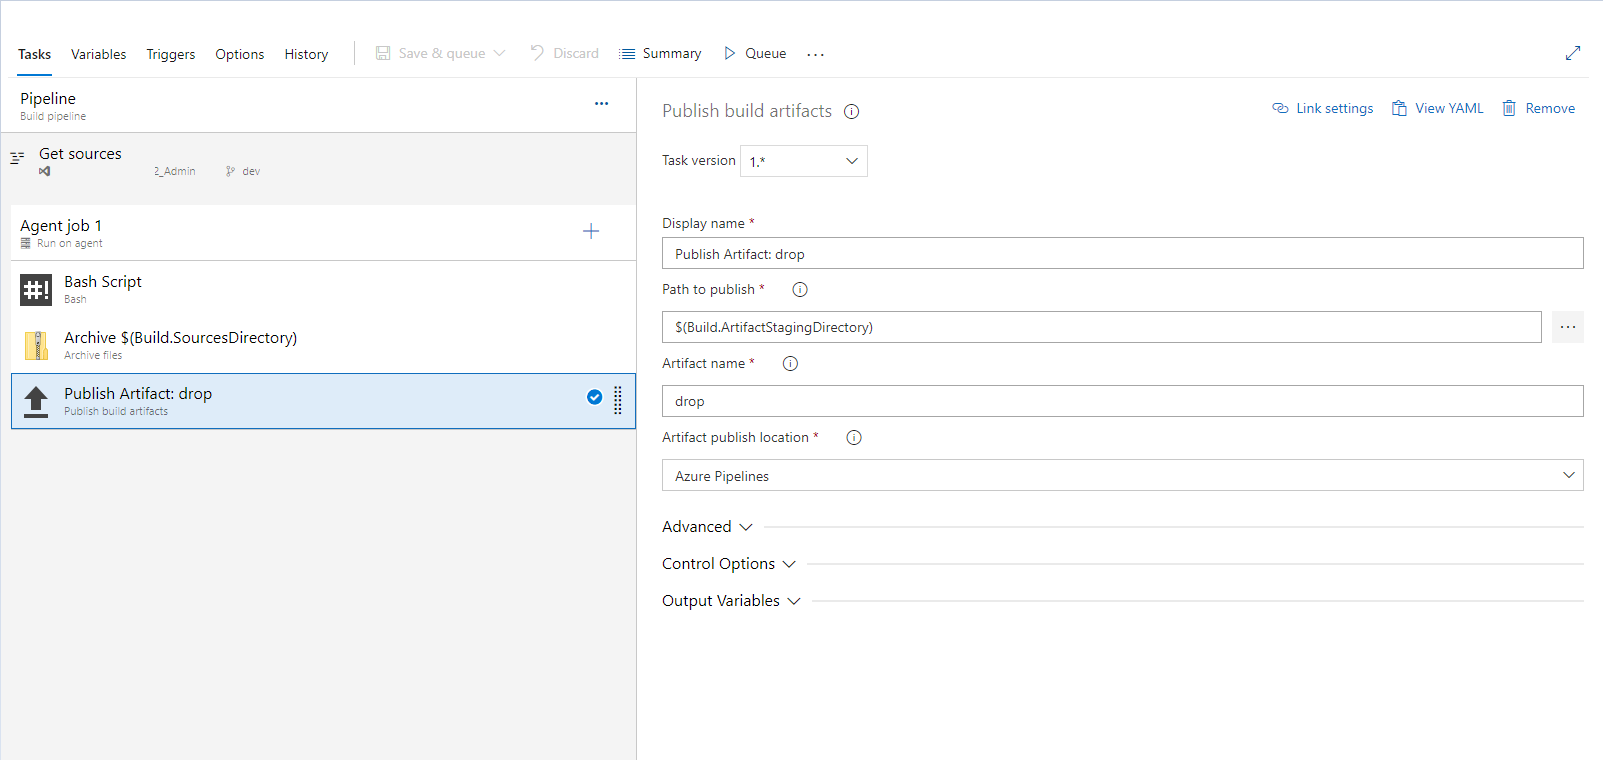
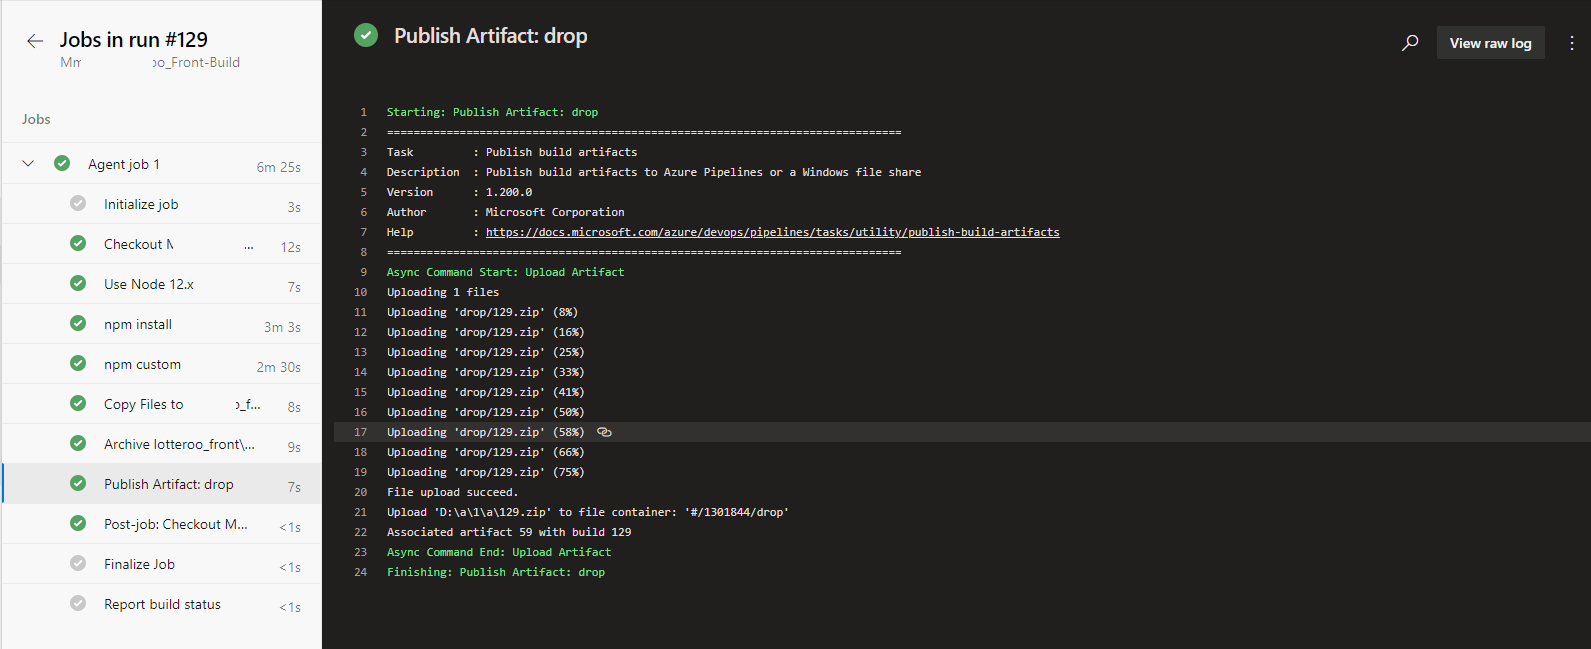
Let’s see how to Publish Artifacts So that Azure Pipelines can pick from above
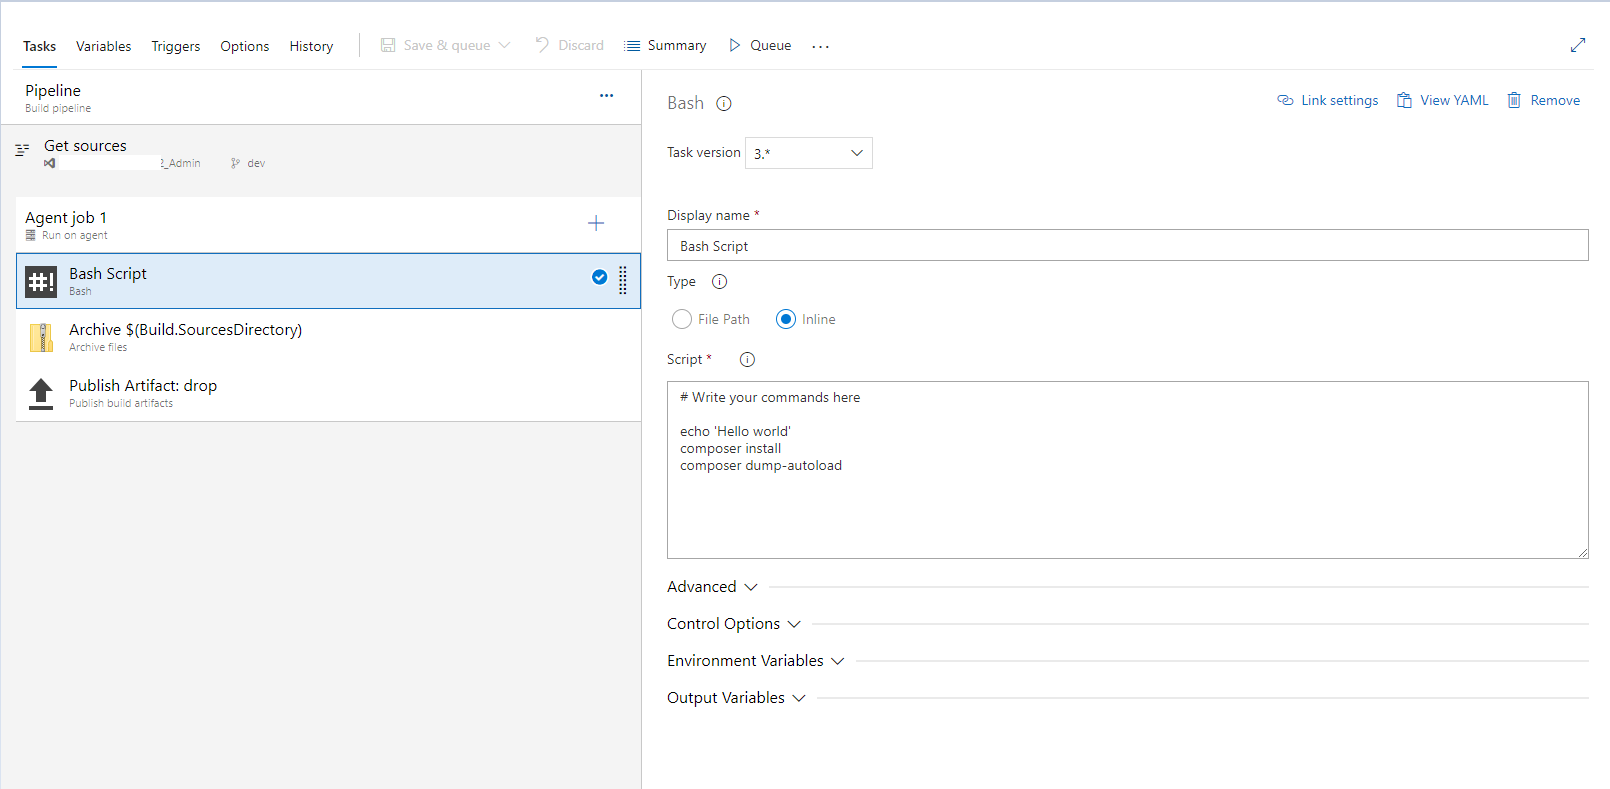
Installing composer for YII framework to use
composer install
composer dump-autoload

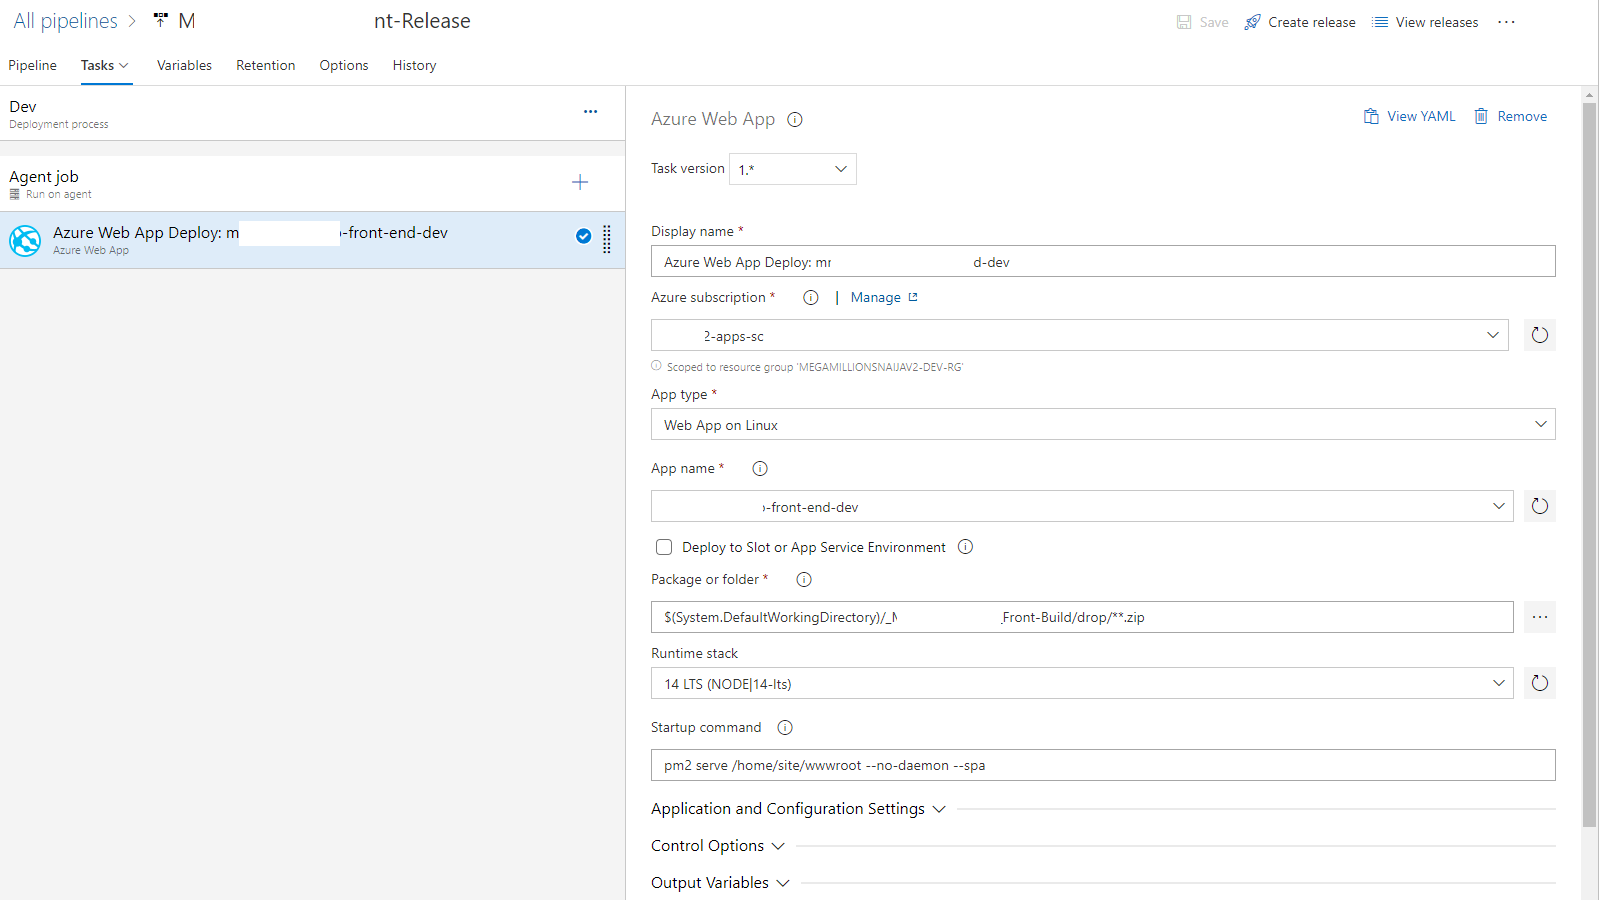
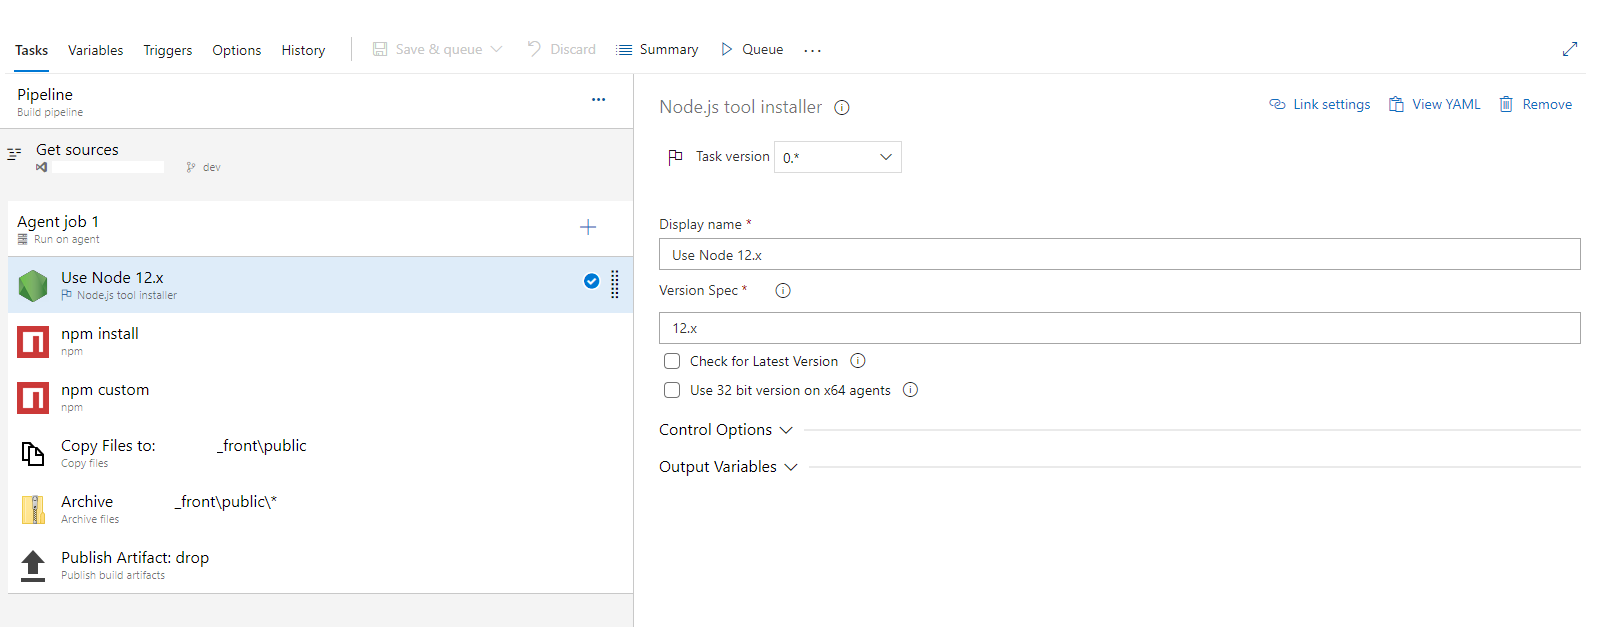
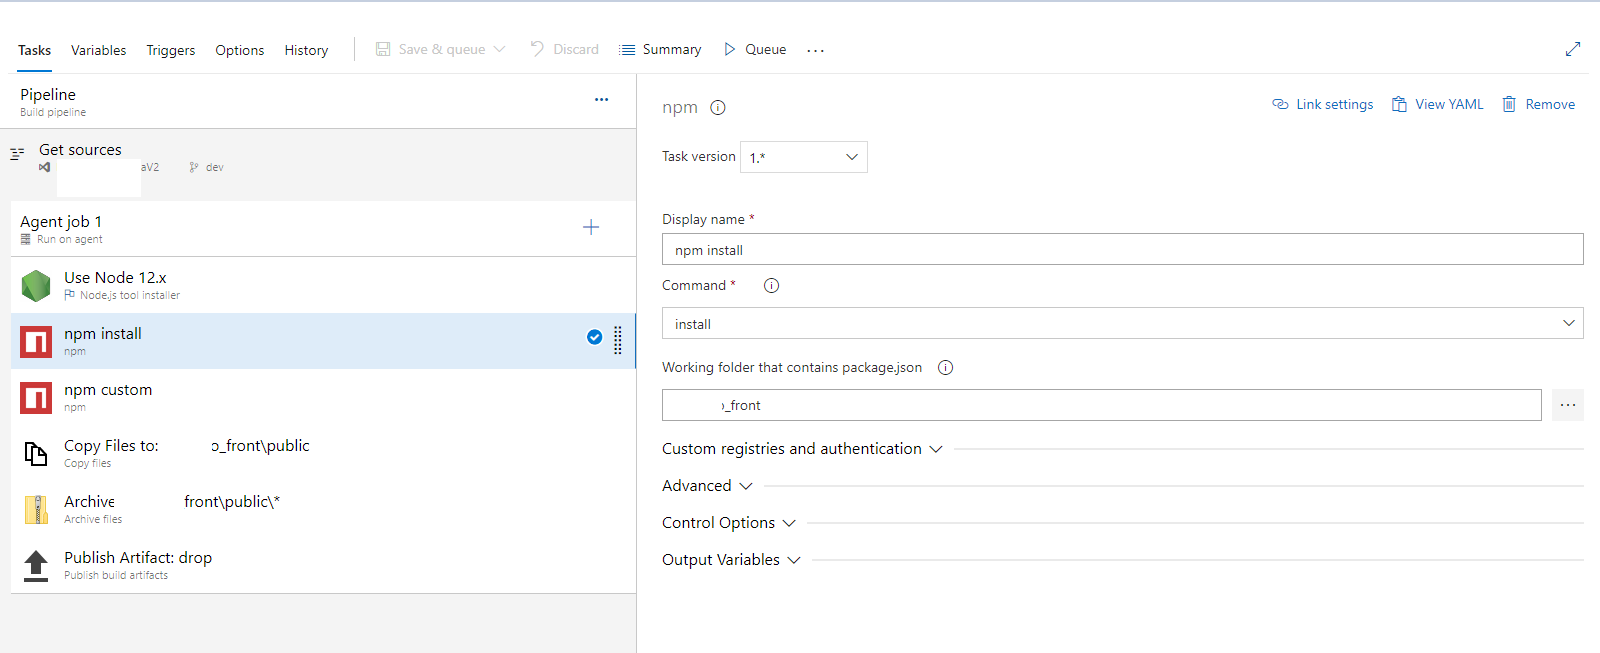
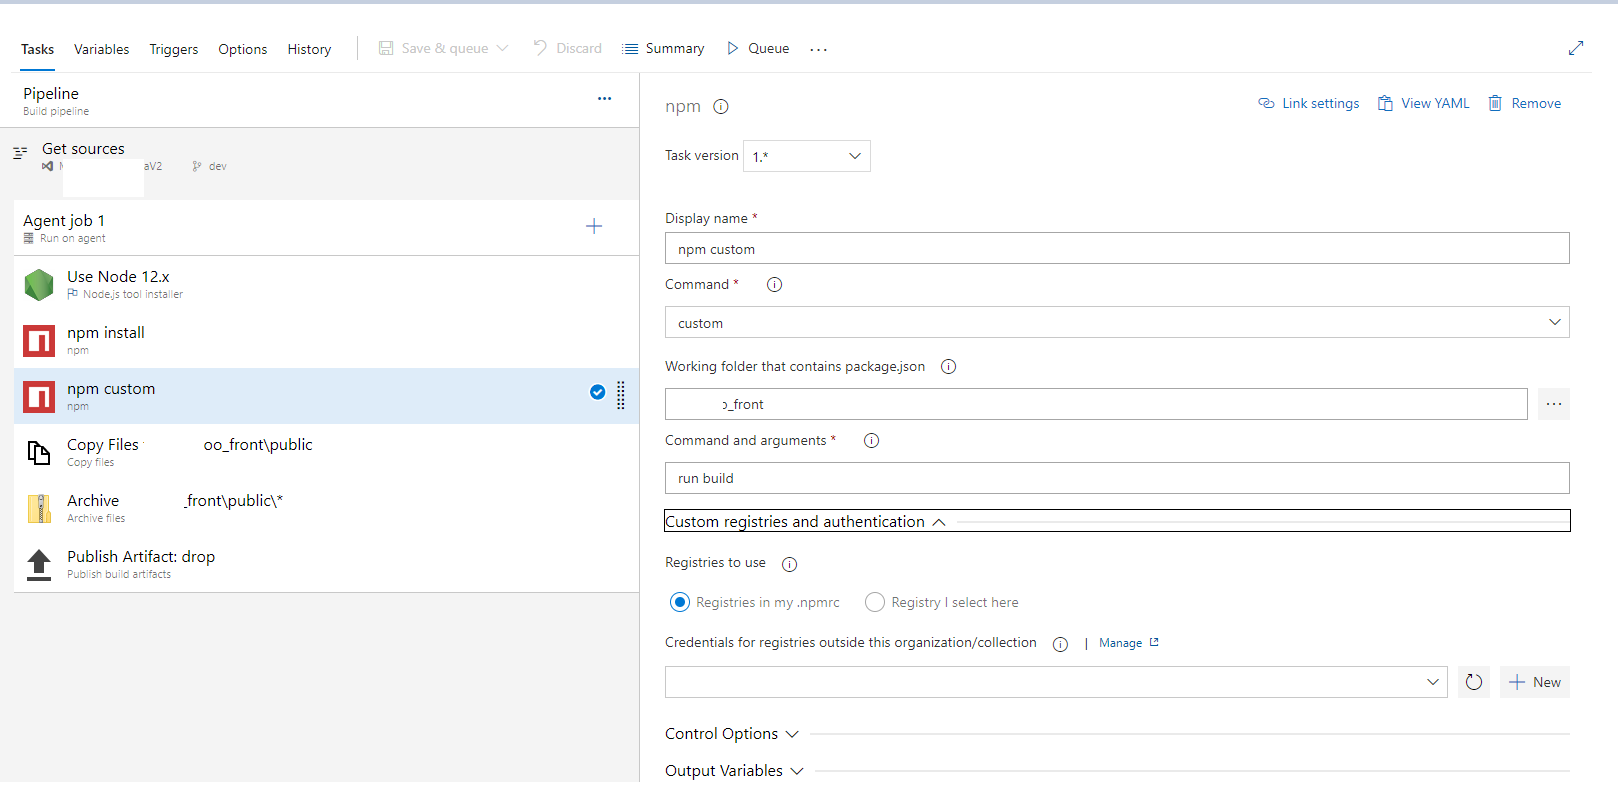
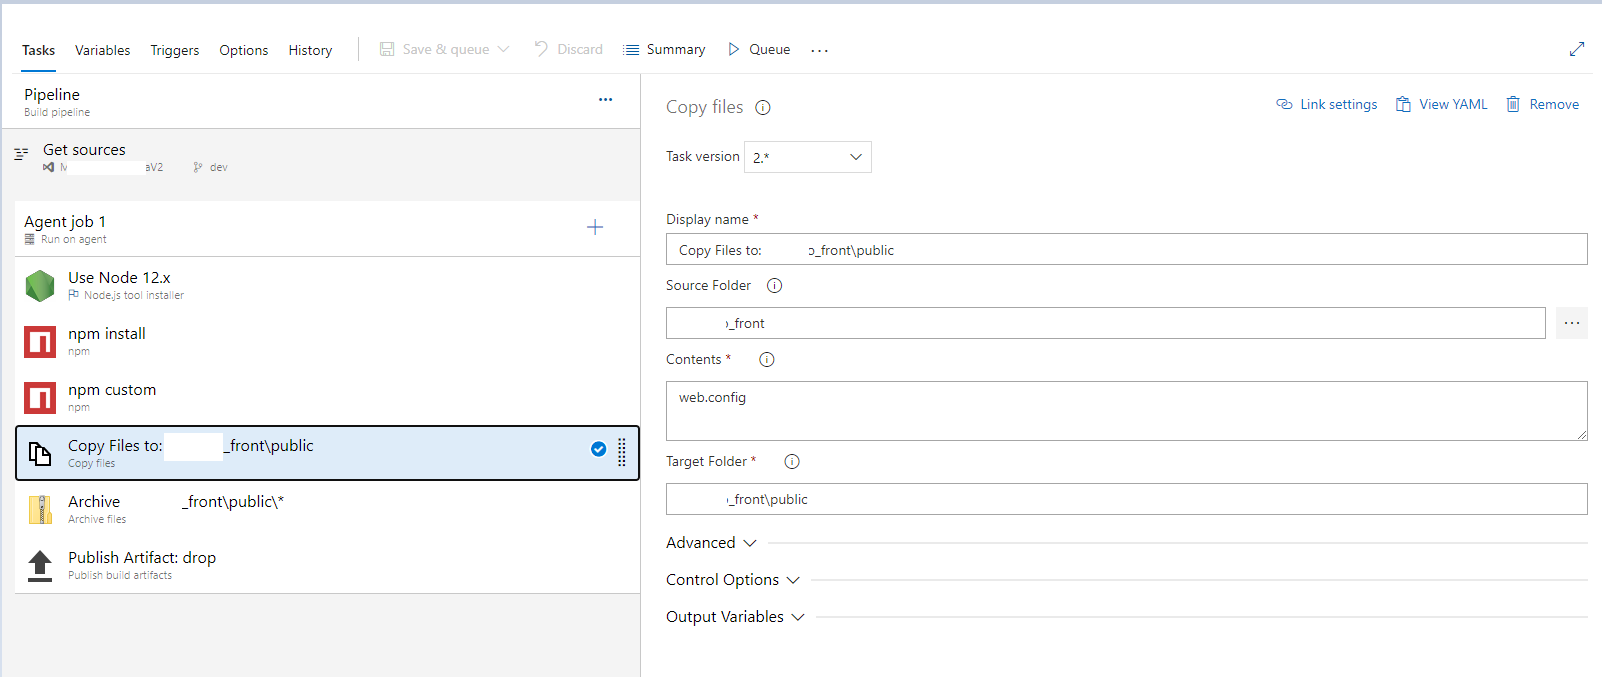
Scenario #3 – For Production App Service Deployment (Node Js Web Application Front End is used in this scenario)
Let’s see how to Publish Artifacts So that Azure Pipelines can pick from above
$(Build.ArtifactStagingDirectory)/$(Build.BuildId).zip
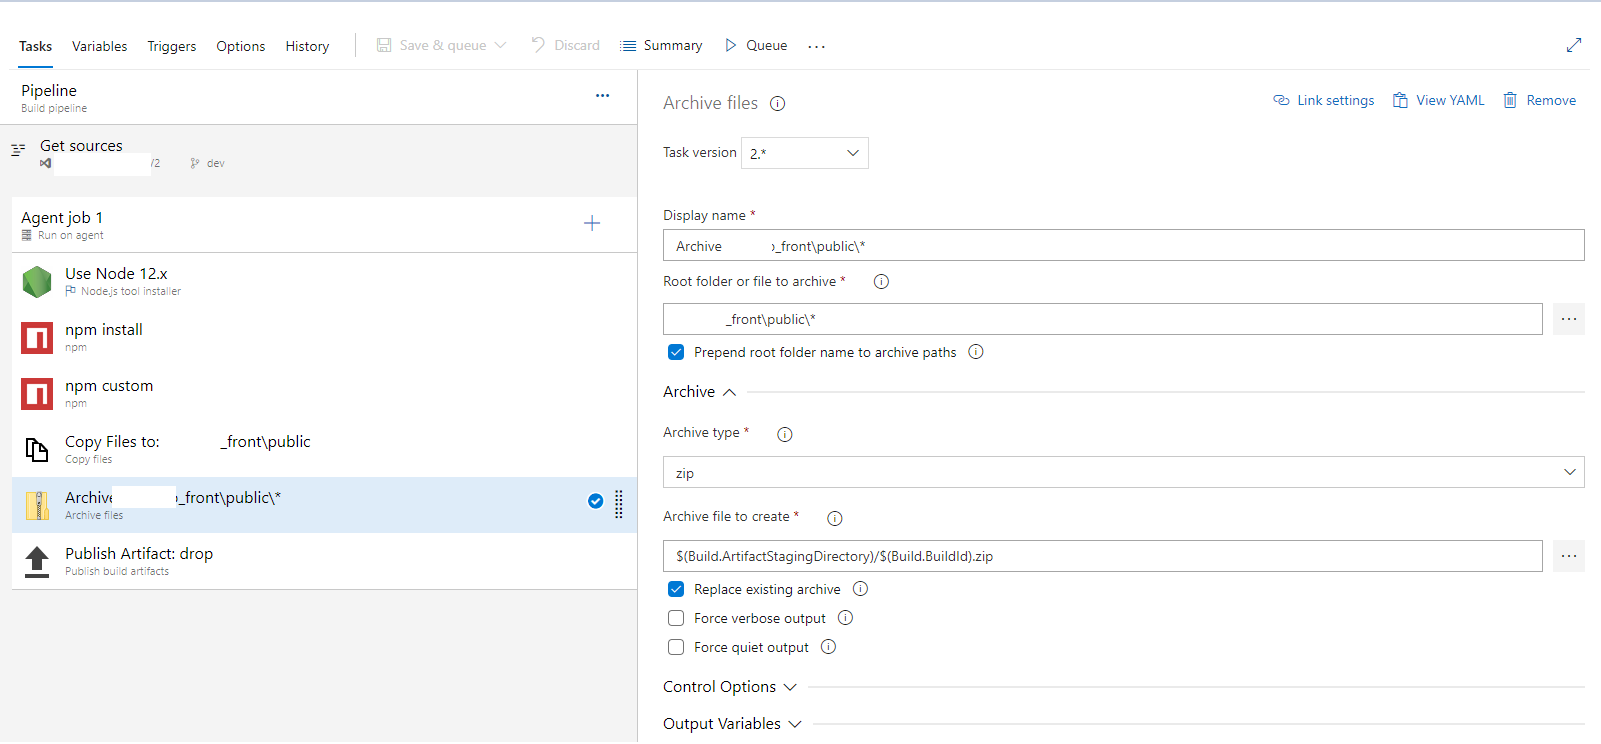
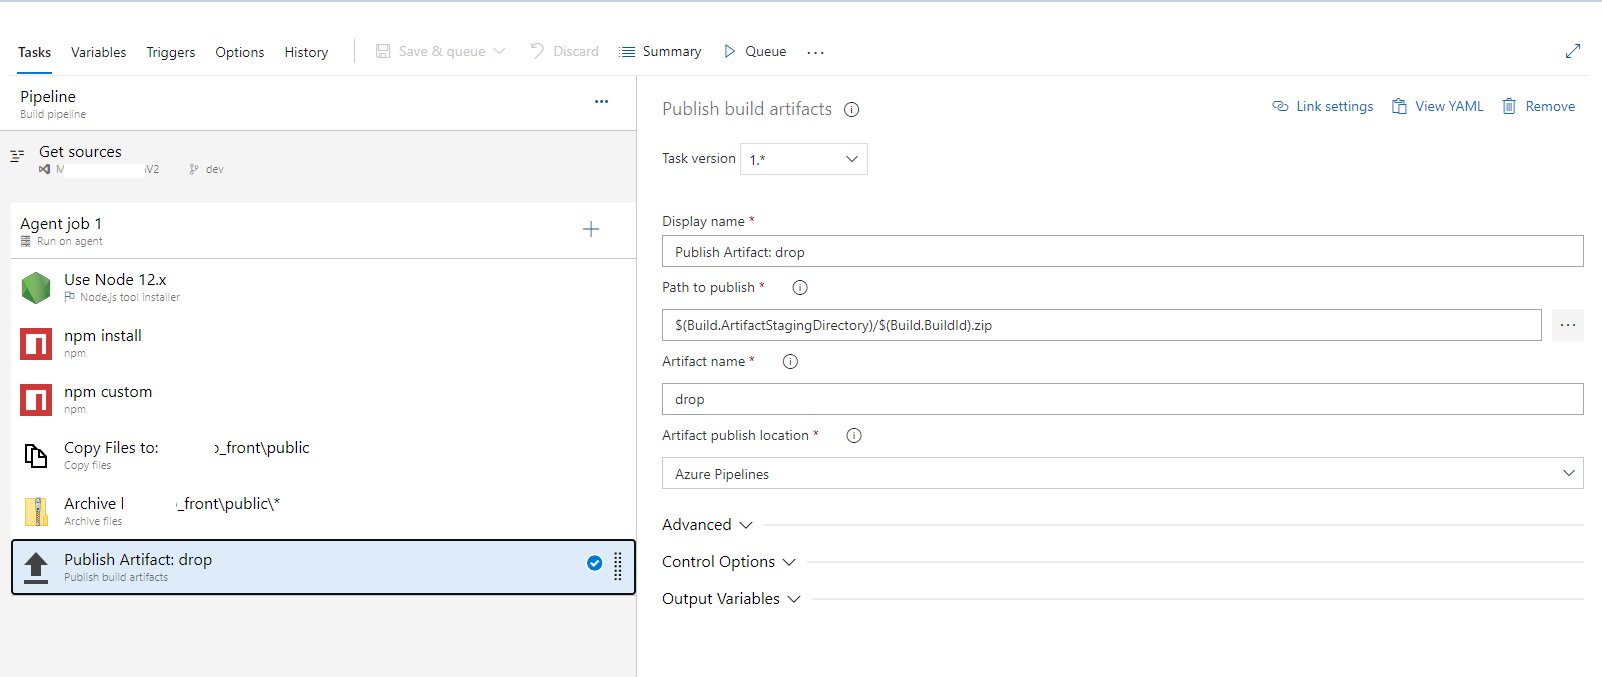
The artifact location and zip name can be found here.
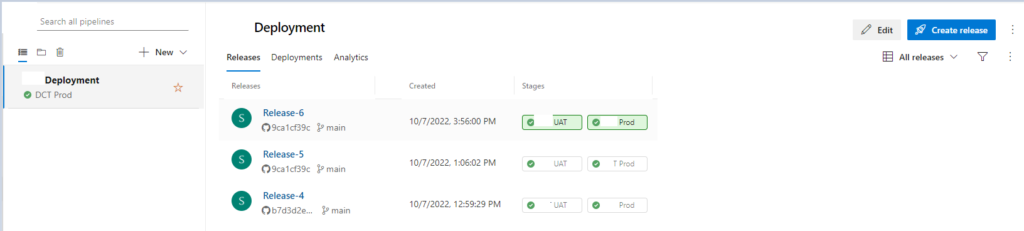
You can see releases shown below ,
Now if you create a new release
First, it deploys to UAT, and after approval, it gets to the Prod App service


")