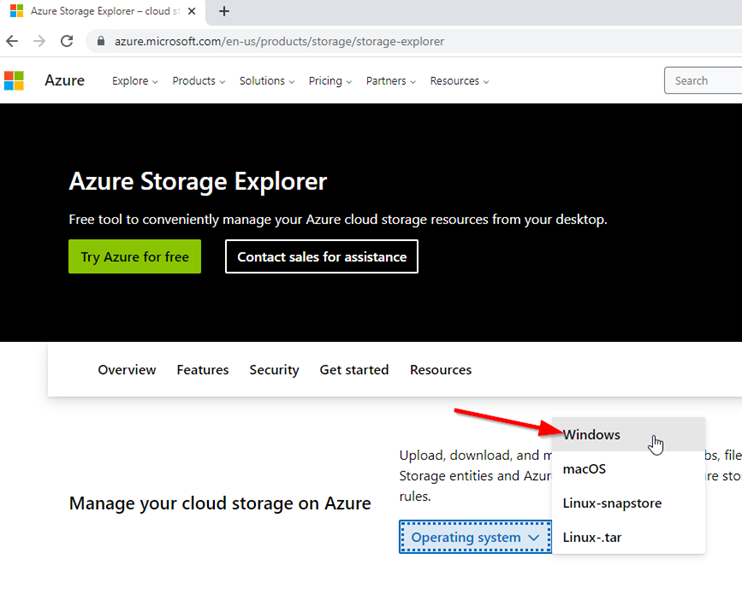
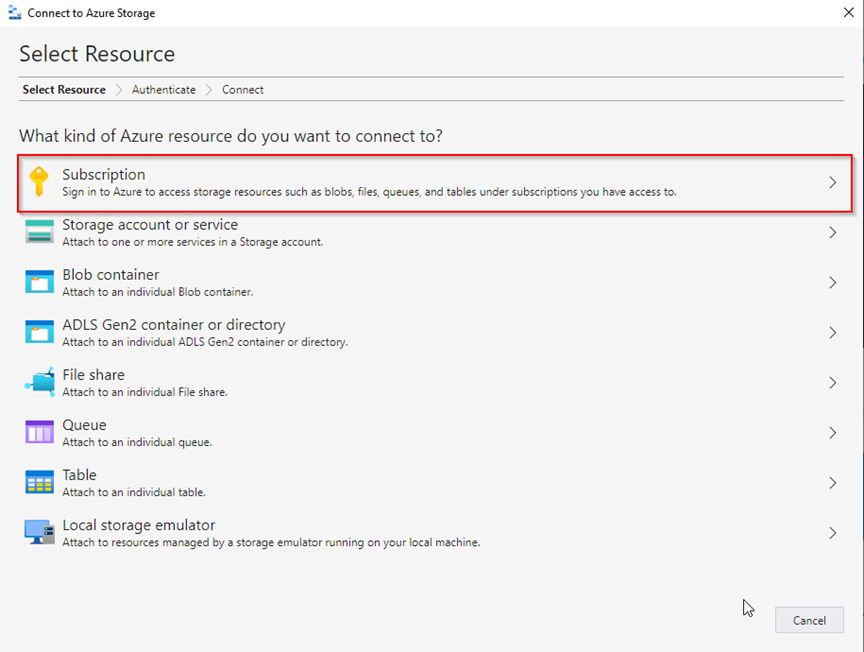
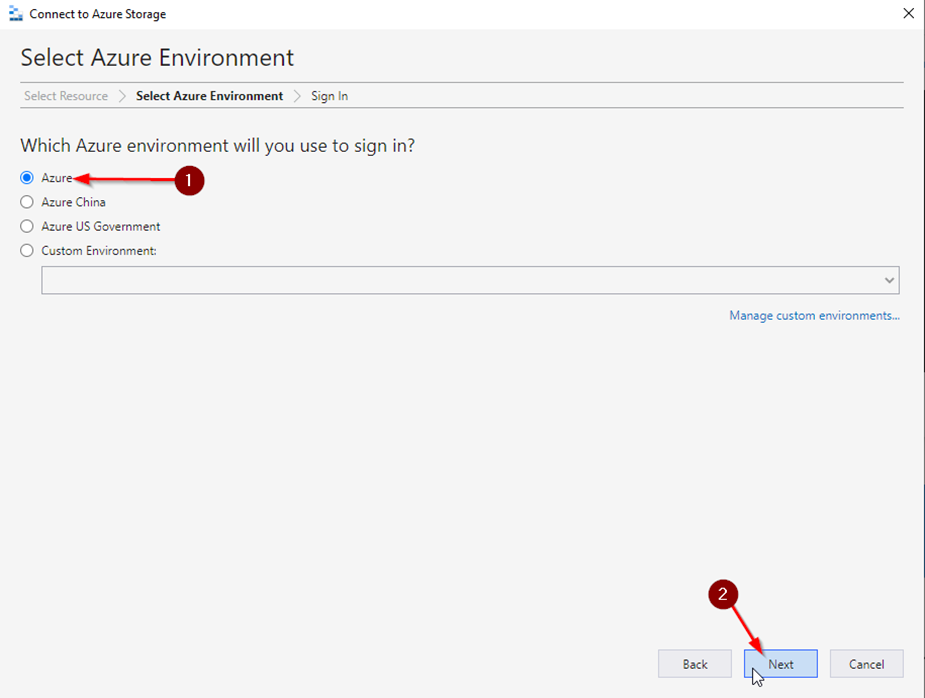
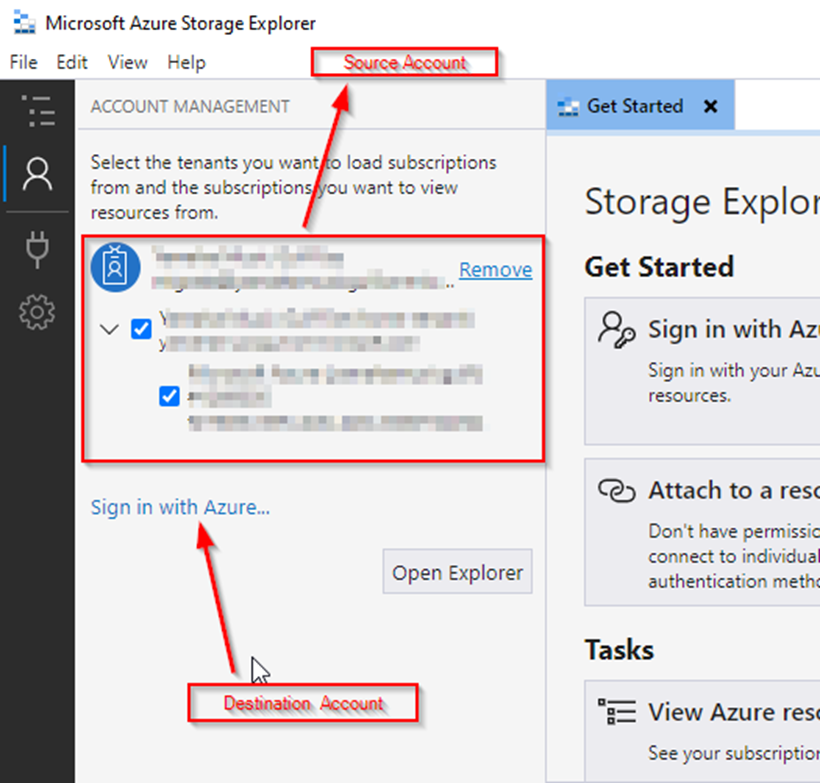
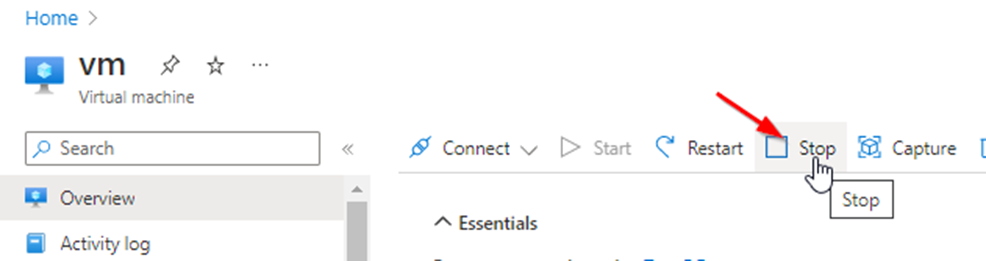
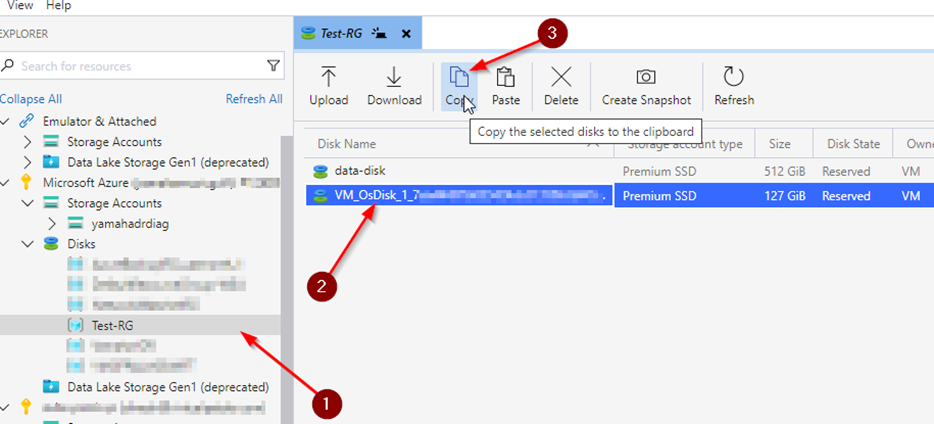
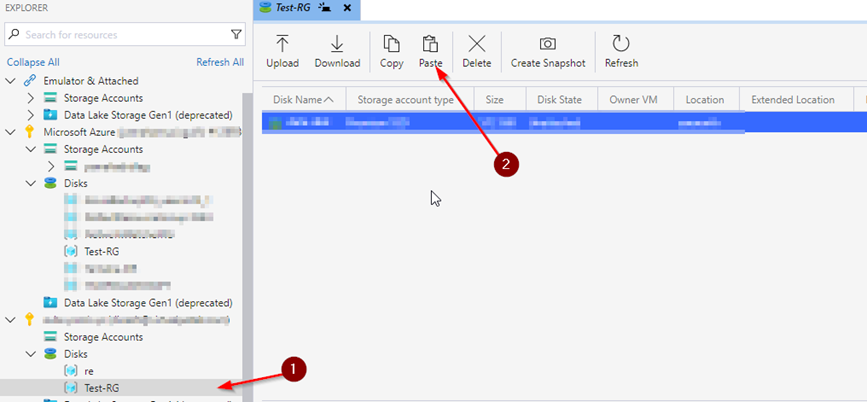
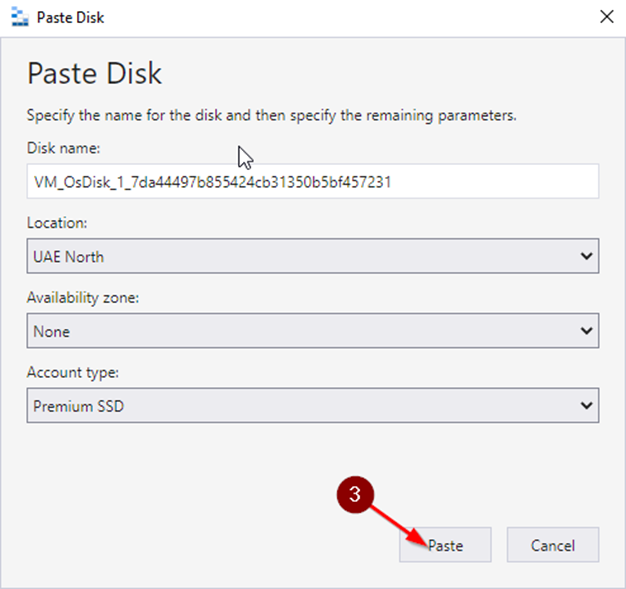
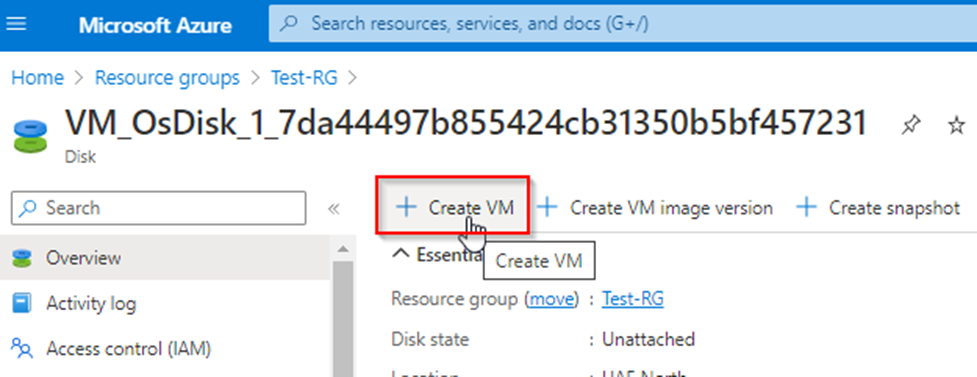
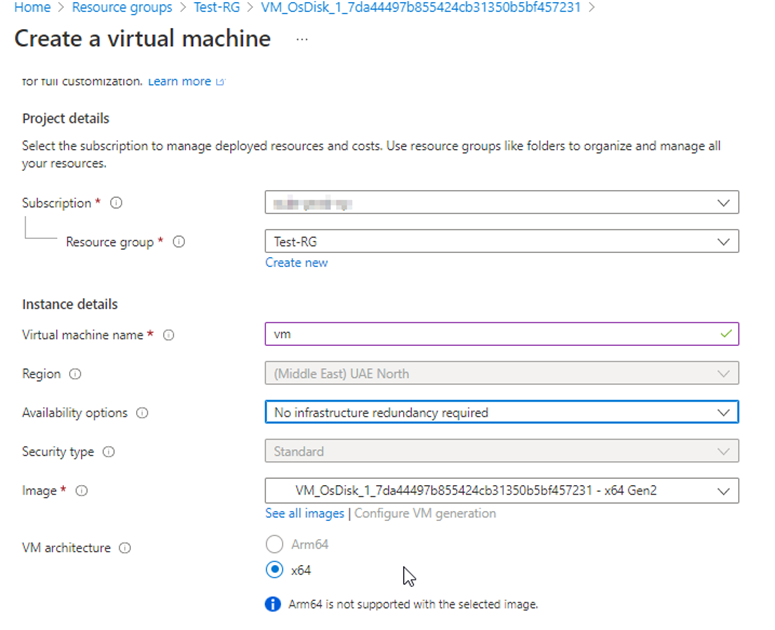
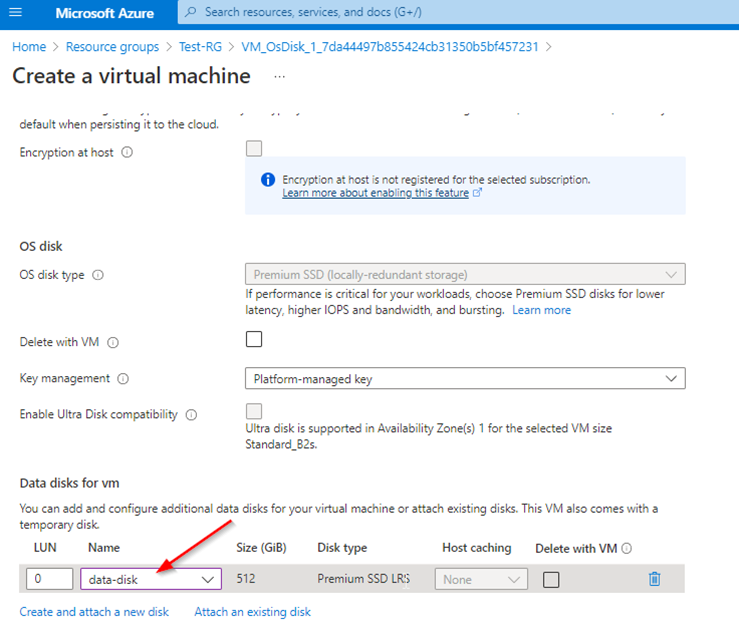
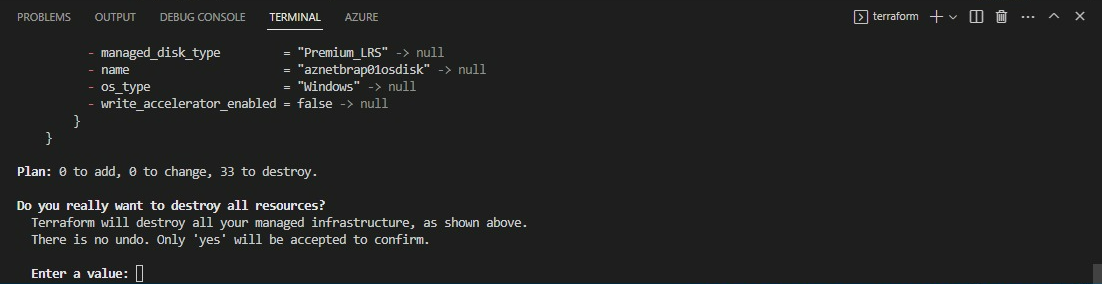
Let’s see how to migrate Azure CSP to Enterprise Tenant VM Disk Migration Azure CSP to Enterprise Tenant VM Disk Migration using Storage Explorer, It’s an Offline Migration where the virtual machine disk has to be deallocated.
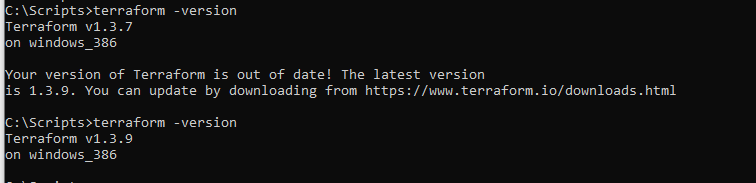
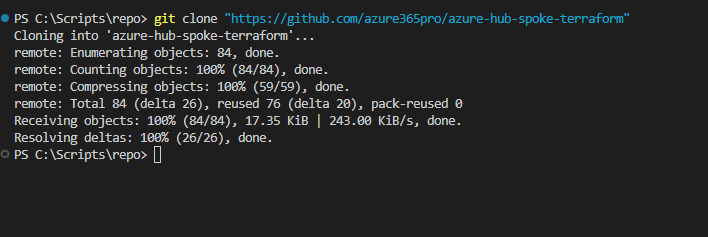
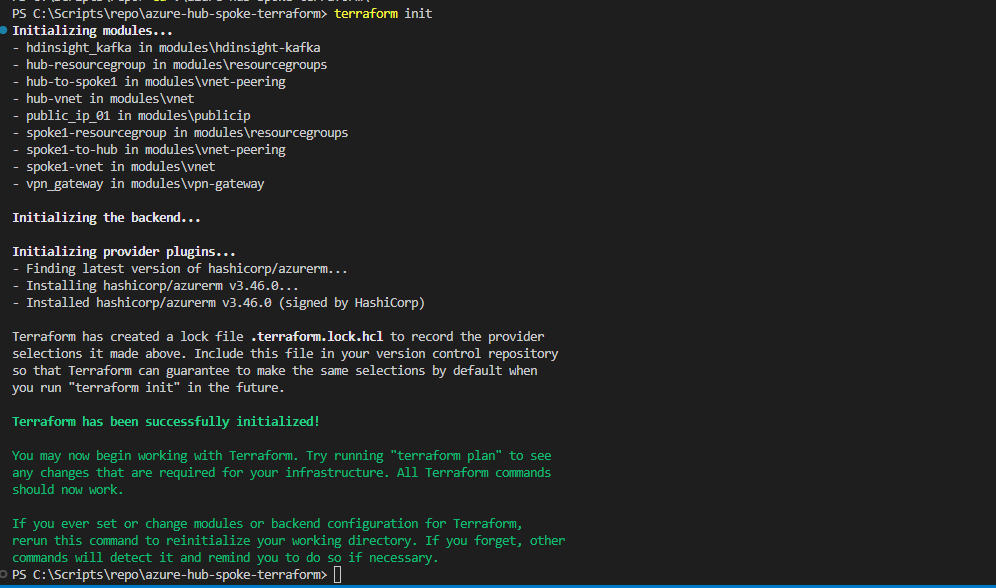
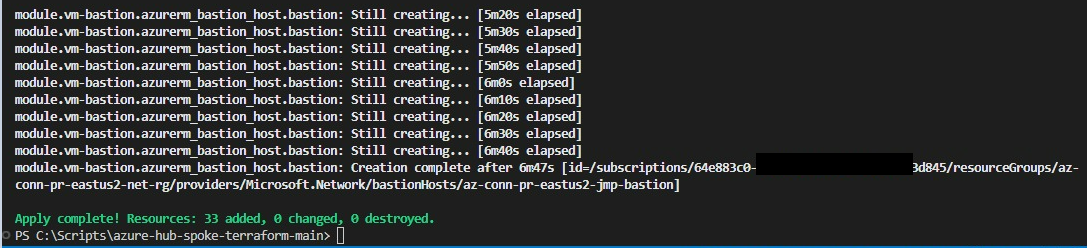
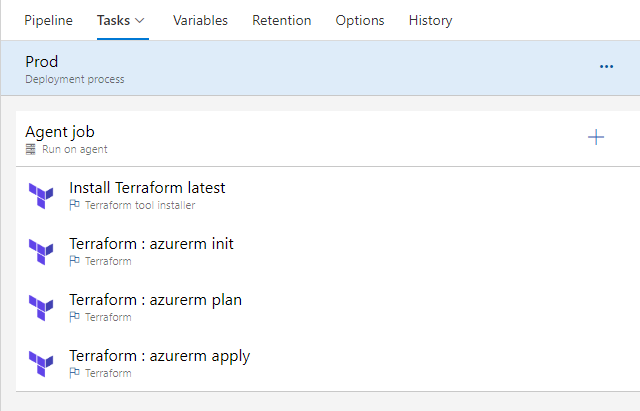
We will deploy the resources below using Terraform reusable modules utilizing the Azure landing zone concept, part of the Cloud Adoption Framework (CAF). In this setup, we are talking about only infra resources; if you are new to terraform, the same concept has been explained using the Azure Portal; I have spoken about Azure Management Groups and Subscription Planning in this link – Azure Management Groups and Subscriptions Design.
Azure landing zone design that accounts for scale, security governance, networking, and identity, which enables seamless application migration, modernization, and innovation at the enterprise scale in Azure. This approach considers all platform resources like infrastructure (Iaas) or platform as a service.
Benefits of Azure Landing Zones –
Good Governance ( Like you can place a policy in the overall environment that no internet-exposing storage accounts can be provisioned)
Scalability (Multi Datacenter or Improving the design with Virtual WAN should be seamless)
Cost Savings (Segregated billing with subscriptions – Overall Control or like can apply Hybrid benefit using policies)
Resources Provisioned –
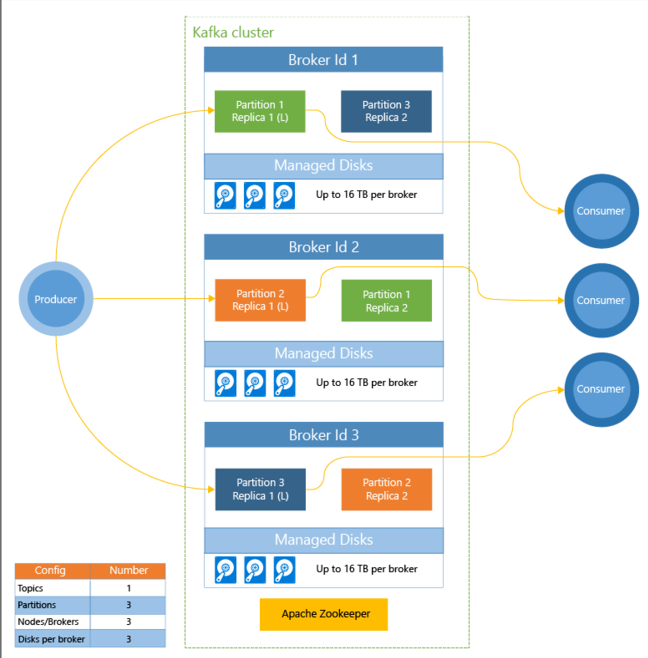
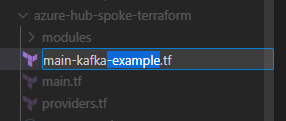
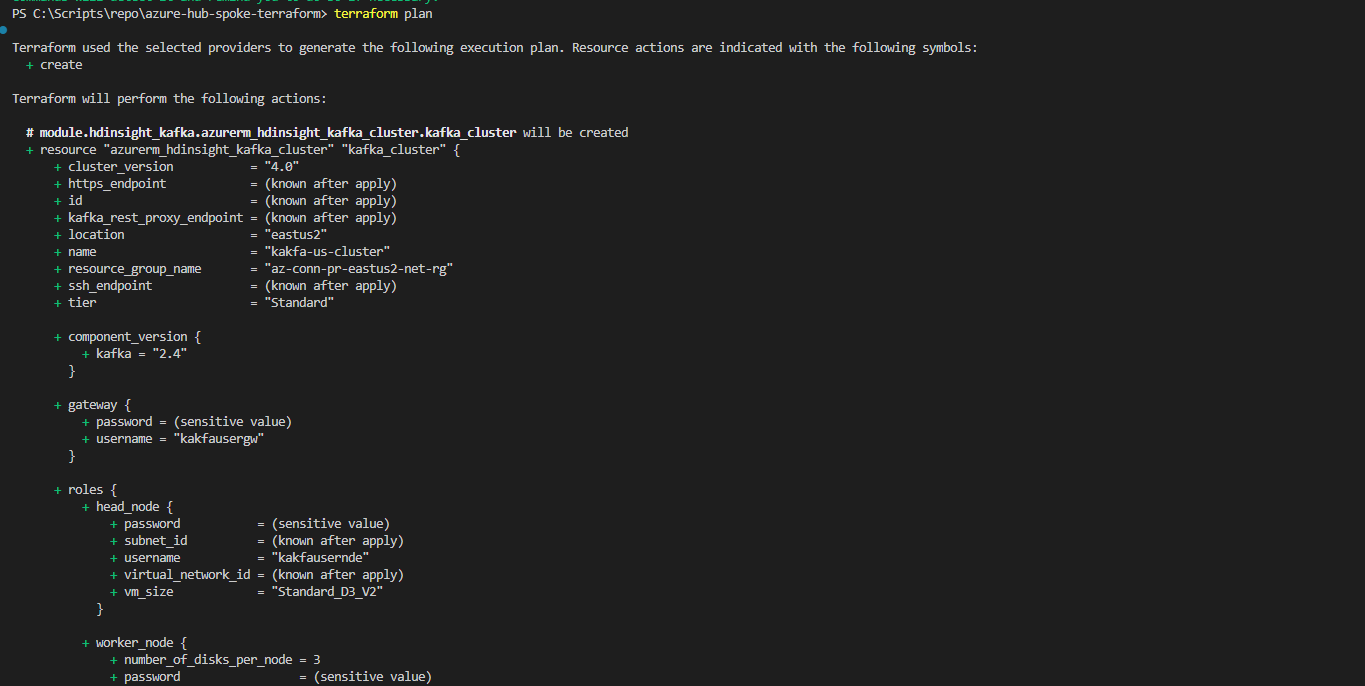
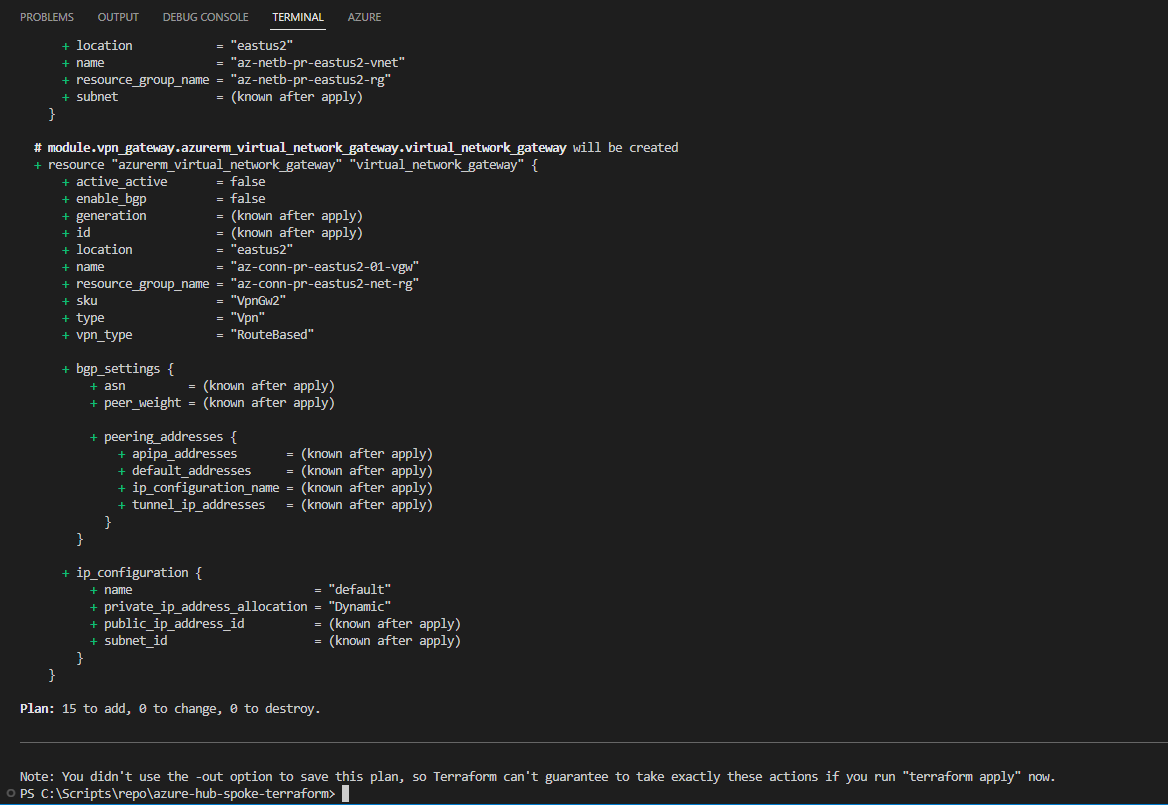
1. Virtual Networks ( Hub – 10.50.0.0/16 – Spoke – 10.51.0.0/16) 2. VPN Gateway (10.50.1.0/24) 3. Apache Kafka in Azure HDInsight 4. Public IP Addresses
Head Nodes “10.51.1.0/24” Worker Nodes = “10.51.2.0/24” Zone Keeper Nodse = “10.51.3.0/24”
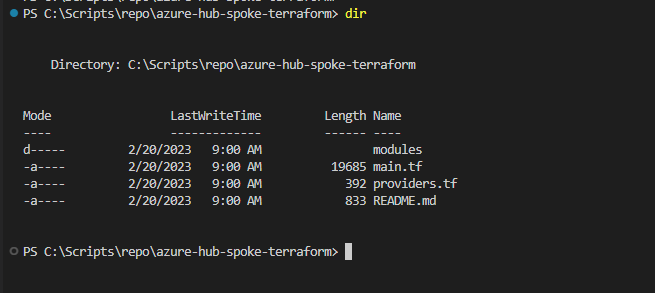
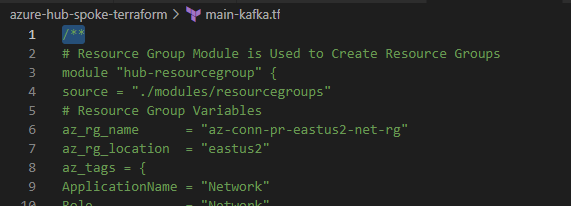
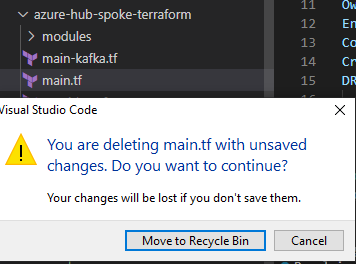
Modules are convenient to place into folders and reuse resource configurations with Terraform for multiple deployments. Also, changing/upgrading specific resource configurations becomes easier.
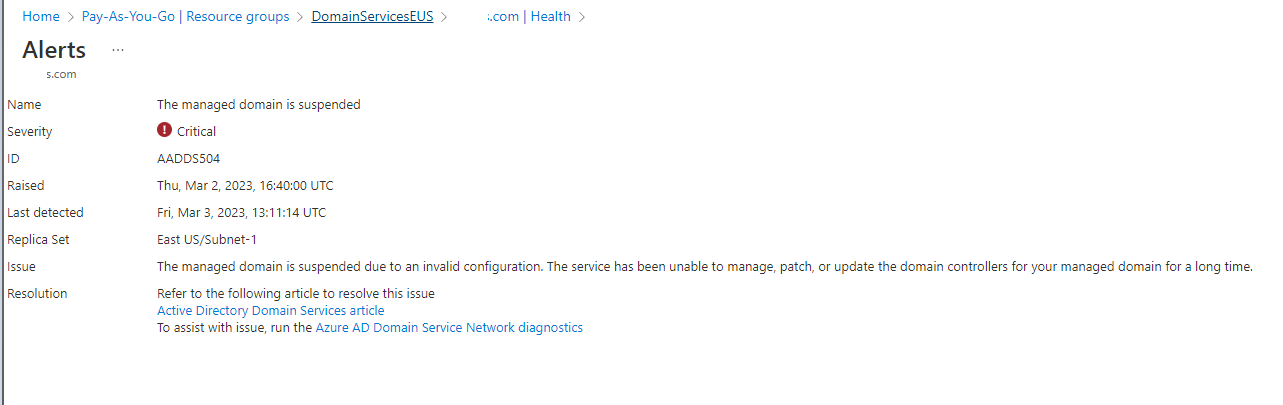
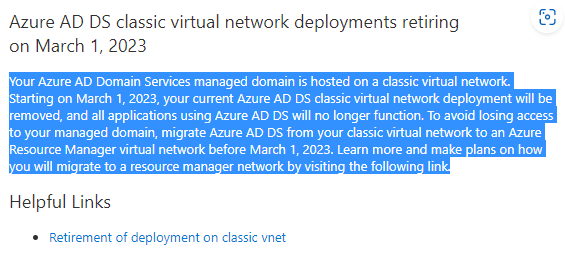
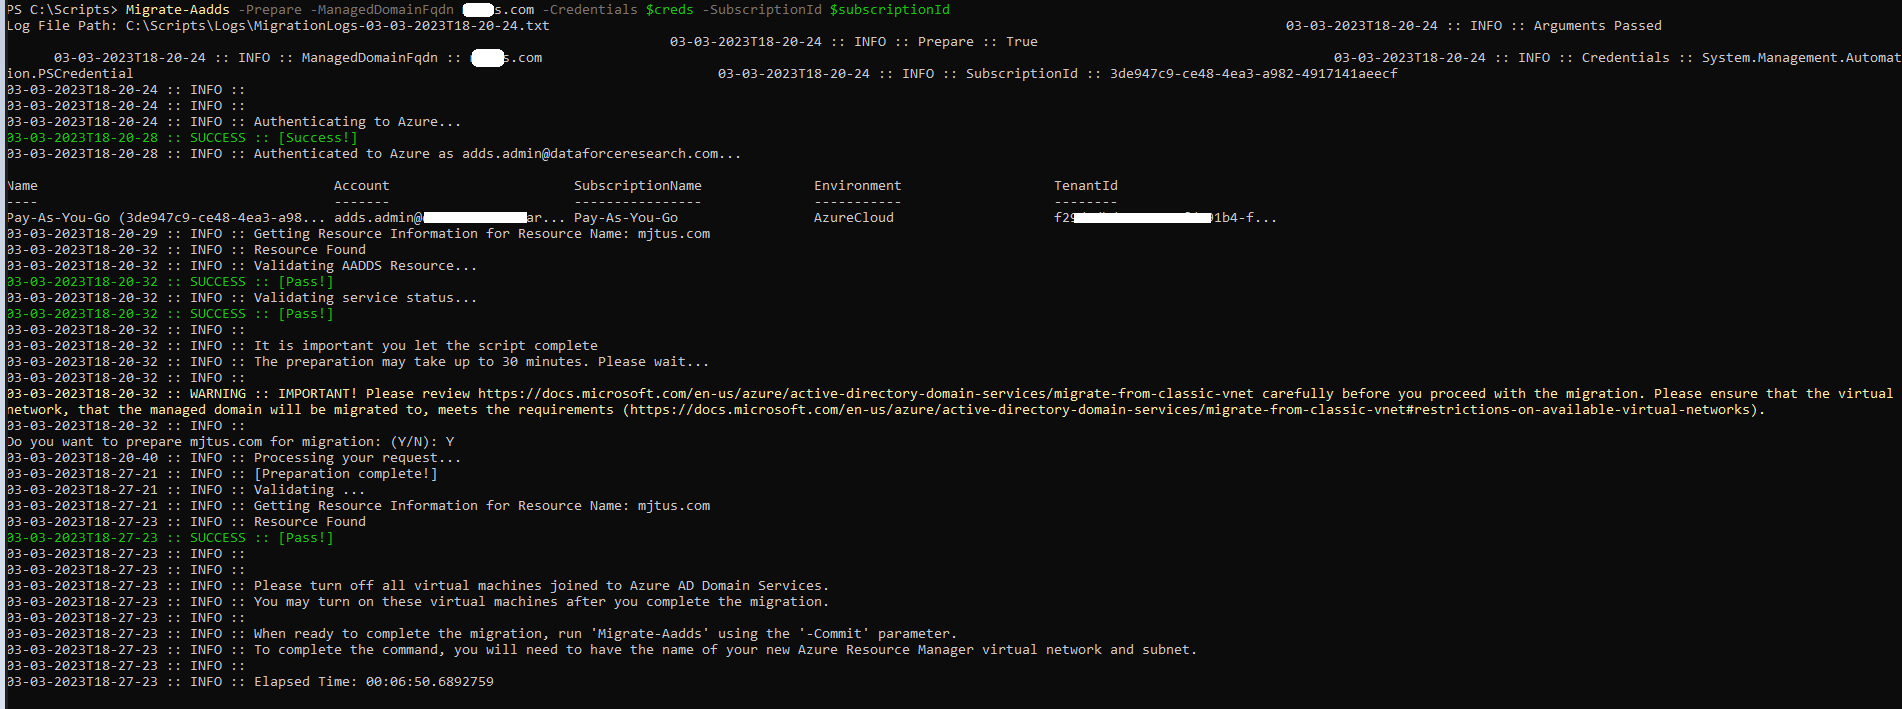
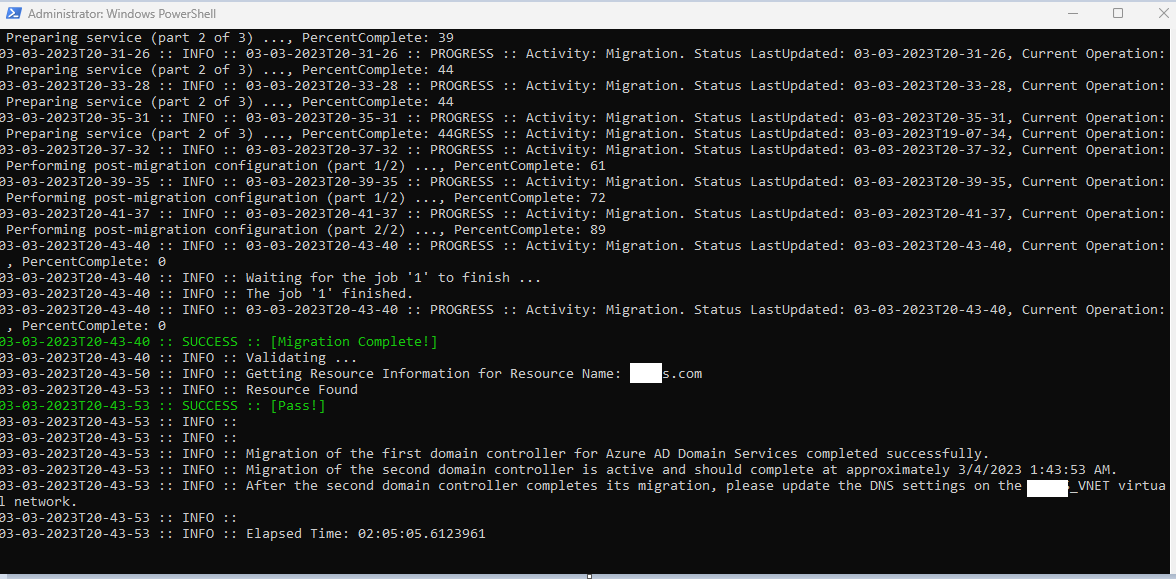
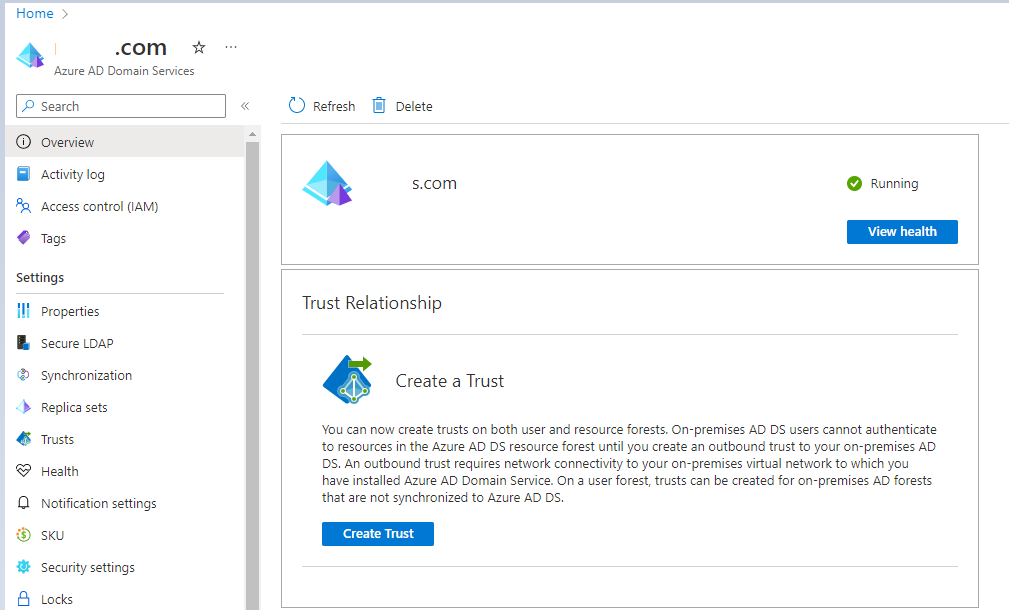
Migrating ADDS from a classic virtual network to a modern one, As Microsoft depreciates a Classic virtual network, the ADDS residing within the resource went into a suspended state.
ADDS doesn’t support migrating from a suspended state. Now the only way to bring back the connectivity is to reach out to Microsoft and create a case with the internal ICM team within Microsoft to allow connectivity with the Classic virtual network for a short period. So that ADDS becomes healthy and can be migrated.
There are several types of standards available online to improve your domain reputation and email deliverability rate. Most enterprise environments implement them all.
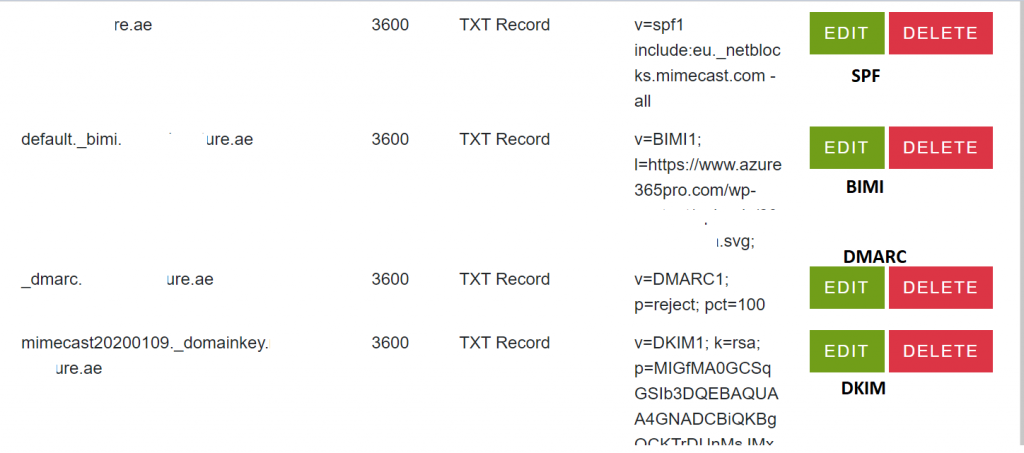
Brand Indicator Message Identification (BIMI) (Not Widely used anymore – Needs Verified Mark Certificates to achieve the same)
What is SPF(Sender Policy Framework) record and let see how to implement them efficiently.
It identifies which mail servers are permitted to send email on behalf of your domain. The purpose of an SPF record is to prevent spammers from sending messages with forged from addresses at your domain.
It’s highly recommended to have a SPF record with an hard fail (-all) created for your domain being spoofed elsewhere in the world. Most of the antispam appliances have SPF record check . which is enabled in most of the environment. A proper SPF required a must to improve email deliverability. We will see various scenarios and how SPF records can be created. Configuring a single SPF for single domain it is fairly simple
Lets consider you are having a single domain ,with no Hybrid. Your Sample SPF will look like below if you are using different IP ranges to send out emails.
Let’s consider you are having a hybrid with Office 365. where emails sent out from your on-premises and Office 365 and SPF record will look like below.
Let’s consider you are having a hybrid with Office 365, Emails are sent out via on-premises environment and via mimecast from office 365 for example. your SPF record will look like below.
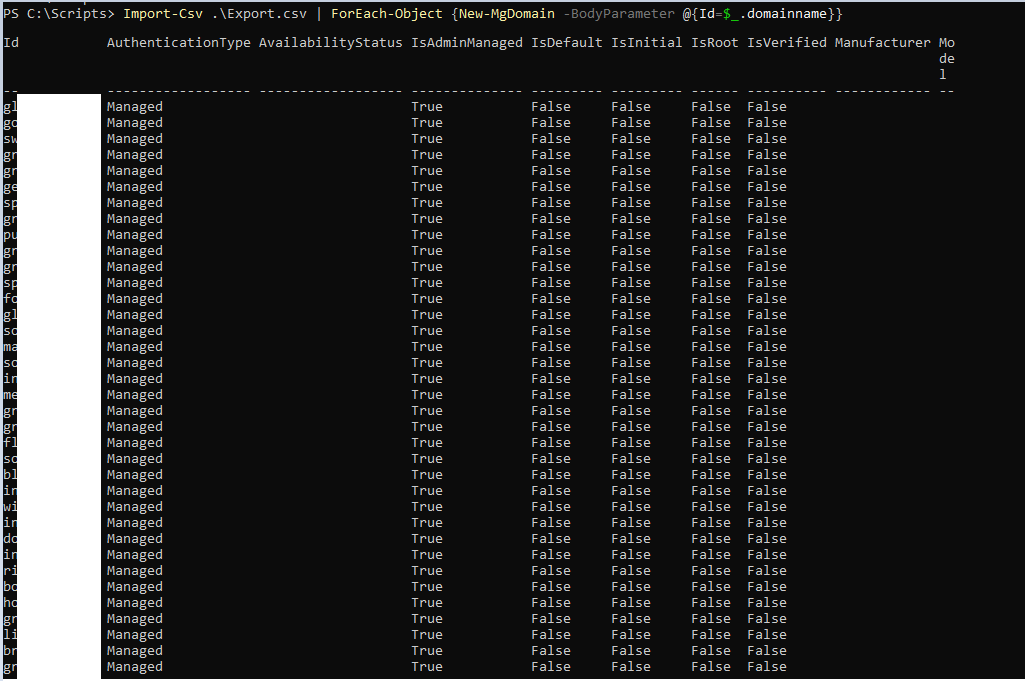
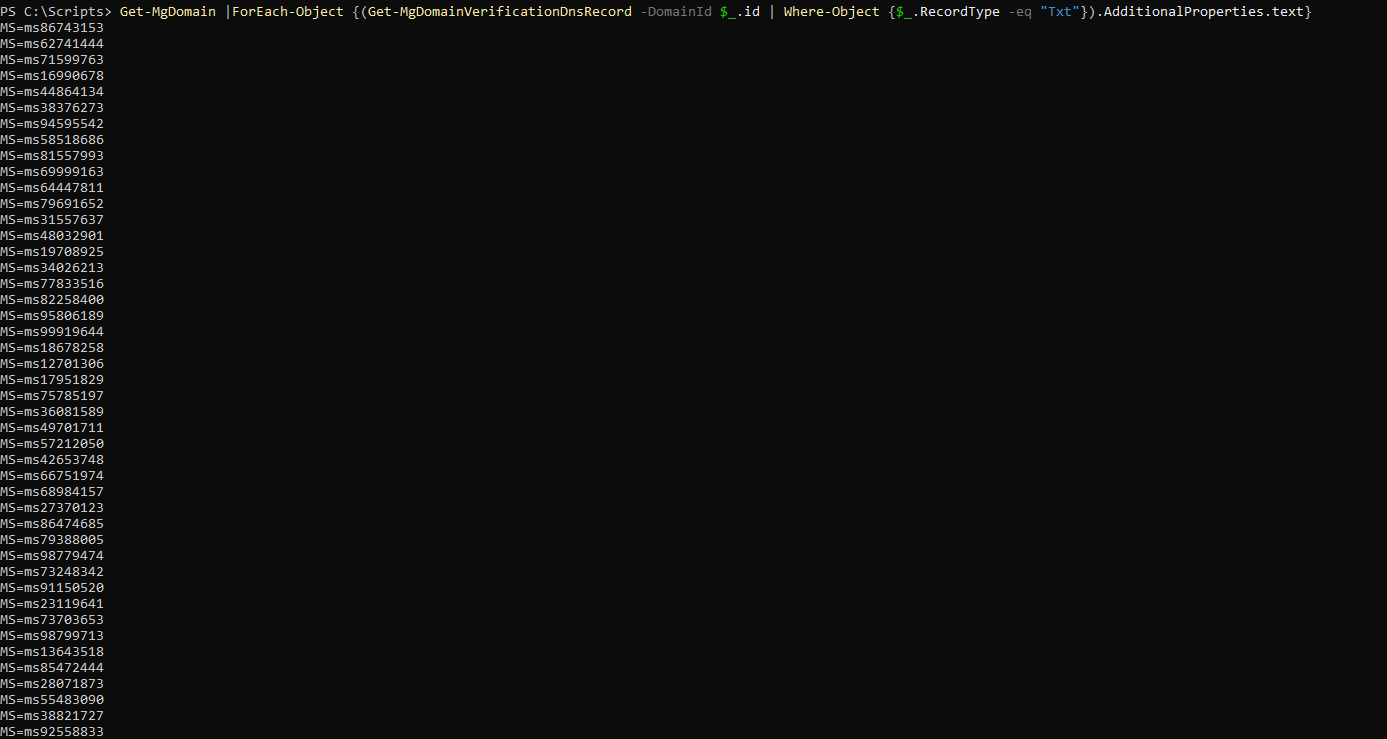
Let’s consider having multiple domains hosted, Instead of creating SPF records for each domain. There is an easy of creating one TXT record and you can make all the domains to refer the same TXT record using the “include” Option. if you are managing 100 domains and you want to change your Public IP range, for example, you don’t have to update all the domains. you can keep updating the primary TXT record. It will save a lot of time if you manage a lot of domains. Let’s see how to implement the same. First, we should create a TXT record called spf.azure365pro.com with the value (which can be an Ipv4 range or MX), in my case I have specified the public ipv4 range where my Outgoing mails will be. This will be the primary domain and all my additional domains will refer to me to A record and it’s a hybrid environment as well.
Now am saying the world as whoever has a TXT record in their public domain as spf.azure365pro.com and if they send out emails from this IP range . Its a trustable source.
The ~all at the end is called a soft fail. It means that recipients may accept mail from another server, but it should be viewed with suspicion. If you change it to -all, you are directing the recipient to reject mail from any server other than these. The majority of the Office 365 mailboxes are configured with hard fail. The soft fail approach is safer and recommended if you are not sure of the environment but if you are aware of the environment then hard fail is a must to improve email reliability.
Lets see how to configure additional Domains sending out outbound email
you can configure the additional domains sending as below referring the other record we already creation. if you have any number of addtional domains you can keep referring to the same record. Even the hosters do the same. Even Microsoft does the same.
There are multiple SPF generators available online. You can make use of it as well.
What is DKIM (Domain Keys Identified Mail) record, and let’s see how to implement them efficiently.
DomainKeys Identified Mail is an email authentication method designed that allows the receiver to check that an email was indeed sent and authorized by the owner. It works by adding a digital signature to the headers of an email message. That signature can be validated against a public cryptographic key in the domain TXT records.
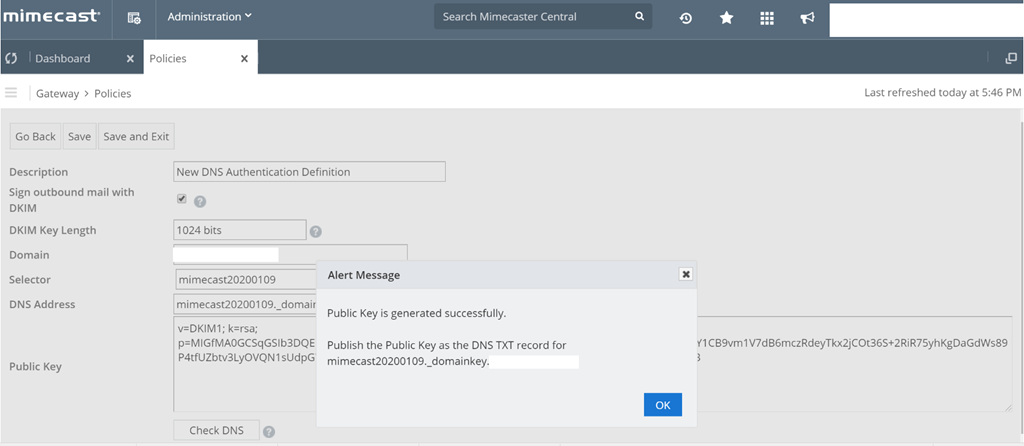
Let’s see how to implement them in Mimecast, for example. It’s pretty simple.
Administration Policies – Sign Outbound – Create a DKIM Record – You can create the DNS record, wait for the records to replicate, and click on Check DNS. You can do it anytime, as until you assign this to a policy, this signature will not take effect.
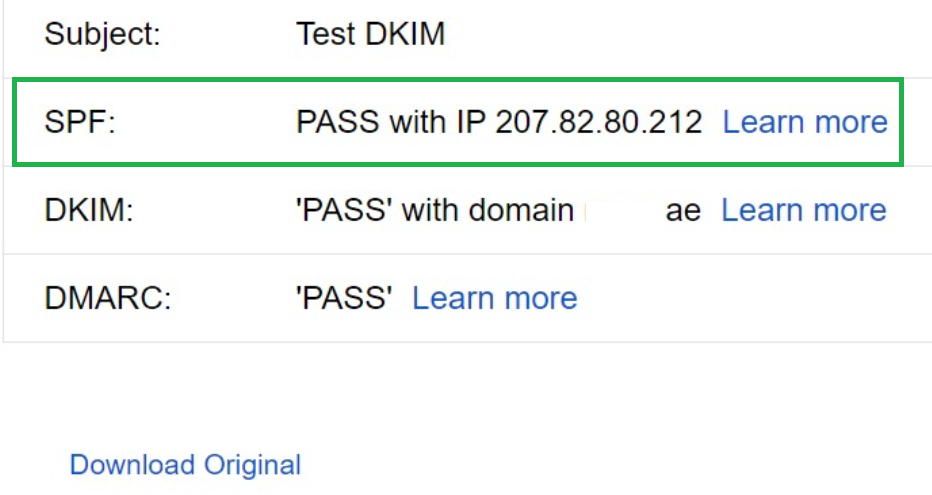
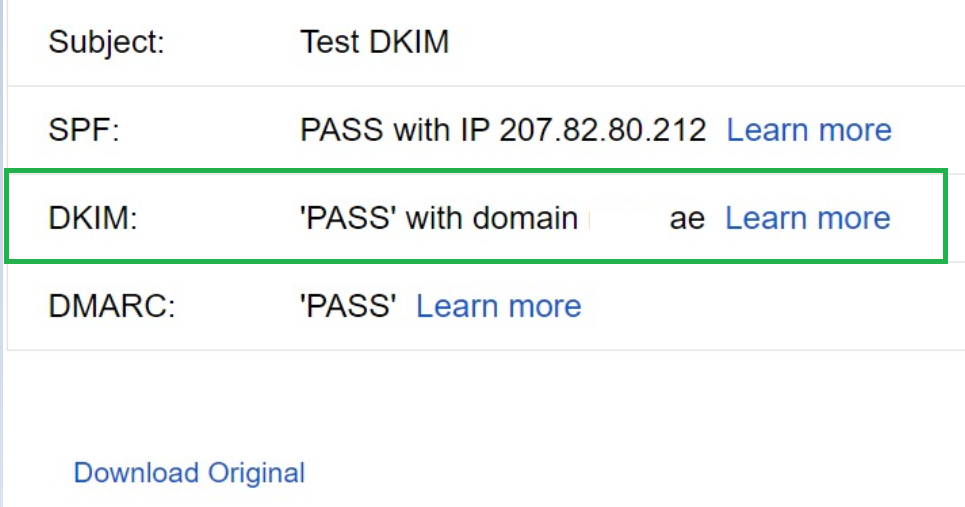
Now you can assign to a policy anytime so that it can send out emails with DKIM enabled. always the quickest way of checking it to send an email to Gmail, and you can click on show original it’s almost instant to take effect. So that it will show below. If you have IronPort Check this article also about managing DKIM with multiple domains
What is DMARC (Domain-based Message Authentication, Reporting & Conformance) record and let’s see how to implement them efficiently.
A DMARC policy allows a sender’s domain to indicate that their emails are protected by SPF and/or DKIM and tells a receiver what to do if neither of those authentication methods passes – such as to reject the message or quarantine it. The policy can also specify how an email receiver can report back to the sender’s domain about messages that pass and/or fail
For Example, the Organization controlling the azure365pro.com DNS domain intends to monitor SPF and/or DKIM failure rates and doesn’t expect emails to be sent from subdomains of azure365pro.com. Note that a subdomain can publish its DMARC record; receivers must check it out before falling back to the organizational domain record.
v is the version p is the policy (none/reject/quarantine) sp the subdomain policy (none/reject/quarantine) pct is the percent of “bad” emails on which to apply the policy rua is the URI to send aggregate reports to.
Most of the time, you can see such records, Emails forwarding to DMARC analyzers or to companies who manages your brand protection.
fo: This is a tag that lets mailbox providers know you want message samples of emails that failed either SPF and/or DKIM. There are four value options available:
0: Generate a DMARC failure report if all underlying authentication mechanisms (SPF and DKIM) fail to produce an aligned “pass” result. (default)
1: Generate a DMARC failure report if any underlying authentication mechanism (SPF or DKIM) produced something other than an aligned “pass” result. (recommended)
d: Generate a DKIM failure report if the message had a signature that failed evaluation, regardless of its alignment.
s: Generate an SPF failure report if the message failed SPF evaluation, regardless of its alignment.
Optional tags
If an email address in rua or ruf has a different root domain than the domain of the policy record, an authorization record must be added to the root domain of the email address to indicate that it accepts reports about that domain. For example, if dmarc@localhost also needed to accept reports for azure365pro.in, the policy record for azure365pro.in would look like this:
Because azure365pro.in is a different base domain than azure365pro.com, the following record needs to be added to example.com to indicate that it accepts reports about azure365pro.com:
Sample Records – ( if you don’t need any email reports but to implement DMARC . you can use like below as well)
v=DMARC1; p=reject; pct=100
if you just need aggregated URI report you can implement like below.
What is (Brand Indicator Message Identification (BIMI) record, and let’s see how to implement them efficiently.
You need SPF, DKIM, and DMARC to Implement BIMI, Brand Indicators for Message Identification (BIMI) permits Domain Owners to coordinate with Mail User Agents (MUAs) to display brand-specific Indicators next to properly authenticated messages. Have you ever wondered how the email logos is appearing in your Outlook Apps for Meetup.com, for example, for other reputed domains, you can do a bimi record lookup for the domain and you can check if they will be using BIMI record to insert the image into your app. For Example, the sample record looks like below.
v = Version: the value is always BIMI1. (Required)
l = Location: the URL of your logo using HTTPS only. (Required)
a = Trust authorities: trust certificate to validate domain ownership. (Optional)