
Lets configure Windows Auto Pilot using Microsoft Endpoint Manager with a deployment profile and manually importing the device into Microsoft Endpoint Manager.
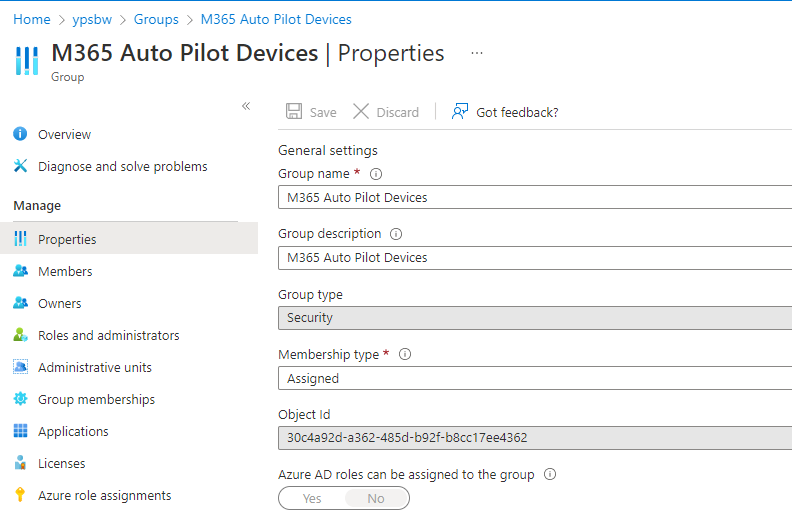
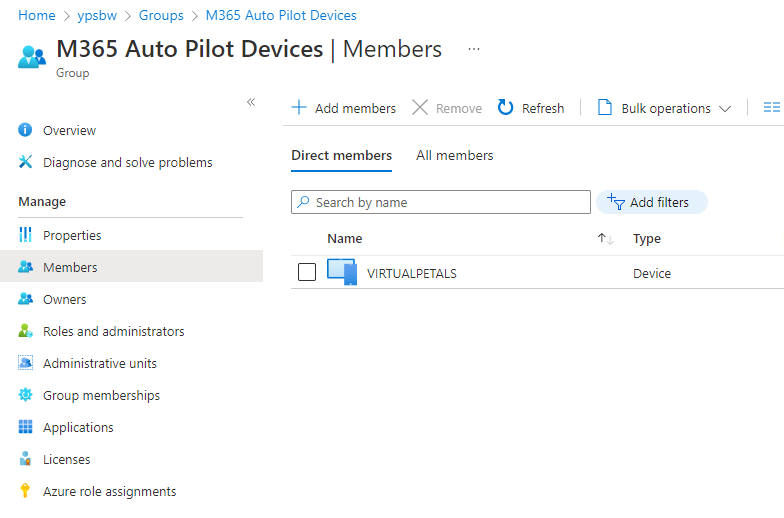
Create a Group to hold Windows Auto Pilot Devices
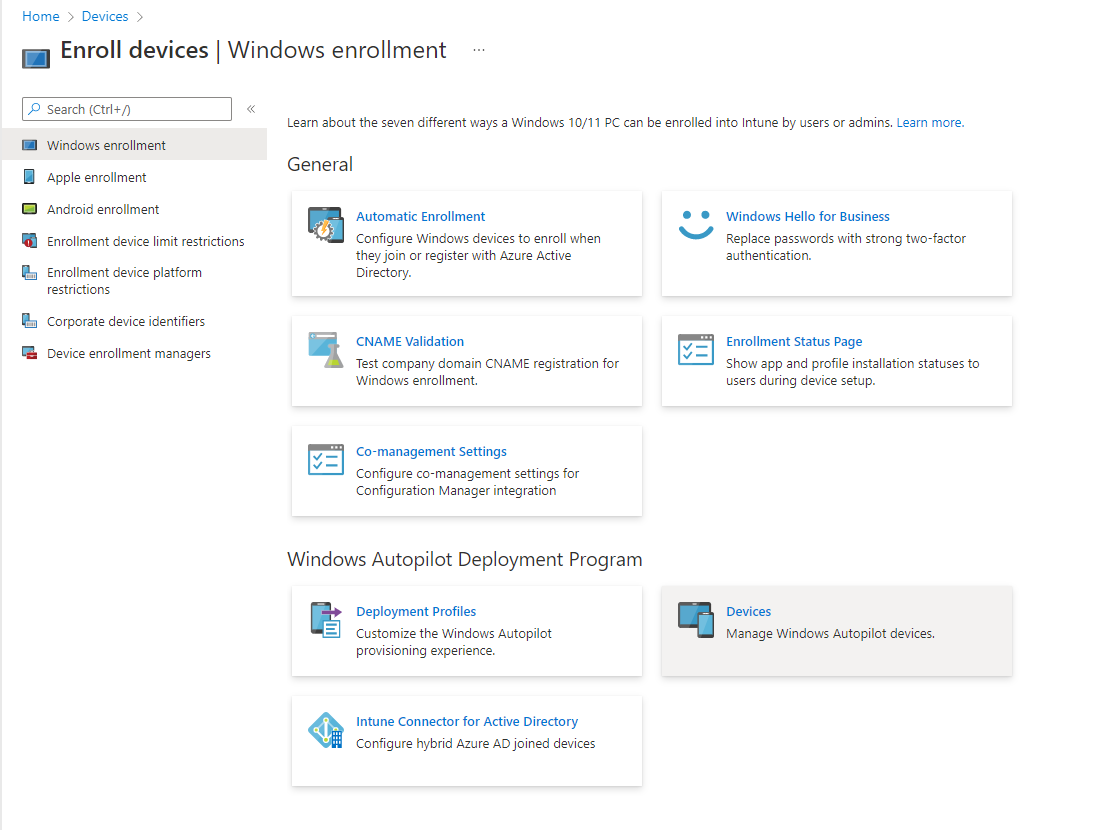
Devices – Enroll Devices – Windows Enrollment – Deployment Profiles

Create a Deployment Profile
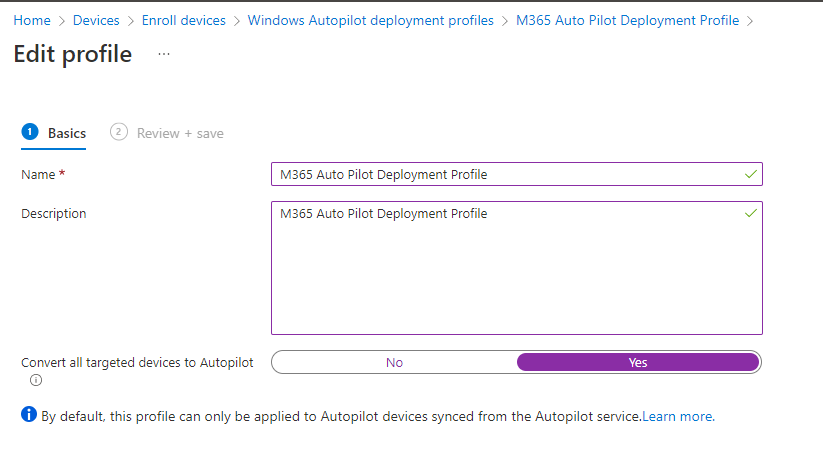
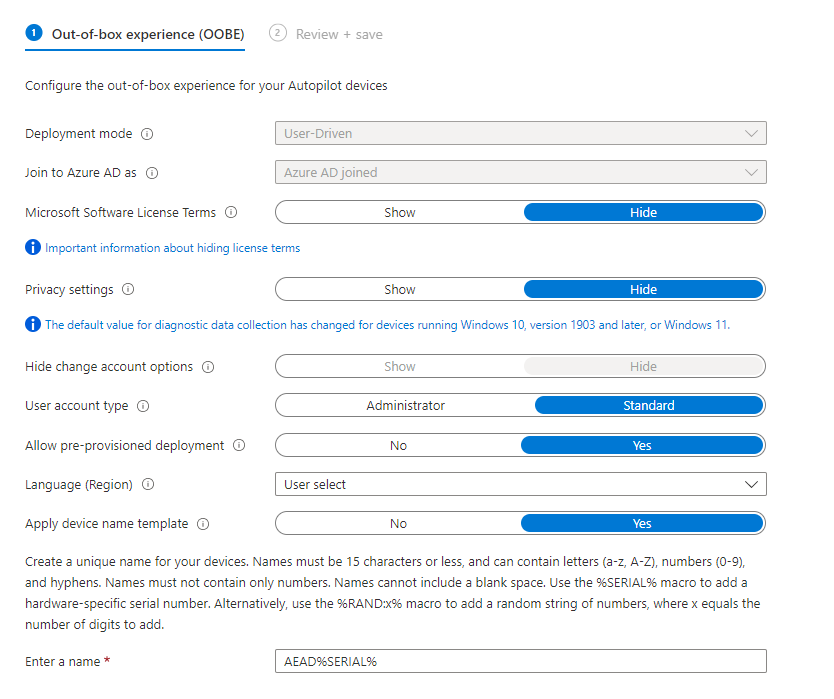
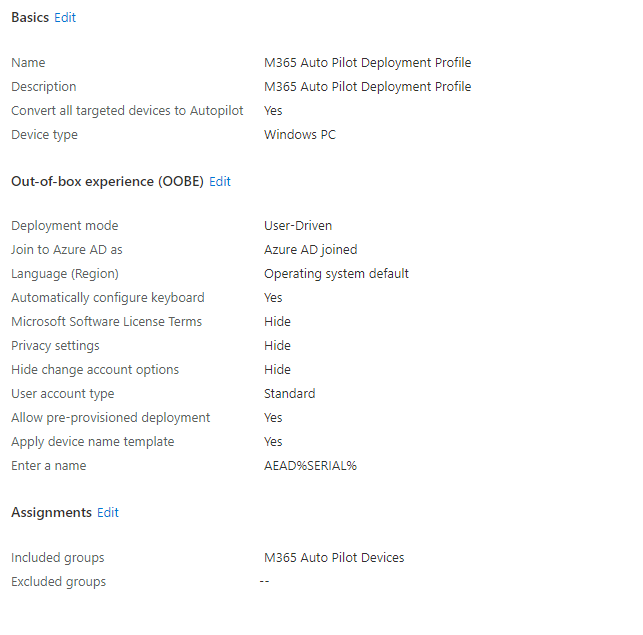
Configure as below –
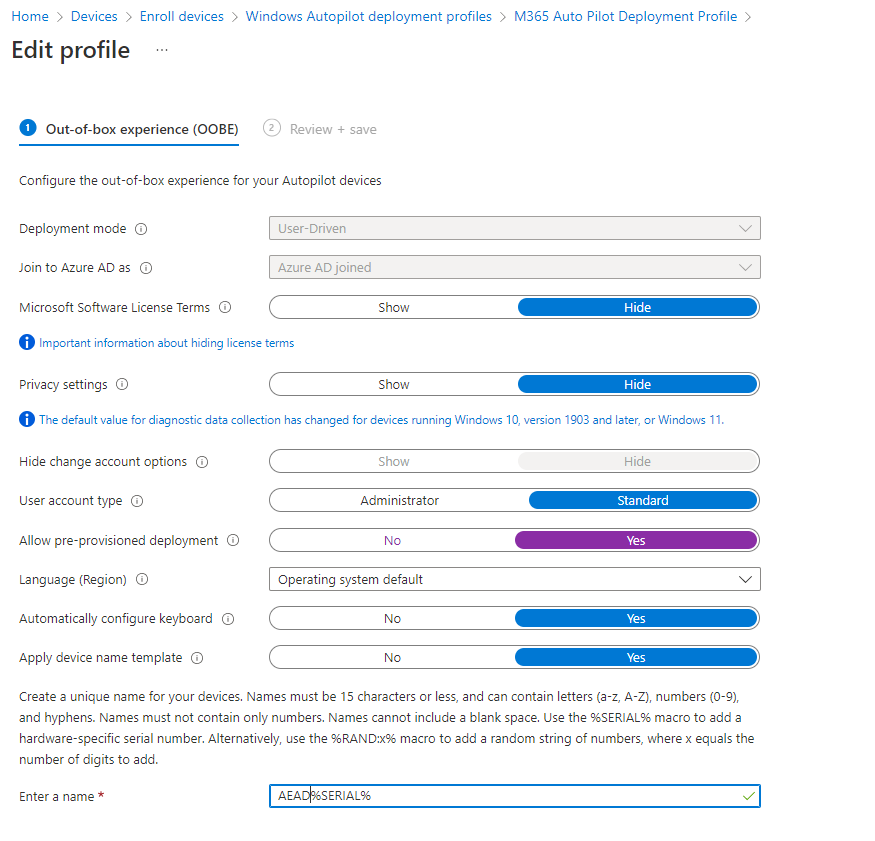
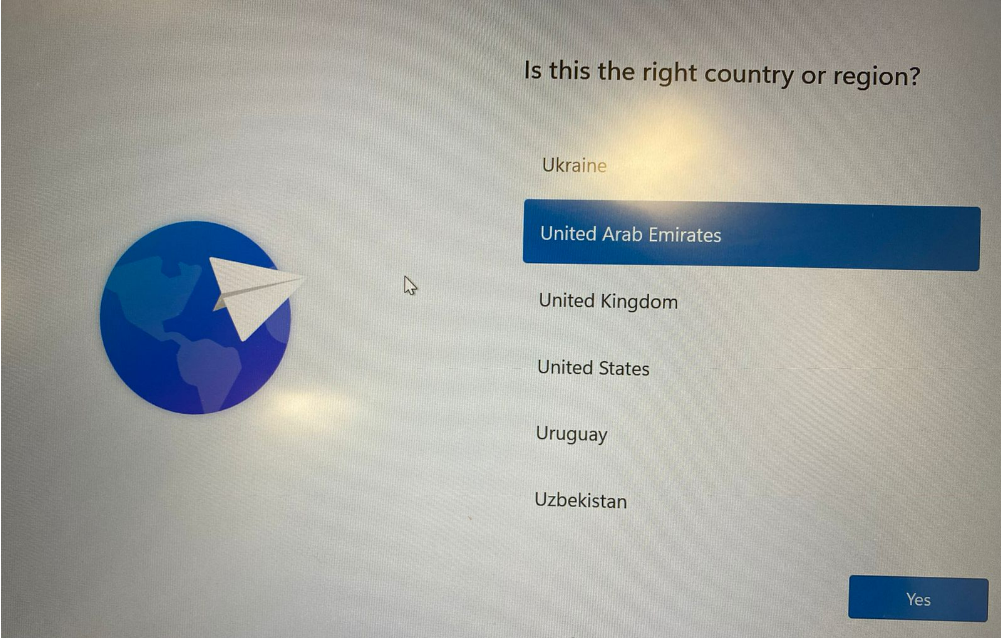
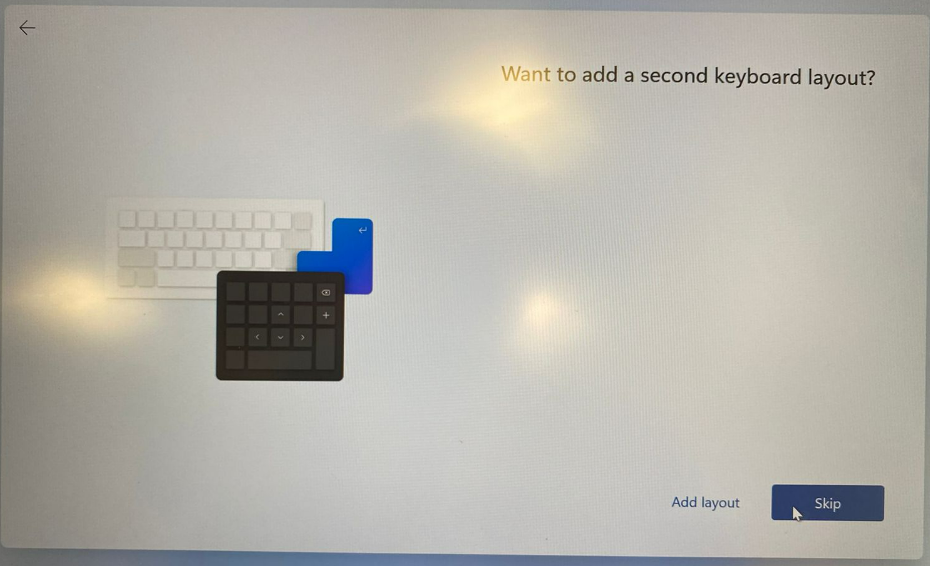
In Windows 10, version 2004 and later, if the Autopilot deployment profile Language/Region setting is not set to User Select, then OOBE will progress past the language/region/keyboard selection screens. This causes the pre-provisioning technician to arrive at the Azure AD login page, which is too late to enter pre-provisioning. This issue is fixed in Windows 11.
Windows Auto Pilot Deployment Profile
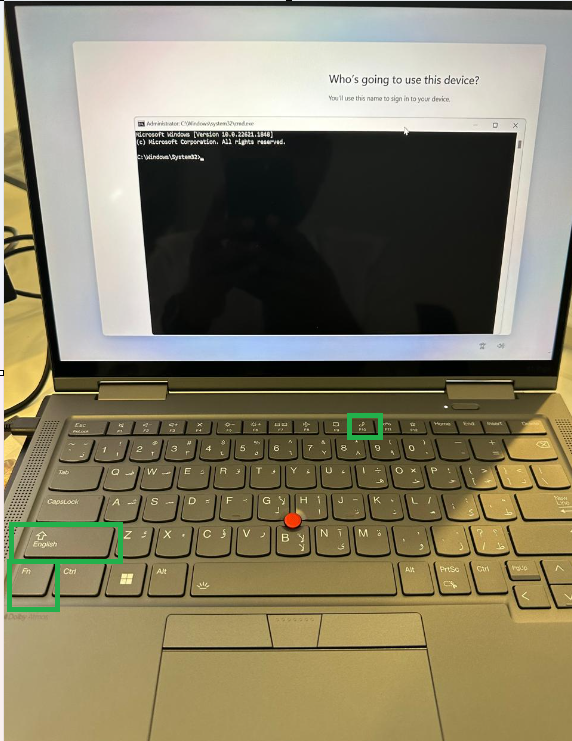
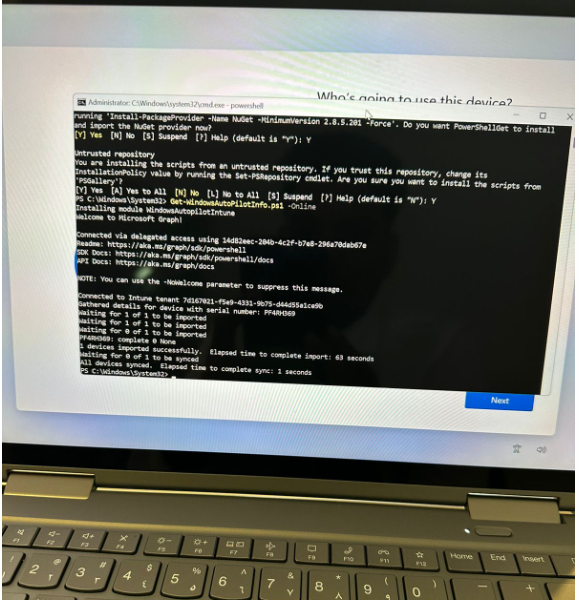
Run PowerShell as administrator
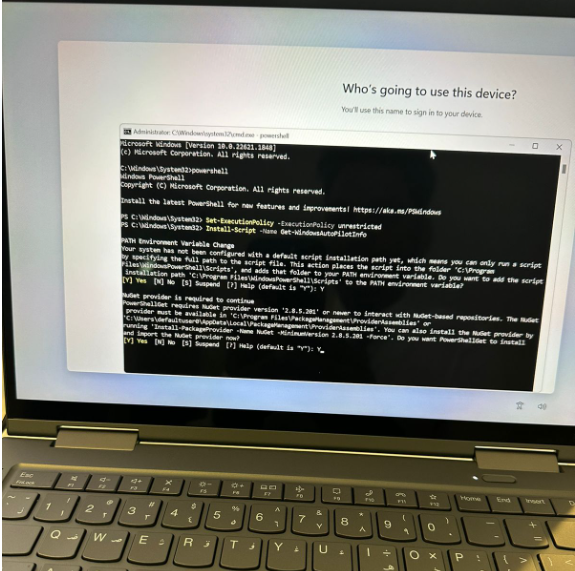
Set-ExecutionPolicy -Scope Process -ExecutionPolicy Unrestricted

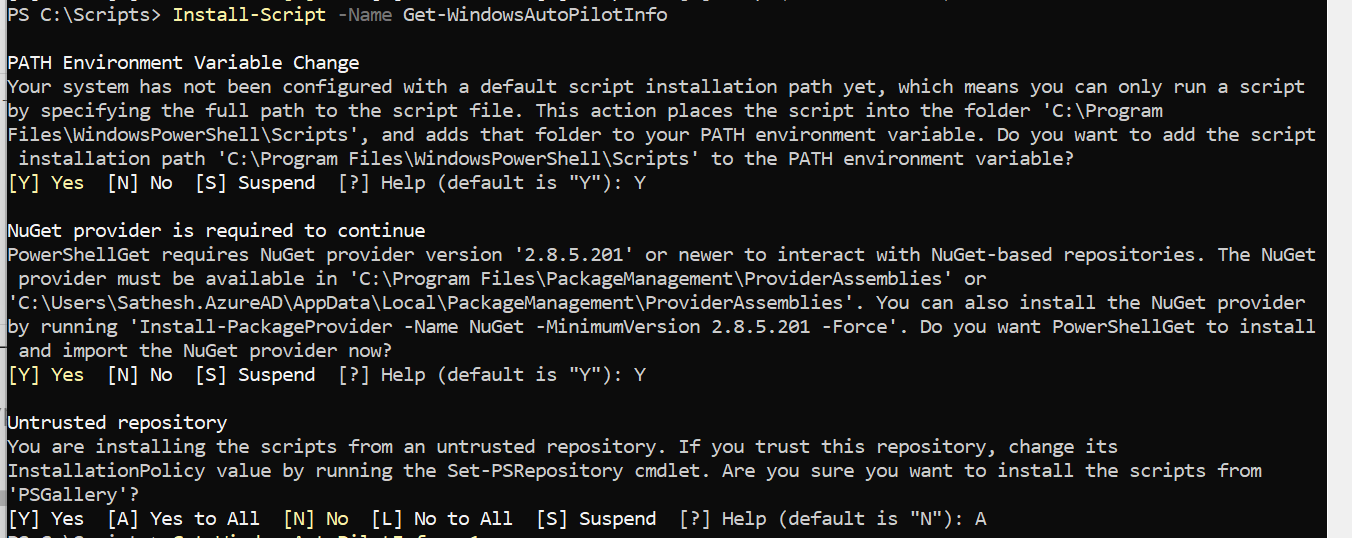
Install-Script -Name Get-WindowsAutoPilotInfo
Get-WindowsAutoPilotInfo.ps1 -OutputFile HP.csv

FN + Ctrl + F10 in Lenovo – For Auto Pilot – From Setup Screen
Get-WindowsAutoPilotInfo.ps1 -Online
Now get the CSV File to Devices
Import the Device to Windows Auto Pilot

Add the Associated devices to Group
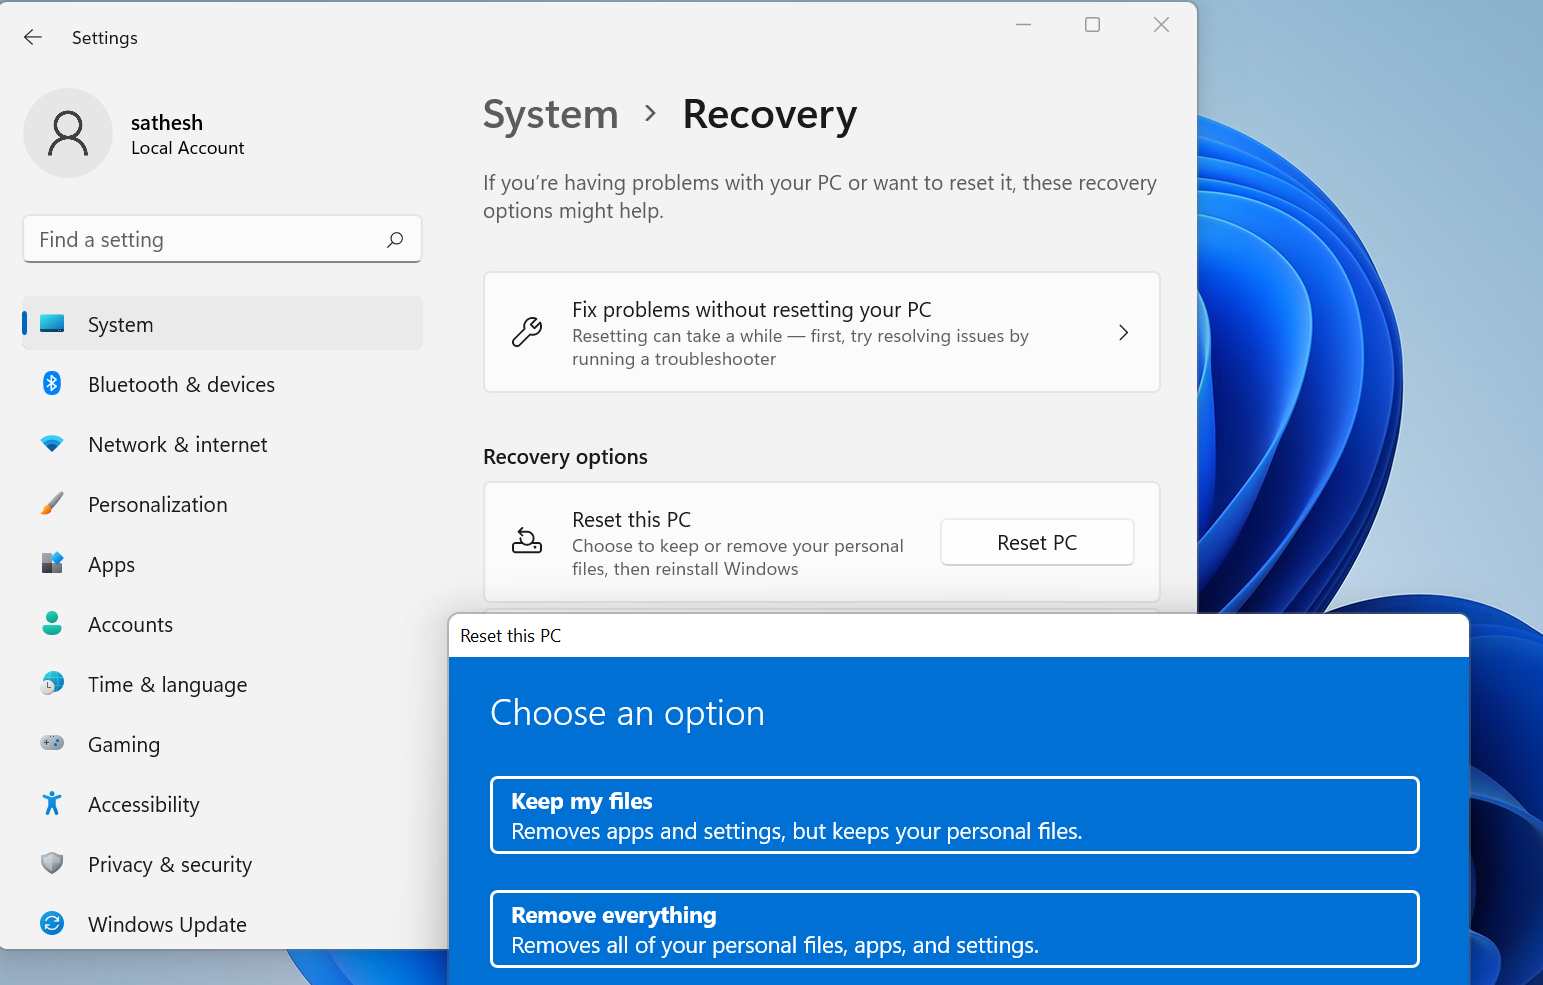
Reset PC to Test Auto Pilot – Remove Everything – Cloud or local install – (Cloud install if you have a good connection speed)
If you wish to use Pre Provisioning – Press Windows Key 5 times to enter into a different page.

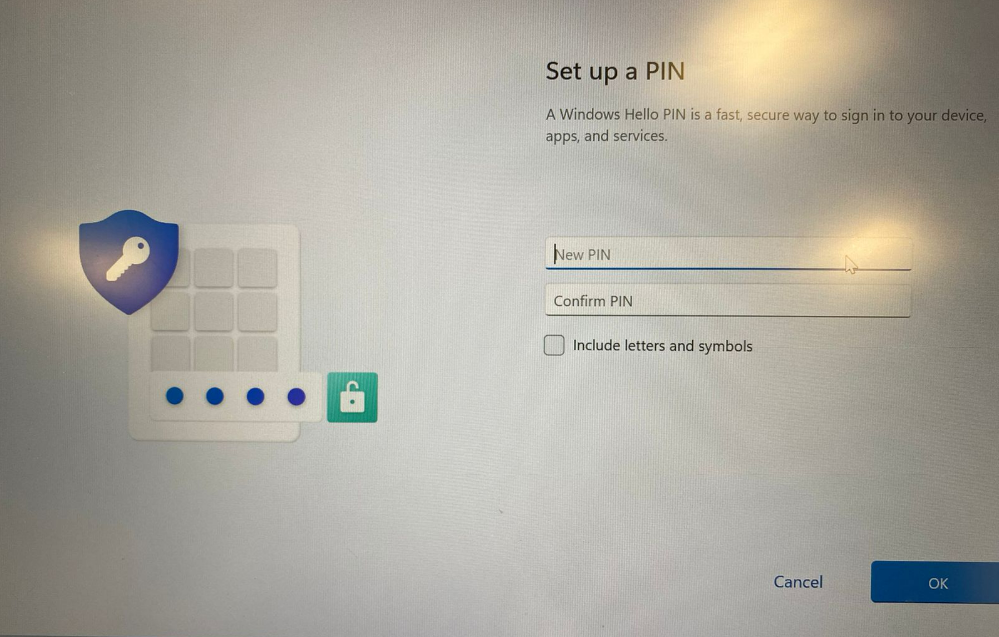
If finger print sensor exist – It will detect finger print for Windows Hello for Business
If you wish to use Pre Provisioning – Press Windows Key 5 times to enter into a different page.
- Install Provisioning Package
- Pre-Provision with Windows Autopilot
- Reset Device

